my first stocking still hangs on my parents’ mantel. the loop may or may not be attached by a zip tie and my sparkly name is admittedly a bit spotty, but it is filled with christmas morning memories. when we finally settled in our forever home, i set out to find stockings that would hold a similar significance for my own family.
i considered buying the stockings i admired in various magazines but i just couldn’t make up my mind. knowing my love for all things crafty, my sister told me about the DIY stockings in her husband’s family. they sounded perfect. whimsical but timeless. personal and fun. better yet, after admiring one i thought, “i can do that.”

i was ready. except for the sewing machine part. truthfully, you could make this whole stocking with just a glue gun. but i had my eye on a sewing machine on sale and this was a good opportunity for leverage. i talked with santa and he put the gift on the fast track for before-christmas delivery.
looking for an easy way to make stockings for your family? it’s ok. i didn’t know how either. but they turned out exactly how i wanted them to. here’s the plan i followed. you know i love a good plan ::
{step 1}
decide on a color and design for each stocking.
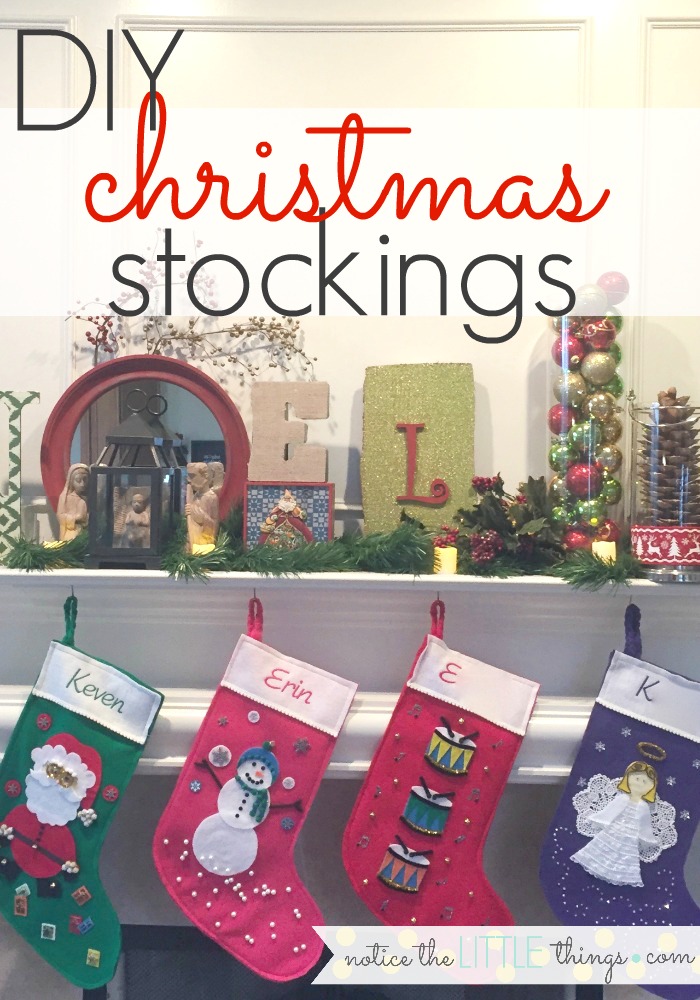
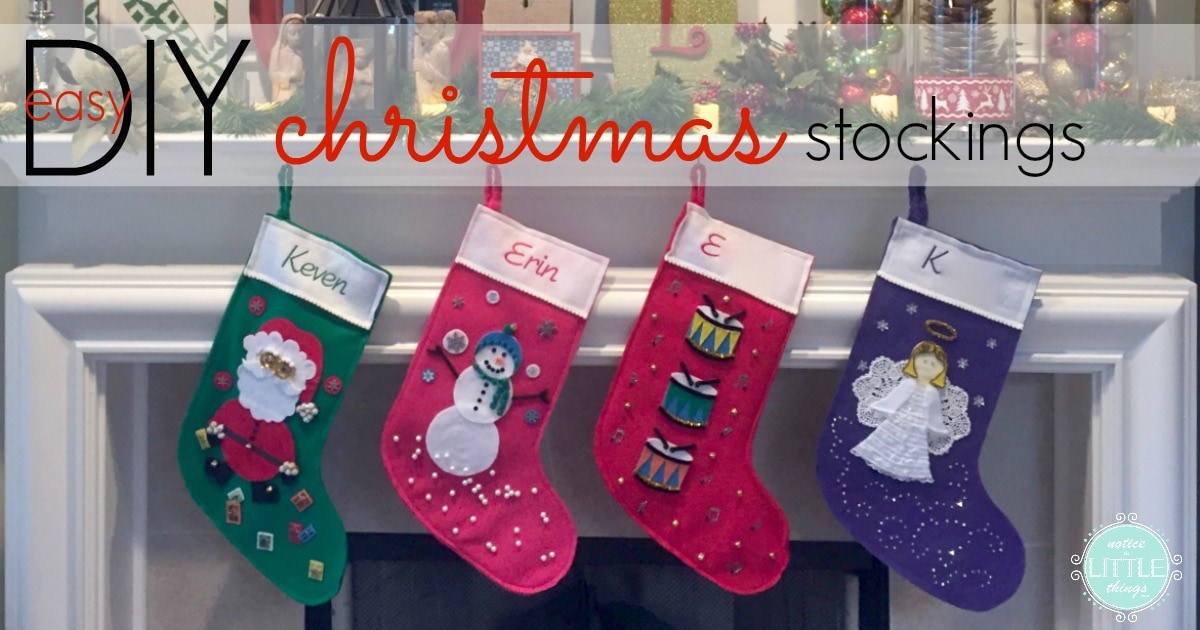
:: keven :: keven wanted santa on his, just like he remembered on his dad’s growing up. since santa is red, his stocking would be green.
:: me :: i like snowmen and that also seemed like easy construction. my favorite color is pink and i didn’t see why mine couldn’t be pink, christmas color or not.
E :: he was really into music and instruments. being that my husband is a musician, i figured this interest would probably stand the test of time, so i decided on drummer boy drums. much easier than the entire drummer boy. since keven’s was green, i went with red for E. {K wasn’t born yet, more on hers at the end…}
{step 2}
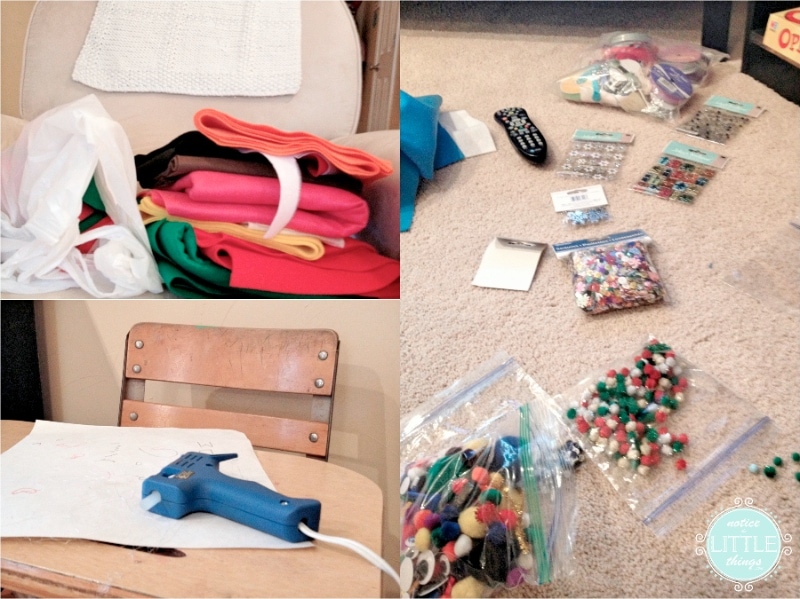
take a trip to your nearest craft store. here was my list ::
:: felt :: green, pink, red, and white. a yard and a half for each stocking will give you plenty, with scraps left over for the front designs. i realized, after i was finished, that you can buy felt squares {12” x 12”} which are also an option for use on the front designs.
:: embellishments :: i wanted to make the front of each stocking as fun as possible, playing on each family member’s stocking theme – presents for santa, snowflakes for the snowwoman, and music notes for the drums. this part was fun. i found most of these embellishments in the scrapbooking section. i bought stickers, faux pearls, pipe cleaners, sequins, googly eyes, and small gold bells. choosing my embellishments actually took a lot of browsing because i didn’t know what i wanted beforehand. if you know what you want, it will save you some time.
:: thread :: i bought thread to match the green, pink, and red felt i was using for the stockings. i bought white thread because i wanted each stocking trimmed in white. if you are going to to use hot glue, forego the thread and stock up on glue sticks.
:: trim :: i pictured trimming the top white felt with something cute. i landed on a lace-like ribbon with tiny dangling puff balls. i purchased it in the ribbon section by the yard. i bought 12” per stocking and factored in some extra for future stockings for future kiddos.
:: hot glue :: it’s probably obvious by my initial lack of a sewing machine but i knew hot glue was going to play a large role {probably larger than my shiny new machine} in the workings of this project. i already had a gun but needed refill glue.
{step 3}
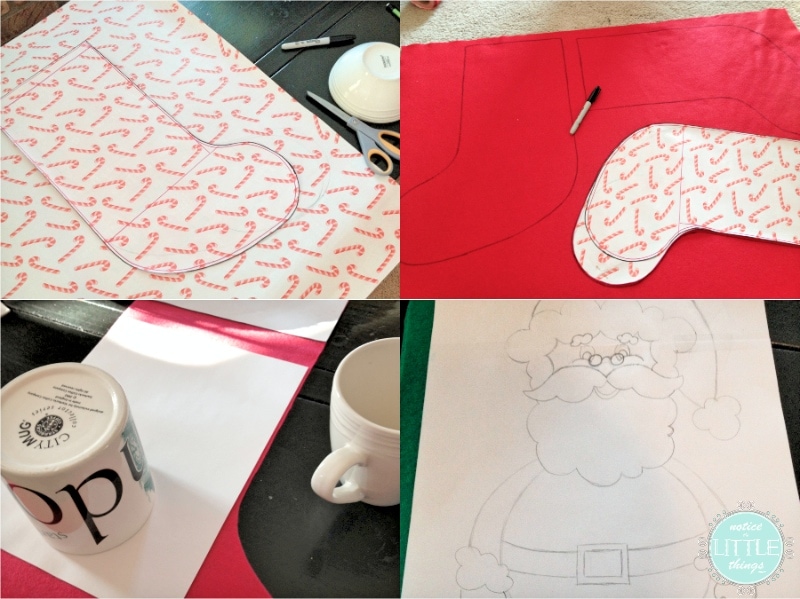
create a pattern for your stocking. i wanted the stockings to be big enough to hold decent sized stuffers but not block the fire in the fireplace. i also researched which way they should point because i couldn’t remember {they point right}. i drew my stocking pattern on christmas wrapping paper. it took a couple tries to get it right.
i decided each stocking needed to have three layers for my vision to work – a top layer with the design, glued to two bottom layers that made up the open stocking. with this in mind, i pinned my pattern 3 times to each felt color, traced around with black permanent marker, and cut carefully along the line.
if you are strictly gluing, you can get away with just two layers and less work. since i was sewing, i added a layer because i didn’t want my LITTLE ones coming across loose threads from the top layer when they reached in the stocking.
{step 4}
find someone to embroider the names. i did a simple google search to find someone in my area. i brought my white felt, cut to size, to an in-home embroidery business and picked out the thread colors and font at her house. turn around time was about a week.
{step 5}
begin construction. usually something goes wrong when i attempt a project like this. i sew something backwards. i get to step 4 and realize i needed to do something differently in step 2. in my excitement to get done, my attention to detail tends to wane toward the end. knowing this, i try to tackle the most difficult tasks in the beginning of any DIY project. here were my steps for construction ::
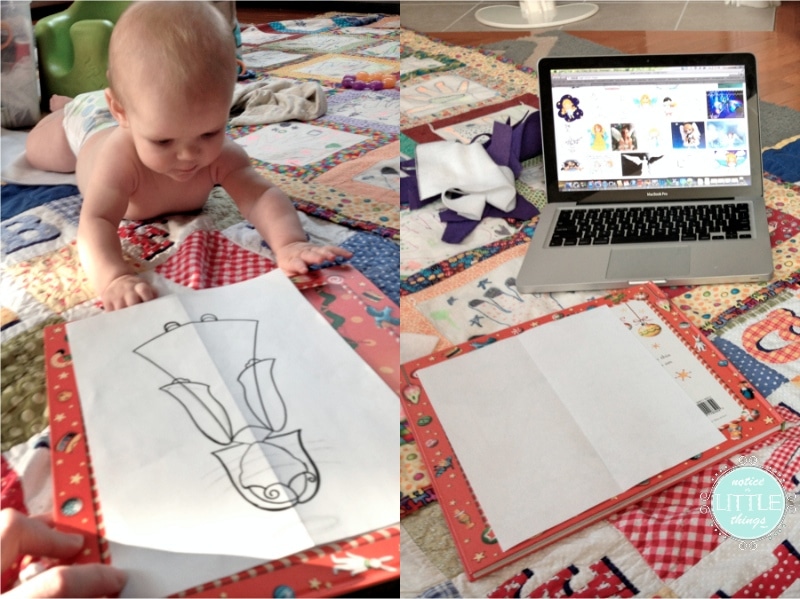
{1} design/find your front images :: i googled pictures of santa, snowmen, and drums to help guide my sketches. if you don’t like to draw, you can print images straight from google to trace. {if you’re interested in my patterns, leave a comment and i will get you a copy.}
i traced each full image {santa, snowwoman and drums} onto a piece of felt to create a backing. then i made photocopies of each sketch so i could cut out the individual pieces {head, beard, hat, scarf, triangles, circles, etc.} to make smaller patterns. each small piece was traced on the correct color felt and carefully glued on the correct backing to create each image. i added the embellishments at the very end.
{2} stitching on the front :: {skip this part if you are strictly gluing} after the images were securely glued to the front stocking piece, i finally introduced the sewing machine. i wanted the front of the stocking to look like it was stitched onto the rest of the stocking, even though it would just be glued {secret’s out}.i stitched around the edge of the front stocking piece in a matching color thread, about ¼ inch in from the edge. i referred to the manual often.
{3} names :: i used the sewing machine again for this step. i stitched the white section with each name embroidered to the front piece above my image. i trimmed the white section with the white ribbon with hot glue.
{4} finally, the stocking part of the stockings. i pinned my remaning two felt pieces together {from step 3}, started at the top, and stitched all the way around the outer edge {about ¼ inch in} in a matching thread color.
{5} stocking hook :: i kind of forgot about this part until the end. i cut thin strips of matching felt {about 7 inches long} and braided them for each stocking. i stitched the ends of the braid together with my sewing machine and then stitched the braid in a loop fashion on the inside back panel of each stocking. you can also use glue for this part.
{6} the finished product :: finally, with the front piece designed and the two remaining pieces stitched into a stocking, i glued the front piece onto the stocking.
{step 6}
hang the stockings by the chimney with care.

this is a picture of the fireplace in our rented house. i have to admit, i sat on the couch and admired my work for awhile. {and sometimes i still do this, four years later.} i often have DIY visions i do not carry past my imagination and i was proud i got this one done before christmas.
two years after i created the initial three stockings, i followed the same steps to construct one for new baby K in purple, with an angel. again, layers were key with the image. the surrounding sparkles took me forever to glue. but the result was just what i pictured.
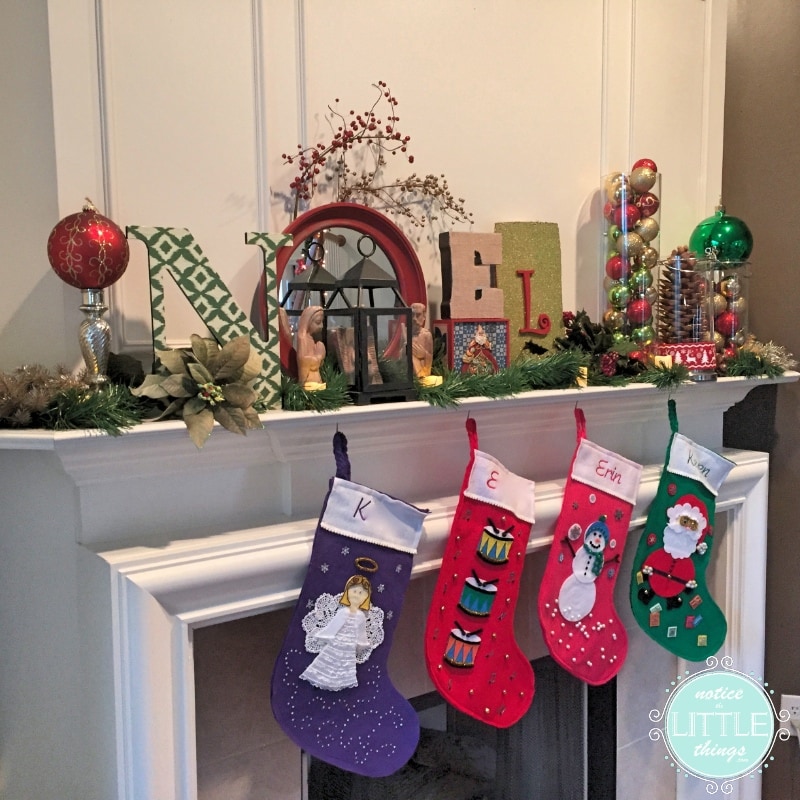
now all four hang on the mantel in our forever home – waiting for santa to fill on christmas morning. E always asks why i chose each image and i like to explain the story and the process behind the designs. the kids play with them, pretending it’s christmas morning over and over in the weeks leading up to the actual day. someday, when my kids are all grown up, i pray these stockings are filled with the happy christmas memories we are creating with them today.
![]()
{want to save this idea for later? click the red save box on the image below to pin this post. or follow notice the LITTLE things on pinterest here.}