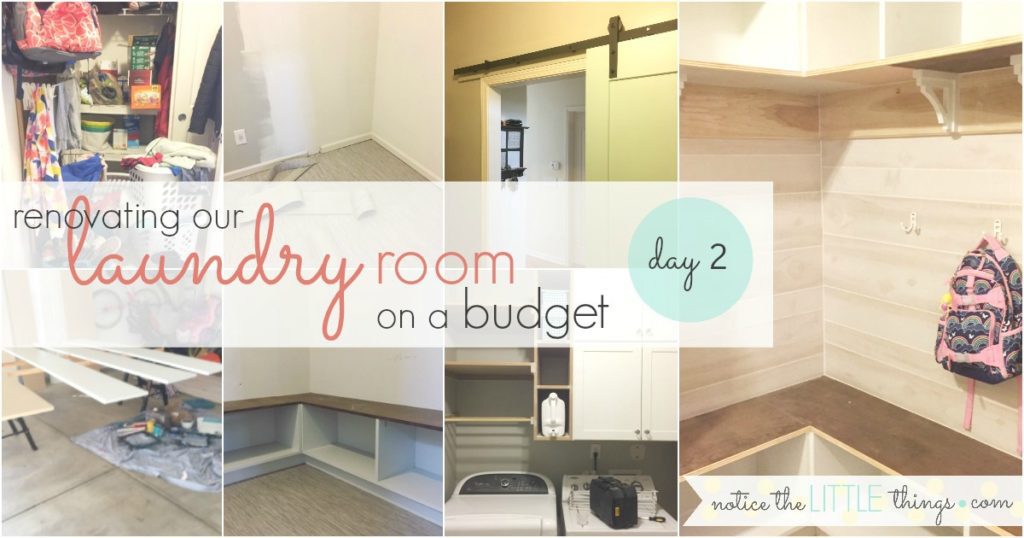
we are in the midst of my office {i mean laundry room} renovation. i have been dreaming up designs and solutions for this space for three years {see my last post on budget-friendly laundry room renovation, day 1}. but i never thought i’d see the day or the budget to turn my ideas into a reality. so i should be really really excited, right? but do you want the truth?
i am nervous about this! it was so much easier to dream up ideas in my head. making actual decisions about design, colors, and materials is so much different. it is more pressure than i imagined. how do people build whole houses?
to help with this pressure, i went shopping by myself today to wrap my head around materials and prices. this might make it sound like i knew what i was doing. don’t be fooled. when it came to researching today for this project, i was intimidated. but i learned from refinishing our tables that knowing exactly what i want ahead of time saves money.
when finalizing a design, it is easy to feel like you are out of your element and just go along with someone else’s suggestions. but doing your own research first saves money. then you can avoid saying yes to something that might be more expensive just because you don’t know your less expensive options. plus, i’ve never met an employee of our nearby home improvement store who wasn’t more than happy to share tips and offer help for all of my questions. no matter how uneducated they may sound! one of my favorite questions is, is there anything cheaper?
and that brings me to…
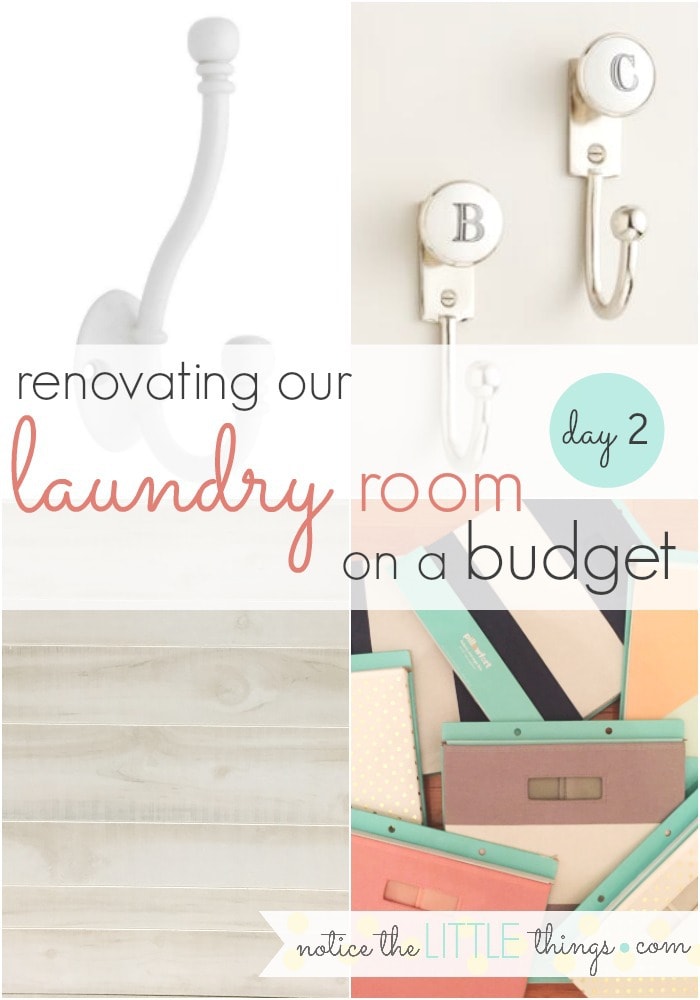
budget-friendly laundry room renovation
day 2
day 2 tasks
{1} finalize storage solutions {bins and crates} to design the built-ins and bench around
{2} determine best prices {for wood, cabinets, hooks, shiplap, door}
day 2 {task 1}
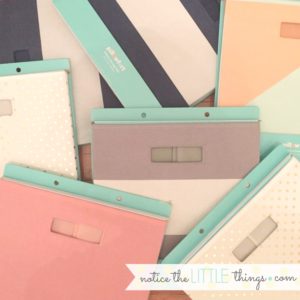
storage bins. back in december when i started looking into this renovation, i researched storage bins. i wanted to find something that was always in stores, not something i could buy now but never replace later. if i was going to plan built-ins around a specific storage solution, i wanted to know i could always find it in stores. you know i love homegoods but things i find there are rarely ever found again.
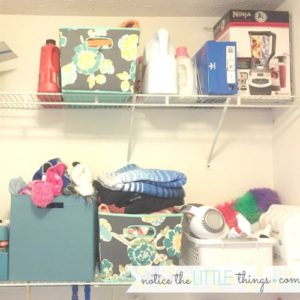
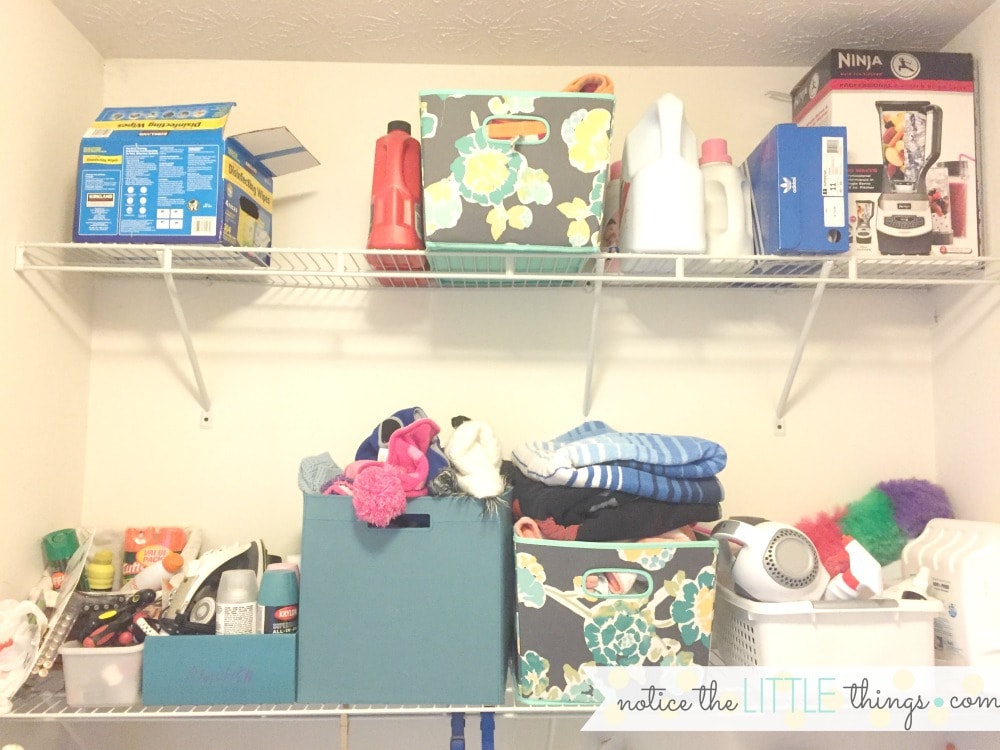
see that aqua square storage bin above on the left that’s almost hidden by the mess? i bought that two years ago, and they still have them in various patterns at target. it is the perfect size. when i looked them up online, they were having a sale.
i bought many of them, in all different colors. i knew i would eventually return half, but i wanted options. today, i ordered a few more, in aqua, of course.
day 2 {task 2}
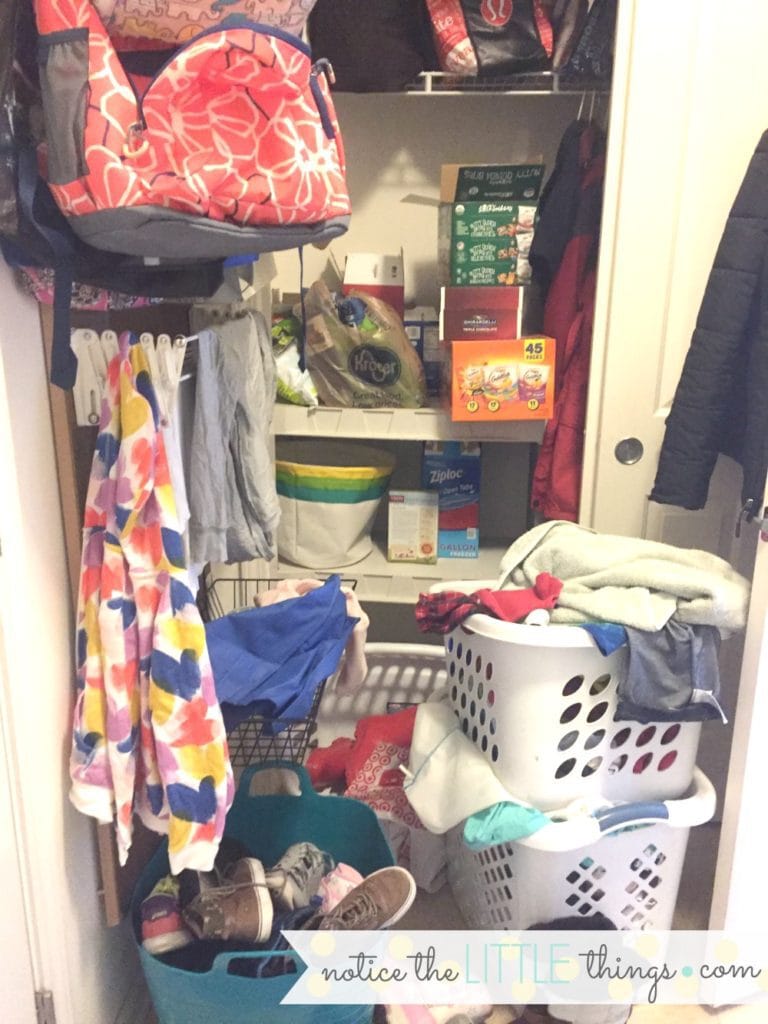
determine where i can get the best prices. just to refresh your memory, THIS was the state of my laundry room. once the closet is knocked out {can you even FIND the closet in this picture?}, my plan is to build a bench with storage underneath for shoes. above the bench will be hooks for jackets and backpacks. above the hooks will be built-ins for storage.
THIS is what it looked like above the washer and dryer. sigh. i know. i tried to make things look better with cute bins but cute bins can only help so much. my plans for this wall include cabinets and open shelving. also hopefully somewhere to hang wet clothes to dry.
finally, if you remember, we had too many doors in this small space. my hope is to replace the door to the house with a sliding barn-like door.
with these plans in mind, i set aside time today to go to the home improvement store by myself. yes. i was nervous. yes. i felt out of my element. but i gave myself plenty of time with the goal of asking questions and finding the most cost-effective materials. here was my list ::
- wood for built-ins {at least 13.5 inches wide because that is the size of my target bins}
- sliding door and track
- cabinets
- hooks
- shiplap {or something similar}
wood for built-ins :: recently, my sister had a bench built in her kitchen and she used MDF {medium-density fibereboard}. it is an engineered wood product, i.e. much cheaper than actual wood but still very durable and not cheap looking when painted. it is easy to paint and comes in large sheets.
i looked into this today and it was the cheapest option for our needs. i know my bench and built-ins will need to be at least 13.5″ wide {because the target bins are 13″ square}. most wood planks only come 11.75″ wide. after that, you have to buy larger sheets and cut them down. whitewood, at lowes, is usually my wood of choice. it is a blend of woods and very cost effective. we used it for our kitchen and coffee tables. but it doesn’t come in larger sheets. so MDF it is.
i’d like all the built-ins to be white, but i’d like the bench to be stained a darker color. since you can’t stain MDF, i will have to splurge. i decided on maple. {maple is $50 a sheet, as opposed to $30 for MDF}.
sliding door and track :: adam told me the door i choose needs to be a solid wood core. i saw today you can buy a kit that includes a solid wood door and track. i was shocked at the price. if i remember correctly, it was $299 on sale.
determined to find a cheaper option, i looked through the solid core custom doors and then the solid core single doors in stock at the store. i finally found this one for a steal compared to others {and i also loved this one because it comes in many colors, but i only wanted one panel}.
after finding the door, i had to find a track. these options were also very expensive. too expensive for me. when i got home, i researched other stores and found this one for half the price of the ones i saw today. planning ahead saves money! the door plus the track cost me about $230.
cabinets :: whoa. i had no idea cabinets were so expensive. after seeing the prices, i decided to go with all open shelving above my washer and dryer. when i told adam {our friend in charge of this project}, he showed me some white cabinets he’d just taken out of a showroom. he offered to sell them to me for $100, which is crazy cheap. i know. i got lucky on this one. it will happen to you too somewhere in your renovation process too. my best advice is to ask your builder or one of the guys in the lumber department at your local store if they have any tips on where to purchase cheaper cabinets. or just go with open shelving.
adam removed one of the cabinet doors for me. i will take it back to the store and match it for paint for the rest of the built-ins. painting is another area where i will save money. i want all the built-ins to be white. adam said he would charge at least $500 more to paint. i decided to do the painting myself to save money. since there are so many whites to choose from at the paint store, getting them to match the white of the cabinets is the best solution for me. you can get this done, free of charge, wherever you buy your paint.
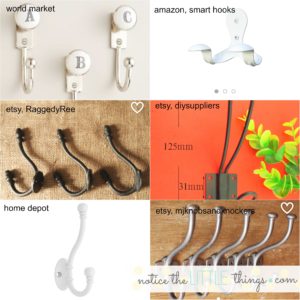
hooks :: i struck out on hooks today. there was really only one option in white in the size i wanted and there was nothing special about it. not that our hooks need to be special, but i want to at least like them. i’d like to find some from somewhere local so i can see them. when i got home, i did some research on etsy and amazon to get a better idea of what i want.
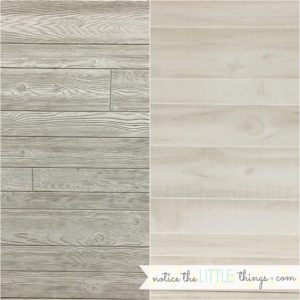
shiplap :: i, like the rest of the world it seems, am obsessed with fixer upper. and as a result, shiplap. real shiplap is labor intensive. and not exactly in my budget. in my search for something that looks like shiplap {but doesn’t cost as much as the real deal} i found these sheets of paneling. guess how much? $14.99 per sheet! i know. it kind of looks like the paneling from your parents’ old basement. ha! but i liked the one on the right a lot, and with that whitewash and turned horizontally…ta da! shiplap! i am willing to take the risk and try it out for behind our hooks. fingers crossed the laundry room doesn’t turn out looking like 1982.
today, i figure i saved about $200 by deciding on the MDF, $70 on the door and track, $250 on the cabinets, $500 on painting, and about $200 on the fake shiplap. that’s $1,220! add that to the $1,850 i saved on day 1 and that’s a total savings of $3,070 already! {want to catch up on our budget-friendly laundry room renovation from day 1? click here. interested in what happens next? click here.}
interested in reading more at notice the LITTLE things?
come along in noticing 10 LITTLE things in every kind of day and join in more organizing, diy, and parenting adventures. click here to subscribe. you’ll receive access to my favorite FREE printables.
{want to save this idea for later? click the red save box on the image below to pin this post. or follow notice the LITTLE things on pinterest here.}
