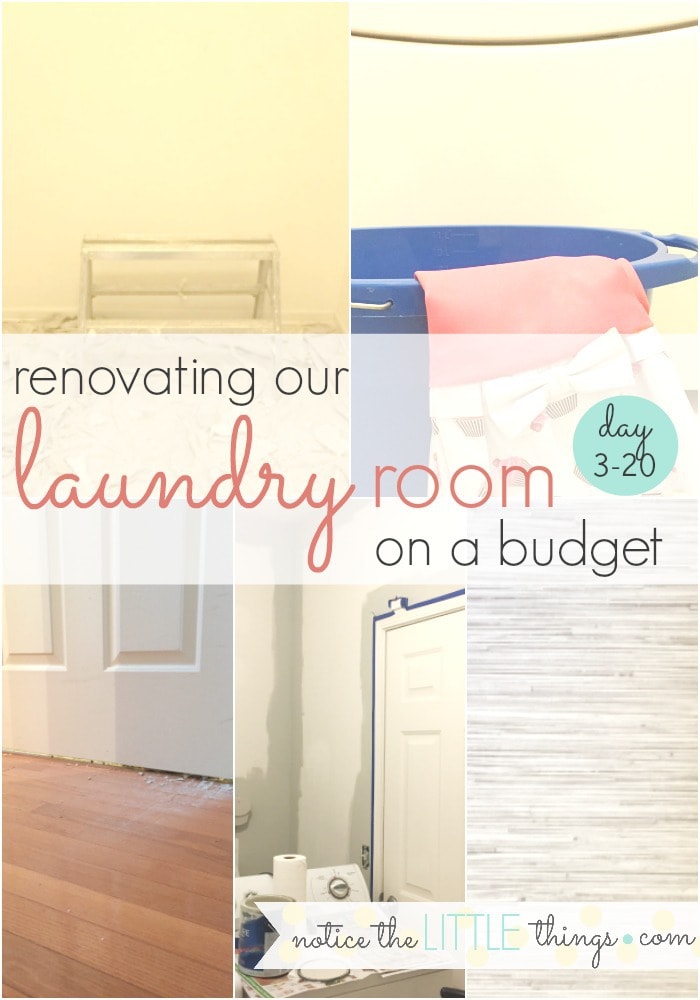
it’s a mess around here. i mean, it’s always a bit of a mess. but now it’s really a mess. day 1 and day 2 of our budget-friendly laundry room renovation are in the books. now, we’ve added drywall dust to the list of other things laying around {like breakfast dishes, doll clothes, lego pieces, and pillows}. as is the case for so many diy projects, this laundry room renovation is going to get worse before it gets better. but the better is going to be so great!
budget-friendly laundry room renovation
day 3-6
day 3 tasks
{1} drywall demo and patching
day 4-5 tasks
{1} clean up
{2} painting
day 6 tasks
{1} choosing the floor {and saving a lot with our choice!}
day 7-20 tasks
{1} finalizing my design vision
{2} a whole lot of waiting
day 3 {task 1}
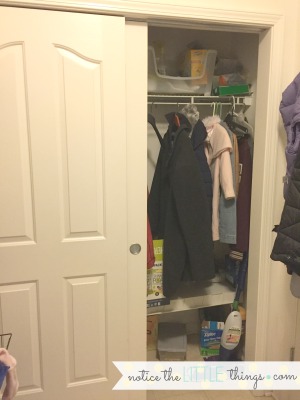
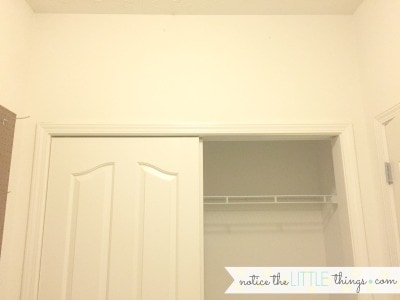
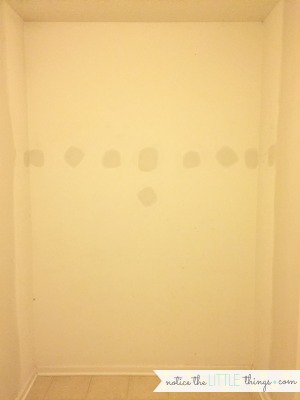
drywall demo and patching. this was the closet in our laundry room. {please excuse the bad photography. my laundry room lighting makes everything look yellow.} in theory, a closet in the laundry room is a good idea. but ours was nowhere near our front door, so hanging coats here never actually happened. besides, 3 and 5-year olds don’t hang coats on hangers, especially ones they can’t reach. add to that the eternal piles of laundry in front of these sliding doors and two other doors opening into this space. this closet never had a chance.
before demo, we made sure the closet wall was not load bearing. either way, we could remove it, but the expense would vary. adding a header for support when a wall is load bearing would have been a little more than we planned for, budget-wise. to figure out if a wall is load bearing, you can refer to the plans for your house or call your builder. if you have a neighborhood fb page, you could also ask there if there are homes similar to yours in the neighborhood. our closet wall was not load bearing. yay.
if you remember from day 1, the initial quote we received for drywall demo and patching was $1,100. i could not wrap my head around that number. i called our realtor for more recommendations. the new quote came in at $250! i asked him at least eleven times to repeat that. then i asked him for a quote to paint the ceiling after patching. i was dreading this job. i don’t have a long roller and i was just picturing splatters of paint, raining down on my head as i rolled. i try hard enough to cover up these grays without adding extra from a paint can. he said he’d paint for me for $80. i said sold.
the drywall team arrived this morning. they helped pull out the anchors and shelf i couldn’t get down on day 1 and patched the holes for me as well. it never hurts to ask, or to add an extra $20 to the final payment for nice favors like this.
i got to be hands off for this part of the reno, which was kind of nice. every so often, i peeked in to see the progress. no more closet = happy dance.
day 4-5 {task 1}
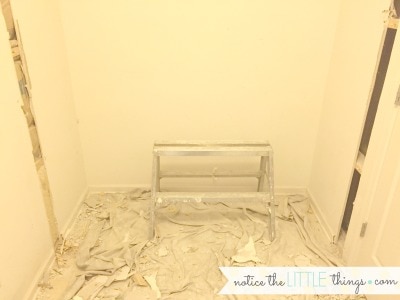
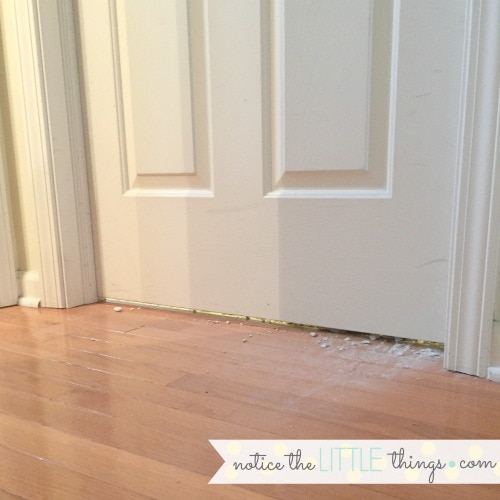
clean up. drywall demo is not a tidy task. the team covered what they could and vacuumed before they left but still. dust everywhere.
today was not pretty and i was not looking forward to it. but at least i had these cute gloves from my mother-in-law to make me smile. i spent the better part of the morning, wiping down walls and baseboards with warm water. also our washer and dryer {which made them look like new and made me wonder why i don’t wipe them down more often}. the best part was not having to clean the floor. it was yuck. one benefit of ordering a new one.
day 4-5 {task 2}
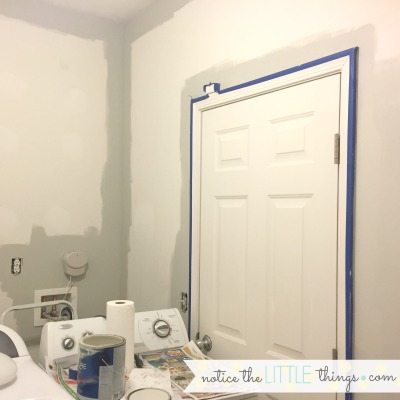
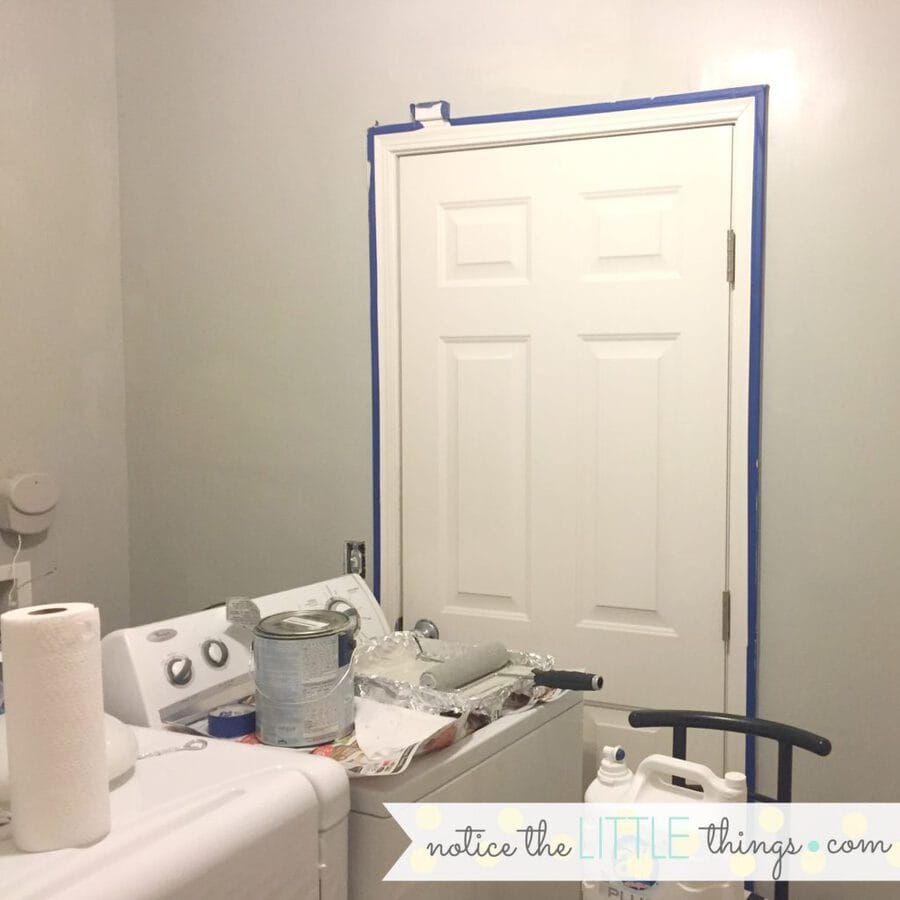
painting. after the walls dried, it was time to paint. never painted before? me neither! at least, not a wall. but i was determined to save money. our painters charge $140 plus paint to do a room. that’s a lot to save by doing it myself. i had a leftover gallon of valspar signature paint plus primer in sherwin williams repose gray from when we painted our 4th bedroom. sure, it would have been nice to pick a brand new color. but this saved $35. and i like gray. if you’re a first timer as well, here are the supplies i gathered to paint:
- a step ladder
- one gallon of valspar signature paint plus primer in repose gray {from lowes}
- paint stirrers and paint can opener {you can use a flathead screwdriver for opening the can too}
- painters tape
- two 2″ angled brushes
- two rollers
- a rolling tray {and foil because i forgot to buy liners. buy liners! foil was not fun}
- tupperware container for smaller amounts of paint when edging
- newspaper
- paper towels {wet and dry}
the first thing i did was tape off the baseboards and doorways. i did not tape off the ceiling, though if you have a flat ceiling this might work. our ceilings are a textured pattern that is not my favorite. i will never scrape them but i will always wish we could.
after i taped, it was time to edge where the ceiling meets the wall. until this point, i really, truly thought i had painted a room before. i’ve painted so many random things in my diy life, i thought for sure i’d painted a room. but as soon as i stood on that step ladder, paint on my brush, staring at that really straight line i needed to copy, it occurred to me that i’ve never actually edged before. but there i was. no turning back. i remembered {i think from my dad} that i wanted the angled top of my paint brush parallel with the ceiling as i moved along the edge {not perpendicular as you might think}. this helped. once i got going, i only accidentally got paint on the ceiling three times. i consider that a win.
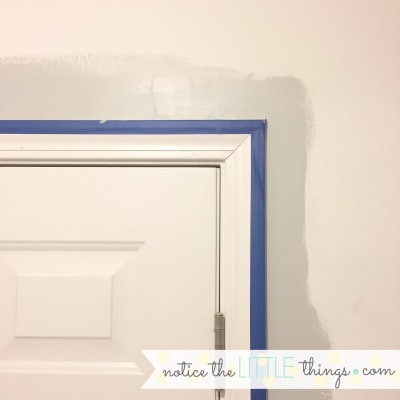
after the ceiling, i used my brush to edge around the doors and along the baseboards, putting all my faith in the blue painters tape i used to tape these off.
with the hard part done, i poured paint into my foil-lined tray and started to roll in the middle. this part was easy. i did the second coat the next morning. you don’t need to edge a second coat, just roll as close to the edges again as possible, so the second day of painting was a breeze. i did it while the kids were eating breakfast and then called it a day.
day 6 {task 1}
flooring. i had hoped we could keep our old floor. it’s not that i liked it, it was linoleum {i think}! but it was neutral and i wanted to save money. unfortunately, the closet framing cut into the floor so when the closet was removed, so were portions of the floor.
first i considered tile or laminate. i admire instagram and pinterest pictures everyday with beautiful, wood and tile floors. i asked adam, our friend helping with this project, for a rough tile estimate. he said minimum $650. yikes. when it comes to wood, i often complain about our basketball-court colored wood floors in the rest of the house. now, don’t get me wrong. i am thankful for our wood floors and i mostly like them. just sometimes i feel like i am living in a gym. but you know one good thing about basketball-court colored floors? they are really hard to match to other wood laminate colors. so wood or anything resembling wood as a floor option for the laundry room was out. and tile was sounding out too.
i had to face the reality that vinyl flooring was probably the most budget-friendly option for us. i asked the guy who did our basement carpet if he could bring samples that at least looked like maybe they weren’t cheap. or from my grandma’s kitchen. yes, this meant vinyl. i was a little worried about what my options might be.
i am not going to lie. upon first glance, i was not impressed with any of the vinyl. some of it was honestly pretty bad. if you aren’t familiar, vinyl comes in one big sheet of whatever pattern you choose. you can buy it in various thicknesses. it is easy to install and cheap, but sometimes looks like the kitchen floor in the house where you grew up that has since been redone twice.
i passed by this sample at least six times before i thought, well, maybe. it was the right colors and went well with our orange hard wood just outside the door. but i was having trouble picturing a whole sheet of it, totally uninterrupted. i asked my husband for help but he is really better at seeing the vision after things are already in and installed. what finally sold me was the $170 price tag. that included the product and installation. i figured that was $480 saved from the tile quote. the one downfall was the two-week waiting period for ordering and delivering. two-weeks is a long time to wait with a half-usable laundry room.
day 7 {task 1}
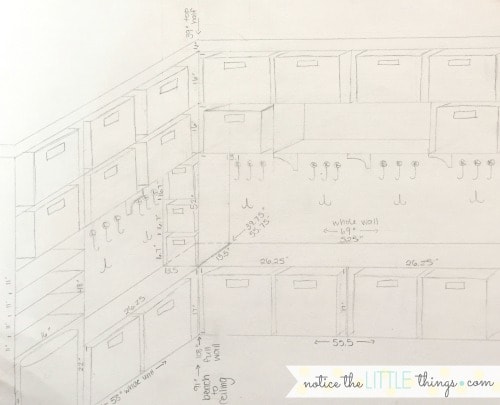
design. this was the fun part for me. also the hard part. to finally put all of my ideas down on paper {fun} and make the most use of every ounce of space {a little bit stressful}. measurements are not my strong point but i had to be mindful of my space. i knew i would be working around the square bins i bought at target. i also knew when adam actually started building i would need to be flexible on some things. flexible is not really my strong point. i’m working on it.
this step is where i determined my non negotiables. my number one must have was four bins under a bench along the main wall. one for each family member for our shoes. also at least two hooks for each family member above his/her bin. my friend sara suggested a second set of lower hooks so the kids could reach more easily and helped me find storage in places i didn’t see. she’s super good at ideas. {my friend sara also made a bench and hooks without demo-ing her laundry room closet. to see pictures of this even more budget-friendly laundry room, click here.}
this first design took me awhile. so long, that when it came to designing the space above the washer and dryer, i wasn’t quite as detail oriented…
i figured i’d be a LITTLE more flexible with this part of the design, since i wouldn’t be with the first part. my only non negotable for this side was a place to fit my laundry detergent that i could reach and that wasn’t inside a cabinet. also space for hanging wet clothes to dry. i drew this in 30 seconds when i realized i still hadn’t told adam what i wanted here. luckily, he usually gets me.
day 7 {task 2}
waiting. for the floor. which gave me time to calculate that i’d saved an additional $140 on painting, $35 on paint, and $480 on the floor. that brings us to a total savings of $3,725 for days 1-20 of our budget-friendly laundry room renovation. yay! {want to catch up on our budget-friendly laundry room renovation from day 1? click here. interested in what happens next? click here.}
interested in reading more at notice the LITTLE things?
join in noticing 10 LITTLE things in every kind of day and come along on new diy, parenting, and organizing adventures. click here to subscribe and receive access to my favorite FREE printables.
{want to save this idea for later? click the red save box on the image below to pin this post. or follow notice the LITTLE things on pinterest here.}
