do you dream of a shiny new table and chairs with no marks or dents? are you the second or third owner of a hand-me-down table? maybe you’re trying to find room in the budget for a new one? if you answered yes to any of these, i can relate.
we were in the same boat about a year ago. both our kitchen and our coffee tables are hand-me-downs from my parents. and when i say from my parents, i mean from when they got married. so these tables are almost 40 years old! about 12 years ago, before i moved to florida, i refinished my parents’ old tables. black and distressed was the style.
they moved with me to florida to my apartment, to my townhouse, to my apartment over a garage, to my townhouse with keven, and then all the way back to indiana to our rented house. finally, they landed in our forever home. by this time, they had been drawn on, glued on, covered with sparkles, banged on with forks, you get the picture. the tables seemed indestructible. until they weren’t. about a year ago, it always looked like i needed to wipe them, even if i just had. with no money in the budget for two new tables, i did some research to find some ideas for bringing them back to life.
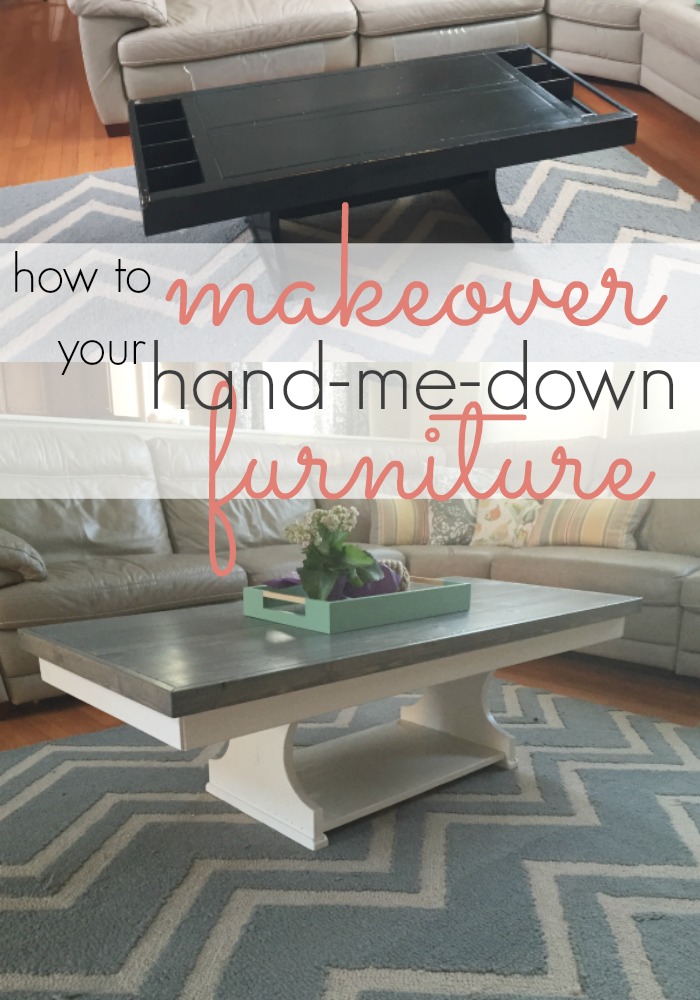
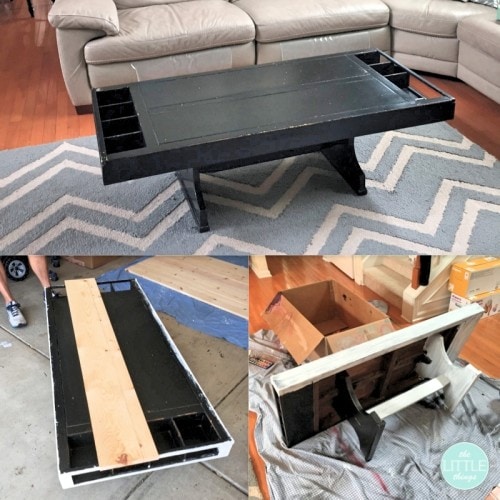
here’s how the coffee table started. the bottom of the table is engraved with my maiden name and my parents’ wedding date. it was actually a wedding present for my parents. a new table really wouldn’t have been the same. you can see the picture, it was pretty shabby with no chic to speak of. i knew if i could somehow refinish the top, it would make a world of difference. and if we were refinishing tables, why not do the kitchen table at the same time?
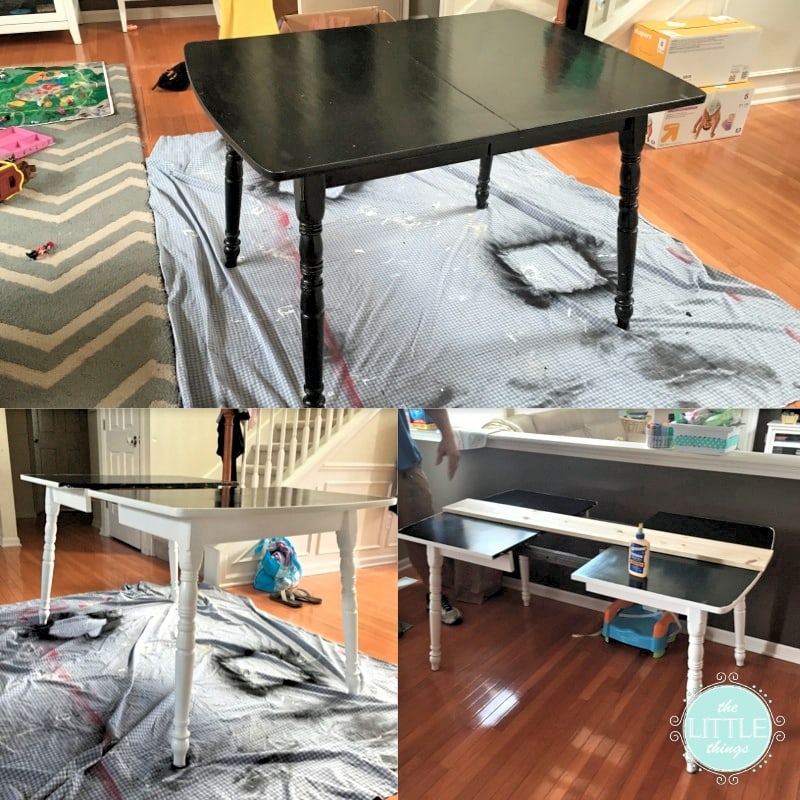
enter our friend adam, our go-to handyman and former neighbor. i needed someone with the right tools. i texted him my ideas and he was on board with the design. i kept reminding him that i only had a diy budget to work with. my first job was to prime and paint the bottom of the table white. this was pretty straightforward and did not require much skill, just patience. i used rust-oleum bulls eye 1-2-3 white water-based primer sealer.* for the white, i used a latex satin finish paint plus primer that i found at lowes. to seal everything, i always use minwax satin polycrylic protective finishes
.*
my second job was to shop for wood. usually adam does this but i wanted to see if i could tackle the responsibility this time. it was actually more overwhelming than i imagined, but that’s because i am a perfectionist and a first timer. most people could breeze through this step. i stood in lowes comparing wood and prices sandlot style (for-ev-er). i eventually decided on the “chipper chicken,” as in the cheapest wood in the aisle, the whitewood. i doubted my frugality but i am so pleased with my decision. it’s been over a year since i did the tables and they look as good as new. we wipe food, marker, spilled milk and everything else that goes along with kids right off with no problem.
while i was sanding, painting, and spending money, adam’s job was to use the wood to construct new table tops and secure them to my old ones. yes, i just had him glue and nail them directly to the tops of my old tables. easy peasy. we considered going an more labor intensive route but in the end, it just wasn’t worth it. i knew i could achieve what i wanted by just nailing to the existing tops. i also had him add a shelf on the bottom of the coffee table so i could add a basket for more storage. more storage is always a LITTLE thing around here.
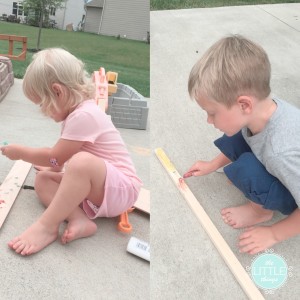
as always i had my helpers. i do all my projects right in the thick of parenting. the kiddos are used to it by now but i try to make it fun for everyone. thank goodness we got a shipment of diapers in a huge box the day i started to prime. some watercolors and space on my drop cloth were all they needed to put their creative juices to work on the box. and here they are using glitter on scraps of leftover wood on the back porch while i sanded nearby.
my next job was to sand and stain the new table top. i tested out the rust-oleum ultimate wood stain in weathered gray* on our diy mantel decor a few months beforehand. then i used my neighbor’s black & decker random orbit sander
*
on the top and edges of each table. adam had secured the tops with wood glue and pin nails so i filled the pin nail dents with stainable wood filler {similar found at this link on amazon}.* when that was dry, i used a brush to apply a stain primer. i used some old rags to apply two coats of rustoleum weathered gray stain. honestly, i could not believe the results. this was only the second time i’ve stained something and it was surprisingly easy and fast. as you can see, i did this right in the middle of our family room. this was probably not my first choice of spaces but it was dark outside and i was on a roll, so i took the party inside. it was smelly, so i wouldn’t say i recommend this, but we aren’t picky about workspaces around here. sometimes it is just a matter of getting done.
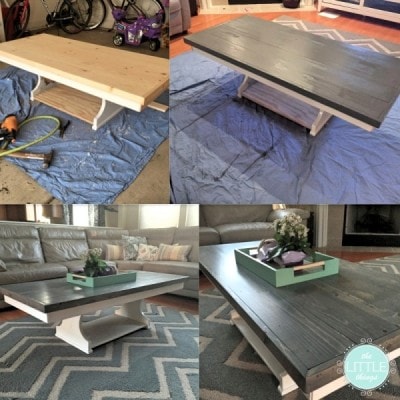
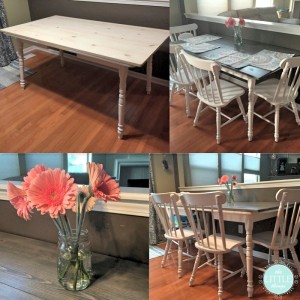
to say that we are happy with the results is an understatement. i cannot believe these are the same tables. truth be told, if i never have to paint another chair spindle i will not be sad but every time i look at my new old tables, i know it was worth it. cue the cheesy music. that’s how it always feels when a project is done, right?
one of the best parts about our new kitchen table is that we were able to extend it it’s full length, even though i lost the leaf in one of my moves {oops.} adam was able to create a top to cover the extended table and now we can all fit at the table at the same time. and have room for guests. would you like to come for dinner?
K and i treated ourselves to some flowers for the tables the day the project was complete. because look at these tables! i cannot believe the transformation. hand-me-down furniture all prettied up!
*affiliate links used
interested in reading more at notice the LITTLE things?
join in noticing 10 LITTLE things in every kind of day and come along on new diy, parenting, and organizing adventures. click here to subscribe and receive access to my favorite FREE printables.
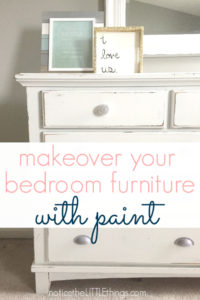
{want to save this idea for later? click the red save box on the image below to pin this post. or follow notice the LITTLE things on pinterest here.}





I LOVE that they were your parents! They look beautiful!