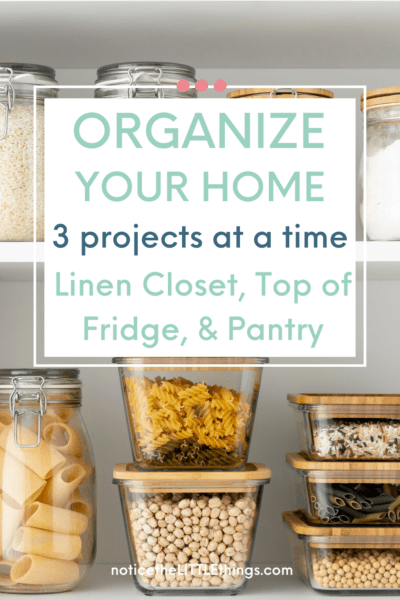
it is impossible to have your whole house clean and organized at once. with kids underfoot, it can even feel impossible to have just two rooms in order at once. the clutter and things left out are a constant battle. in this post, learn how to feel better about your WHOLE HOUSE by organizing just 3 things at a time. we’ll start by organizing your linen closet, organizing the top of the fridge, and organizing the kitchen pantry (and you can check the end of this post for more posts to help you organize other common household areas!).
i’m going to be honest, the only time every room in our house is presentable is when are having overnight company. every other day, if i am working to organize one space, you can be sure my kids are wreaking havoc in another. case in point, as i folded laundry the other night, my youngest happily dumped a gallon bag of tiny legos all over the stairs.
my soul loves order and my brain thrives with less clutter, but like you i live in real life where there are always too many things to do and five people living under one roof.
so for those of us who like a clean, clutter-free house we’re often left asking ourselves:
- how do i begin to organize my house?
- how do i organize my house with a lot of stuff?
- what are the steps to follow to organize my house?
- what’s the fastest way to organize a whole house?

how to organize your whole house
there are so many times that i look around the house and wish i could wave a magic wand and have the whole house organized at once. the real life truth is, that doesn’t happen in real life. but it is possible to chip away at your longer house to-do list – 3 projects at a time – and make some real, satisfying progress!
the thing about a long home project to do list is, it can feel really overwhelming. impossible even. however, individually, most projects are pretty doable. and here’s the real magic – one finished project usually leads to momentum, which makes it easy to complete another project.
the secret to feeling like a more organized mom
i kind of stumbled on this “organize in 3’s” method by accident. as is so common, i had an impossibly long to do list that made me feel defeated before i even started. so i chose 3 projects. in choosing just three, and easily accomplishing them in a week, i discovered the secret to staying sane. organizing in 3’s!
three projects checked off the to-do list will allow your mom brain to rest for a few months, walking by your finished area and feeling accomplished every time. then when you’re feeling up to it again, you can do three more. this strategy is manageable from both a time and budget standpoint.
so let’s talk sanity-saving projects for busy moms. pull up a chair, give your mom-brain a break, and allow me to share how i organized our linen closet, organizing the top of the fridge, and organizing the kitchen pantry.
FREE PRINTABLE
first, i want to give you access to this FREE Printable 5 Steps to Organize Any Space. i created it to remind myself that ANY project can be accomplished in just five steps. even the super overwhelming projects.
as i make my way through my own home, one to-do list item at a time, i’ve determined these 5 steps to be the easiest and fastest way to organize any space. they are the exact steps i used in each of the organization ideas listed below. this printable makes projects feel more manageable. every. single. time.
any time you can complete something hard, and free up time to do more of what you love, it’s a LITTLE thing! you can grab your copy of the 5 steps to organize any space cheat sheet right here as part of the popular Free Grateful Home Starter Kit.
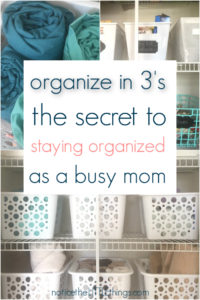
{1} organize your linen closet
let’s start with the linen closet {or wherever you keep you sheets and towels}. i thought this was going to be a really big job. i also thought it was going to be expensive. so i kept putting it off.
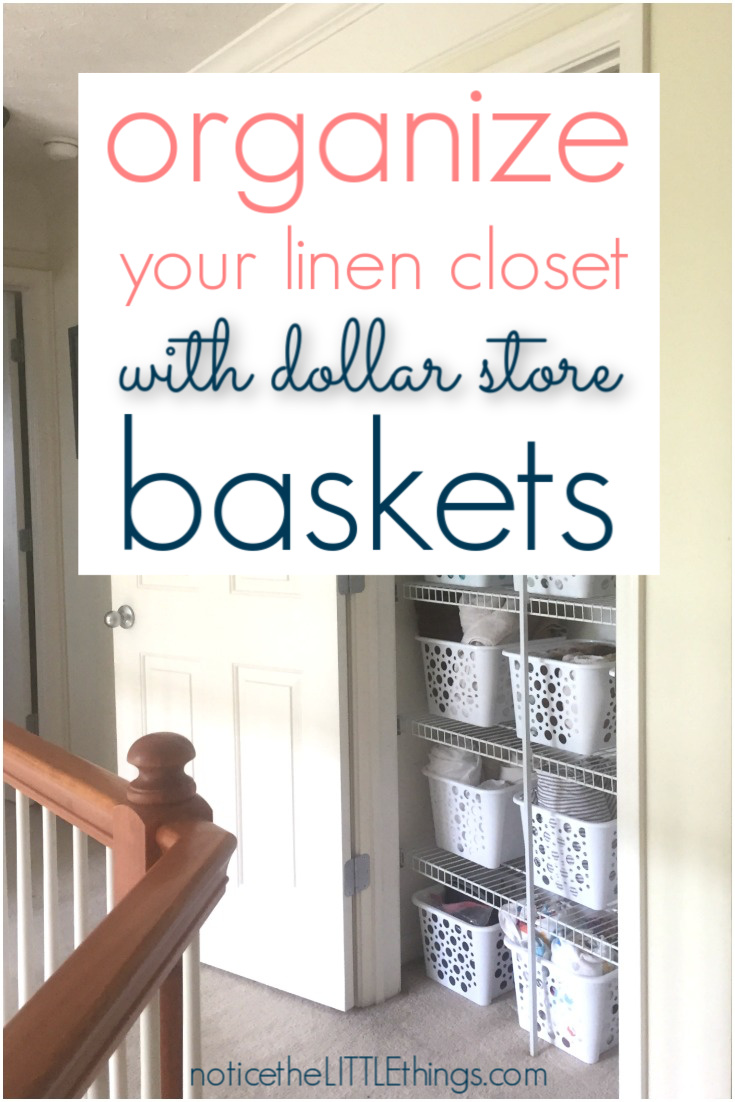
the reality is, i organized this linen closet in one night after the kids went to bed. it took about an hour and a half. to be fair, i had already purchased 12 white plastic baskets at the dollar store. i also had some containers i pulled from other areas of my house. the hardest part of this linen closet makeover was getting started. i always think things will take longer than they do.
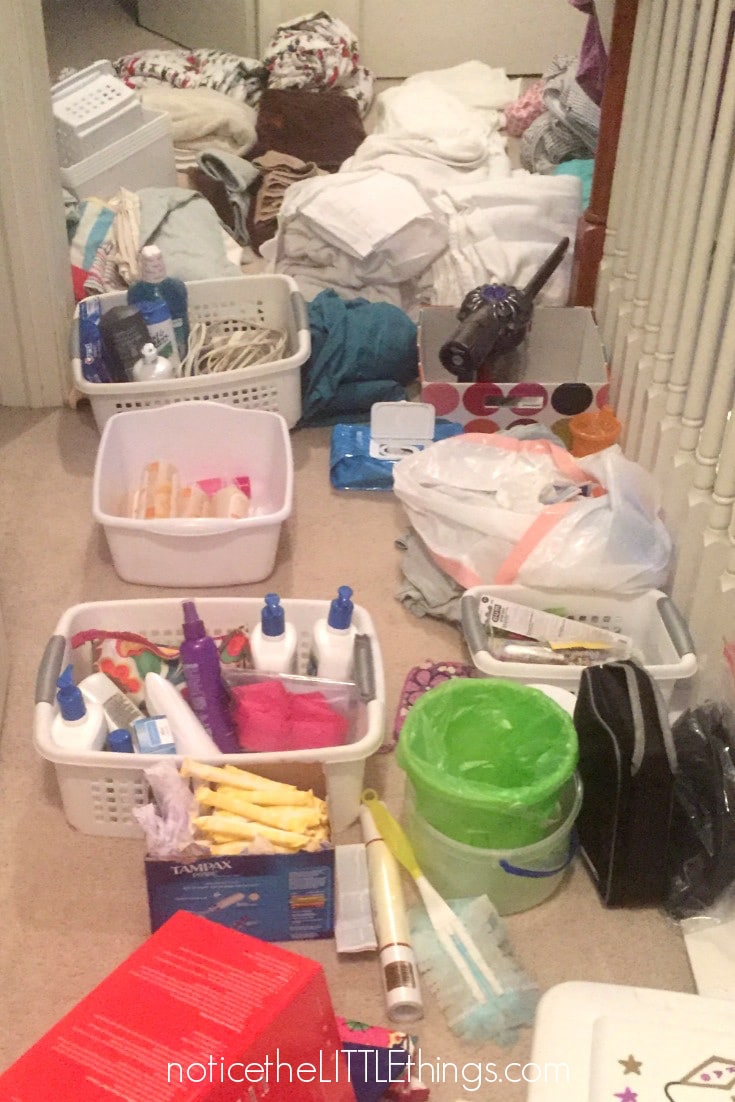
as always, the first step is to pull everything out. absolutely everything. even that thing way back in the corner that you don’t know what to do with. yes, even that thing {and you should probably just get rid of it}. the more thorough you are, the less likely you will have to organize the same space again any time soon. i always keep a trash bag and a donation box next to me as i work.
i combined step one with step two of organizing any space. step two is to group like things together. having your 5 steps printable right next to you, and following the same steps every time, can help you save time. you will learn to combine steps.
as i pulled things out of the closet, i grouped them in piles – towels, wash cloths, winter sheets {grouped by size}, summer sheets {grouped by size}, toiletries {his, hers, and kids}, and medicine to name a few categories.
step three is to make a plan based on the things you pulled out. how do you want to put things back? what storage is necessary? what will you donate? what will work for YOUR SPACE! it is so important to pick something because it works, not because it is pretty. there are lots of pretty organization pictures out there, but if it is not a system your family will use, don’t put it in place. you will find yourself organizing all over again in a month.
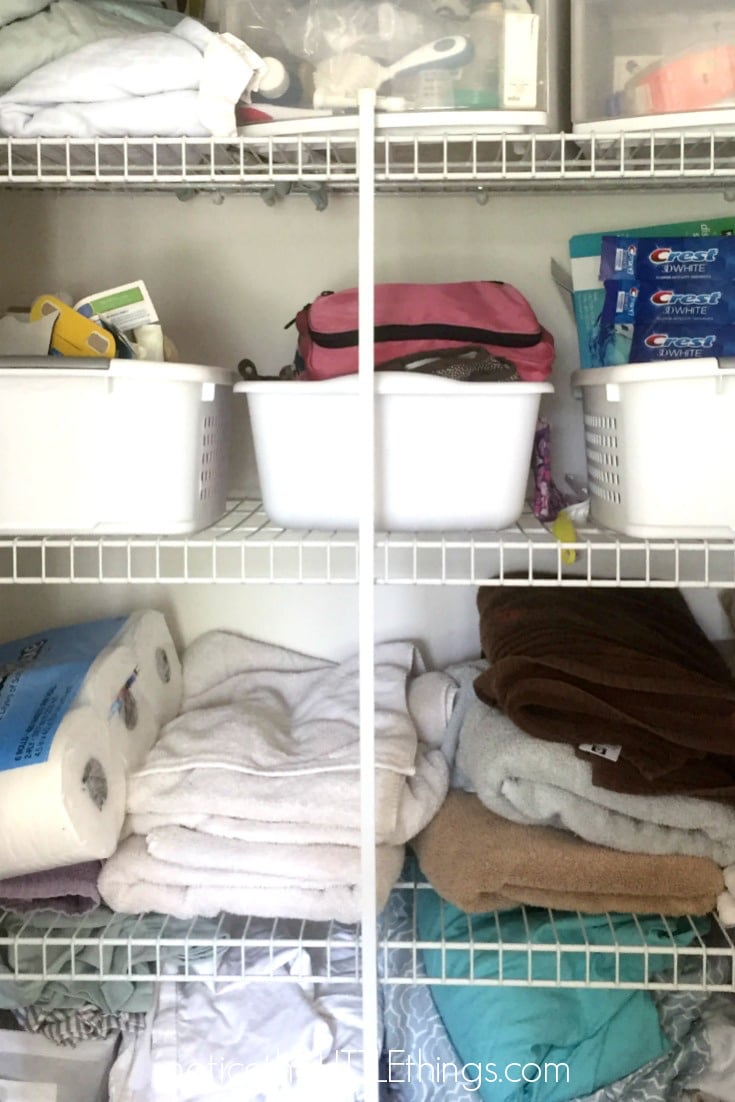
in this closet, i was tired of staring at sheets that weren’t folded well and towels that were falling out because someone grabbed the bottom one and then ran off. sometimes organization means hiding things that aren’t pretty. i envisioned white baskets, because white makes me happy and i wanted a clean look.
my plan always includes donating items we no longer use. i actually LOVE getting rid of things. for example, we had WAY too many pillow cases. really, we only need the pillowcases that are on our beds, plus maybe a few extras in case of guests. that’s it! why did i have so many pillow cases? it was easy to determine what was trash. some things were relocated to under the kids’ bathroom sink.
step four is to buy your supplies. you can do this before you start a project if you know your plan. otherwise, it helps to get everything out and see what you have before you buy the necessary organization tools.
i was going to splurge at homegoods but the dollar store happens to be next door to homegoods, where i live, so i tried there first. amazingly, they had lots of white baskets, all in the same style. i bought 12.
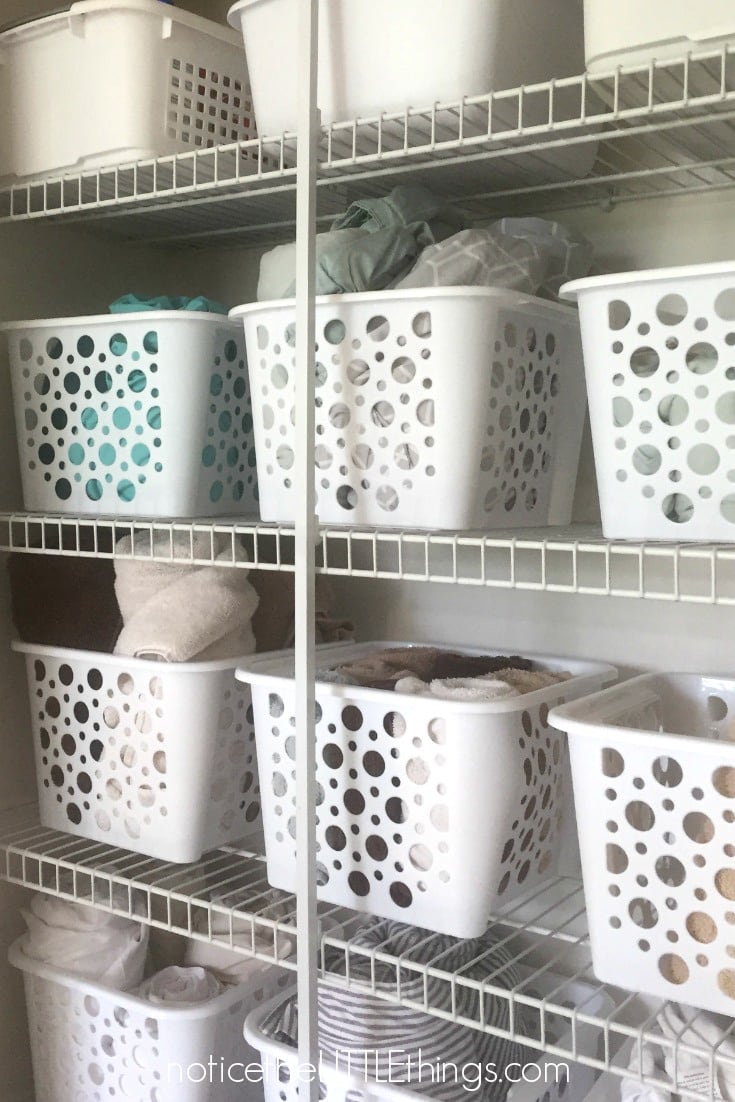
step five is the fun part. putting things back. i love this part, like i am joanna gaines. i arrange things, stand back to look, change them around a bit. the trick is to look at your progress, not the piles you still need to put back. keep your eyes on the progress!
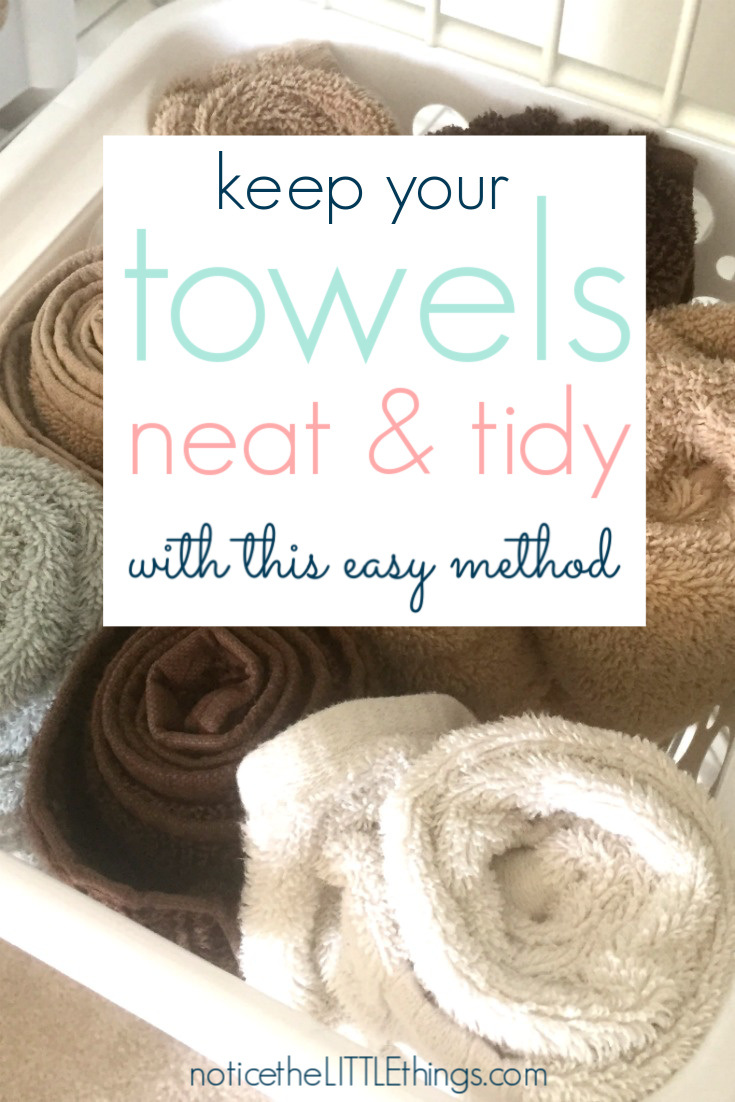
like so many, i loved marie kondo’s netflix series on organization. i agree with her methods wholeheartedly. i tried to do her tri-fold trick in these baskets but ultimately, rolling things gave me the most space. it is also SO MUCH EASIER than folding. why did i wait so long to roll my fitted sheets???
i have to say that step five also sometimes also makes me want to run away. once everything is back in place, i always have a few random things left over that i am just not sure what to do with. or i don’t feel like taking the donations out to the garage. you have to push through this part and finish the job. it always feels better later to just make decisions about those final things and get them put in their proper place. you got this.

{2} organize the top of your refrigerator
growing up, we kept cereal on the top of our fridge. i can picture it – kix, honey bunches of oats, quaker oat squares, and trix for the weekends. if you have cabinets that encase your fridge, this suggestion won’t work for that space but can work for an area of counter that always seems messy. if you’re like me, that open space on top of the fridge is just too appealing to keep it clear, but i still wanted it to look nice.
i used the same 5 steps as above on the organized linen closet – everything out, group like things together, make a plan for each of the things you removed, buy your supplies, and put everything back.

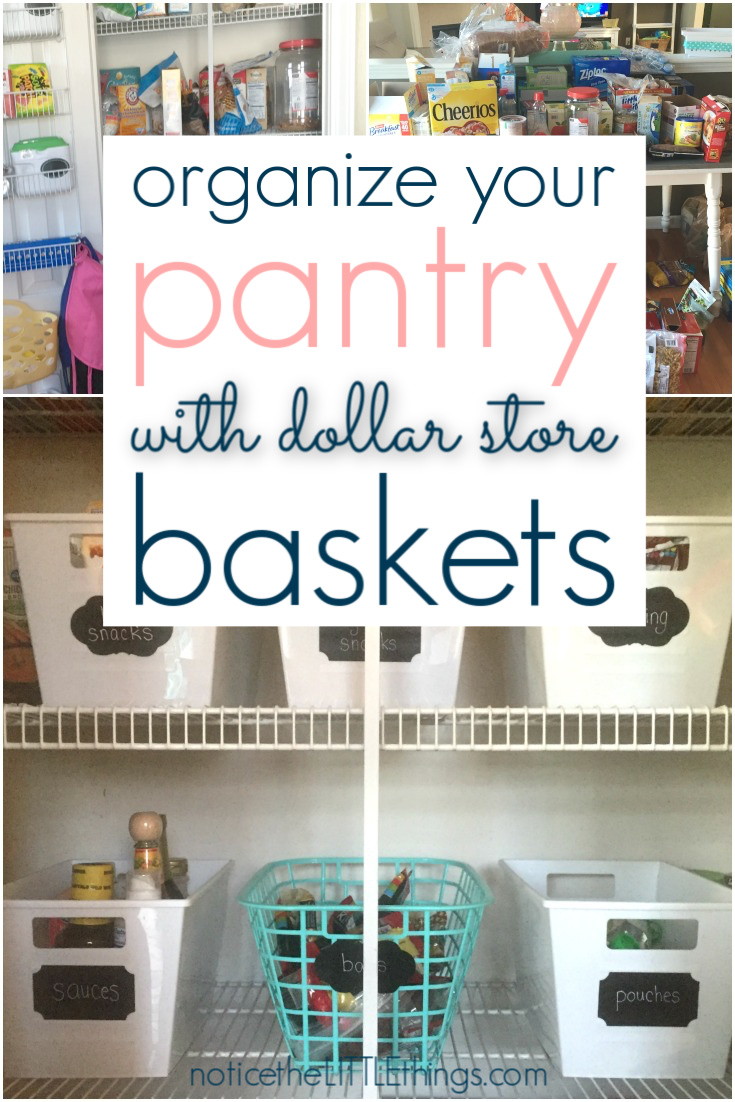
it took me awhile to find the perfect baskets for this space. when i finally spied these at homegoods, i knew they were exactly the size i needed. and you can’t go wrong with built-in chalkboard labels!
this project was easy. the worst part was wiping down the top of my fridge. all that dust! when i organize in 3’s, i always try to give myself one easy project to look forward to. small gains are great motivation.
{3} organize your pantry.
my pantry was another story. if you are going to organize your pantry, be prepared to take a LITTLE bit more time. it is worth it though, because you probably open your pantry 18,000 times a day. any time i can get something in order that we use all the time, it FREES UP SO MUCH MENTAL SPACE!
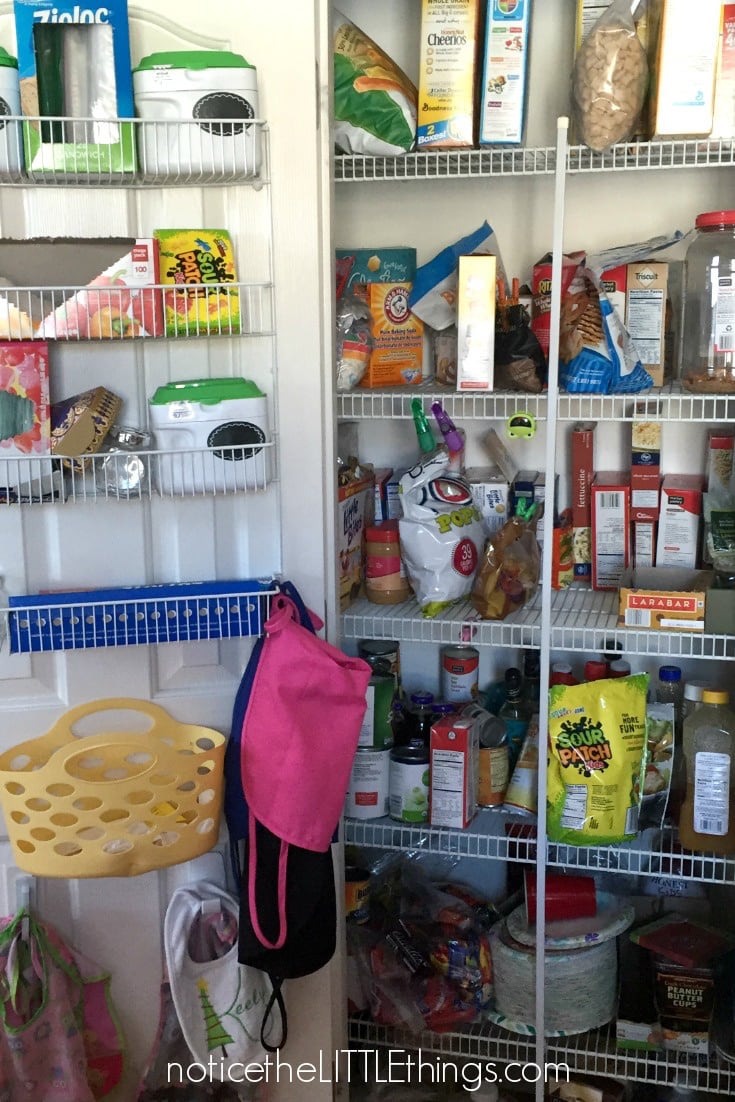
i followed the same 5 steps to get this space in order. step one was a lot. i am not going to pretend taking ALL of this stuff out was fun. it was tiring. keeping my eyes on the end goal – the fact that organizing my pantry would save me so much time from day to day – was key for this project.
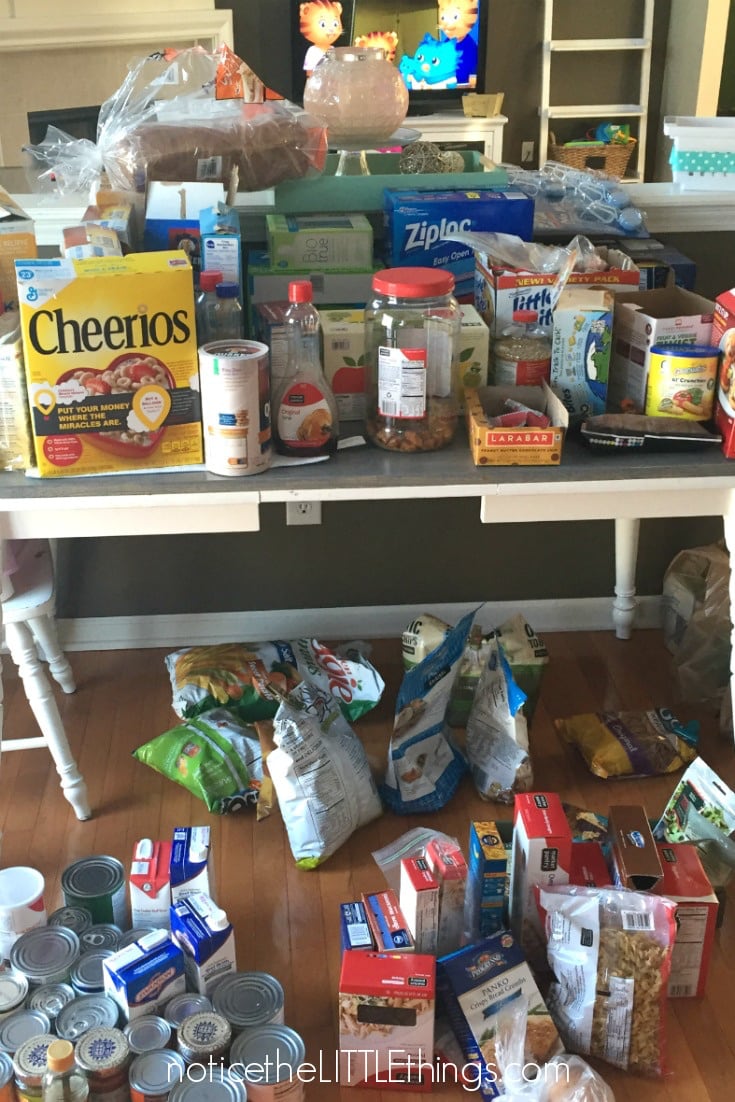
making categories was also tricky. in the end, i decided to group food either by type of product or by who eats it. for example, i put all the pasta together and all the boxed crackers together.
then i put all the baby snacks together and all the big kid snacks together. this is especially helpful in our house because we have two kiddos who cannot have dairy. having safe items all in one place makes it easier for babysitters.
after my categories, i went to the dollar store. i would LOVE to buy my supplies at IKEA or the container store, but it’s just not always in the budget. i do not always like dollar store colors, but i always like dollar store prices. putting cute, inexpensive labels on dollar store containers ups the cute factor a bit.
i first organized this pantry about 2 years ago. it stayed organized for two whole years with minimal upkeep! i am posting about it now because this week, i replaced the blue and orange dollar store containers for white dollar store containers.
this is one of my best money-saving tips. sometimes, i use dollar store products to organize a space at first. there is a lot to buy when you first organize an area. as time passes, if i see something new on sale or in a better color, i update my organization. this is one way you can make organizing affordable.
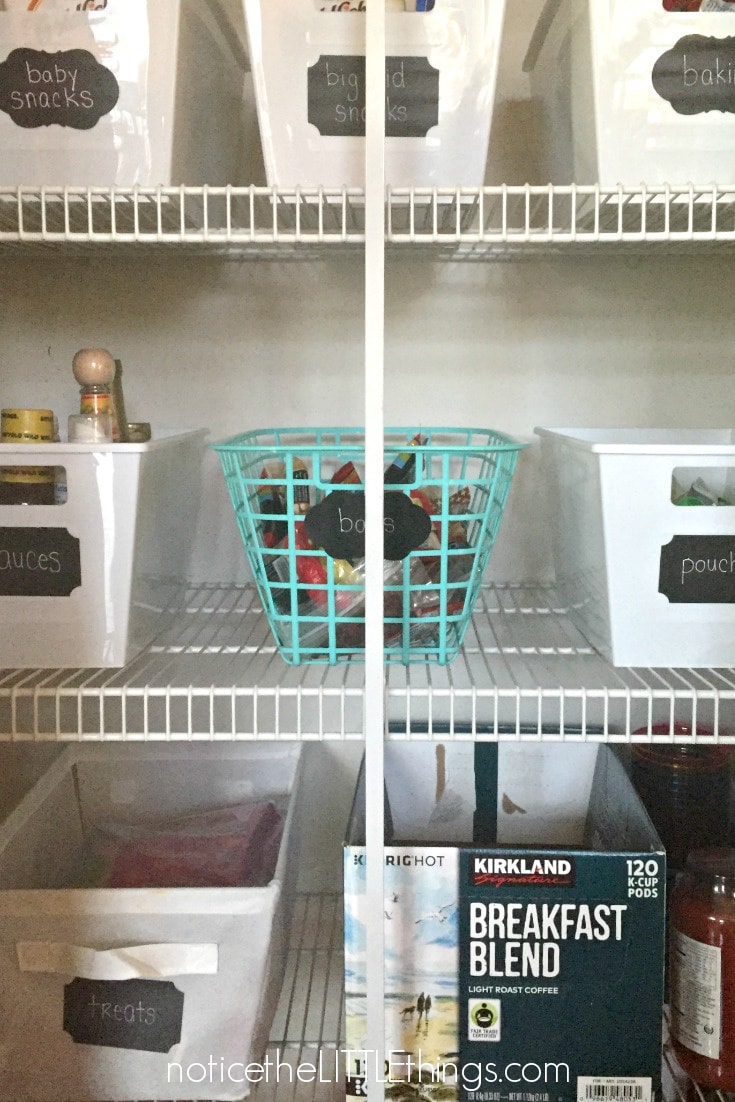
putting things away is always so satisfying. this week, when i replaced my baskets with white ones, i added fun labels. my husband even commented on how much he preferred the white. the labels help other people in my family keep things in the right place. without baskets and labels, i am usually the only one who pays attention to organization around here!
organize in 3’s. friend, THIS is the secret for moms everywhere! right now as i type, our playroom has toys everywhere, there are summer clothes to be unpacked upstairs in every room, and breakfast is still out in the kitchen. BUT my pantry, linen closet, and top of the fridge look GOOD.
that alone is enough to make me feel on top of things for the next couple months! what three projects will you choose?
for more organizing ideas for your busy mom life, head to this post on 3 things to organize to feel better about your whole house.
OTHER MUST-READ POSTS:
- Organize Your Home 3 Projects at a Time: Tupperware, Junk Drawer, & Freezer
- The Fastest Way to Clean Any Room
- 3 Steps to Start Organizing Your Family’s Paper Clutter
- Why it’s Important for Kids to Help Out Around the House
![]()
{want to save this idea for later? click the red save box on the image below to pin this post. or follow notice the LITTLE things on pinterest here.}
