hey kev, what do you want for christmas?
i thought maybe my husband might mention a new shirt, something from amazon, a yeti mug. something i could easily buy and wrap in the hustle and bustle before christmas. not that my husband’s gift doesn’t deserve some heart and soul. it does. his requests are just usually pretty simple.
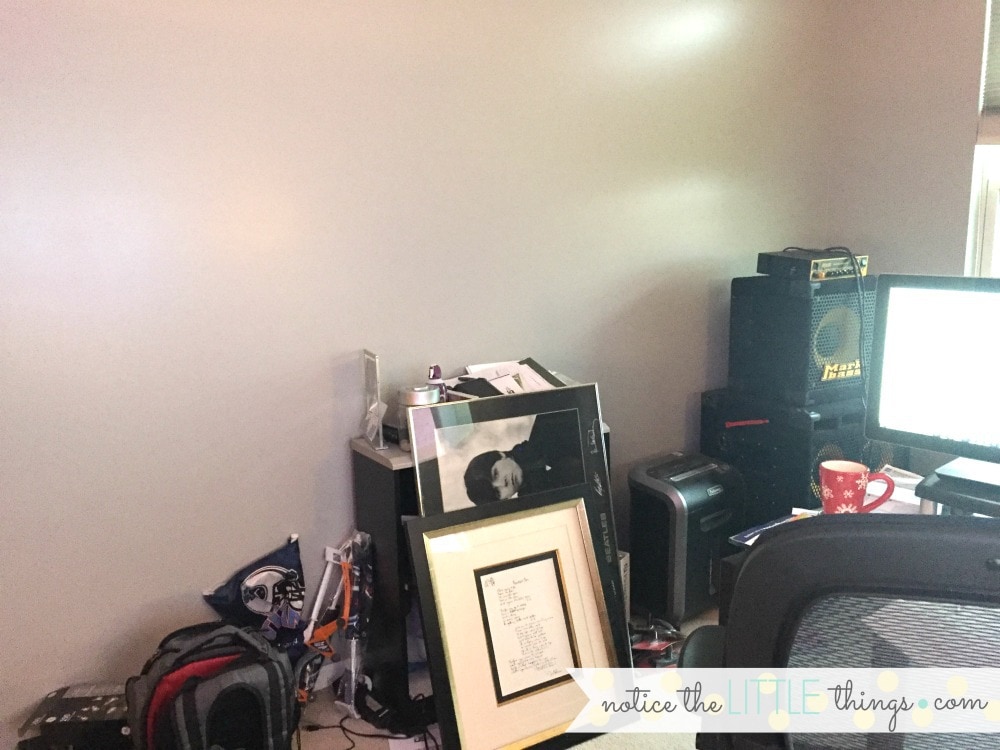
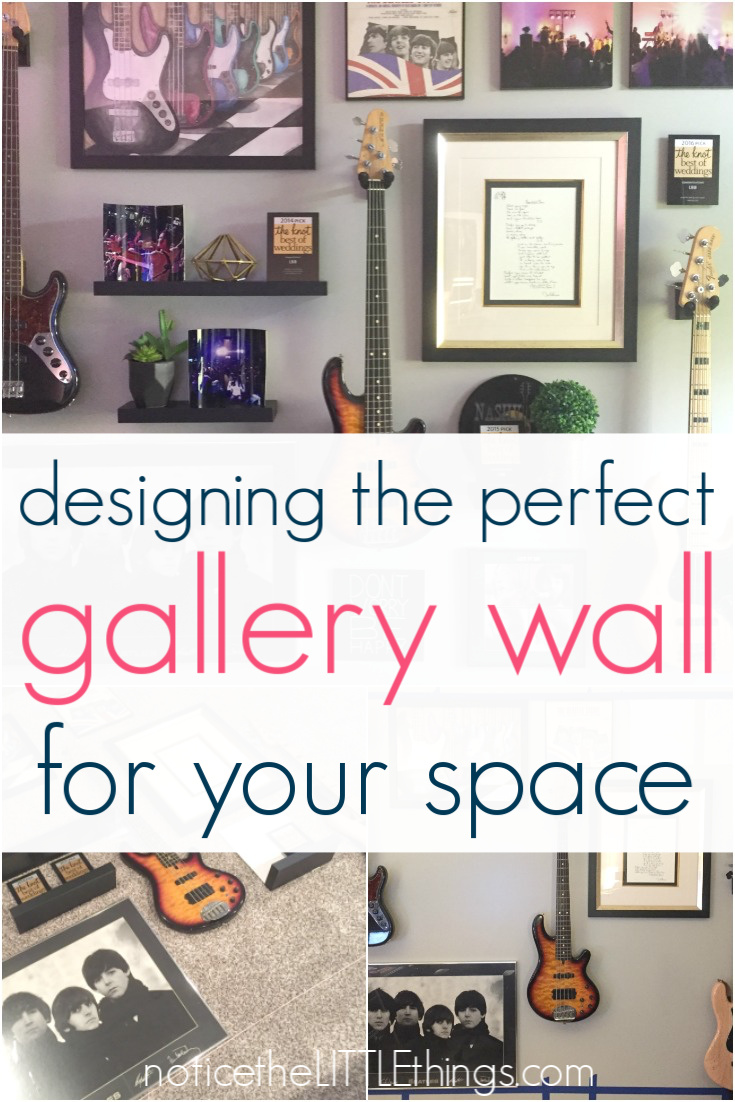
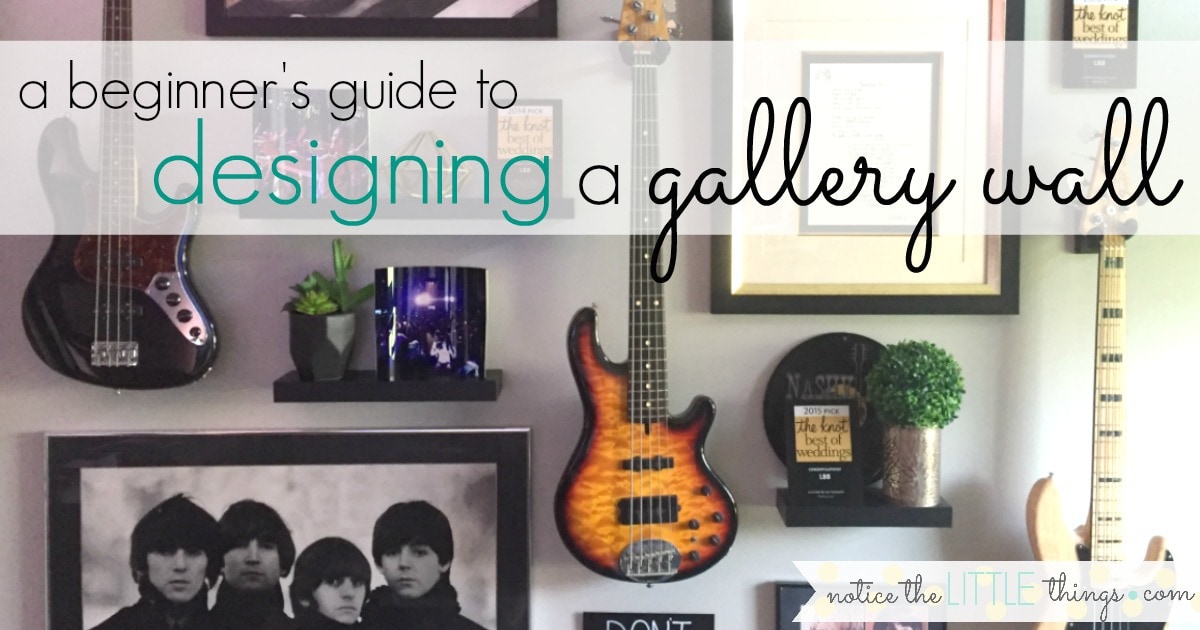
yeah, uh, i was thinking maybe you could do one of those gallery walls for me in my office. on this wall?
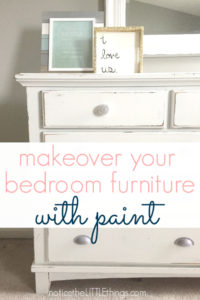
yikes. i mean. look at that wall. a whole gallery wall? there? in time for christmas? my husband asks for very LITTLE so i agreed to the gift. then i started stressing. it’s not that i don’t love a good diy project. it was mostly just the timeframe. and doing something non-girly. i am pretty good at girly decorating. my husband tolerates it well in the rest of the house but admittedly, most of our decor is more female than male {think aqua and white}.
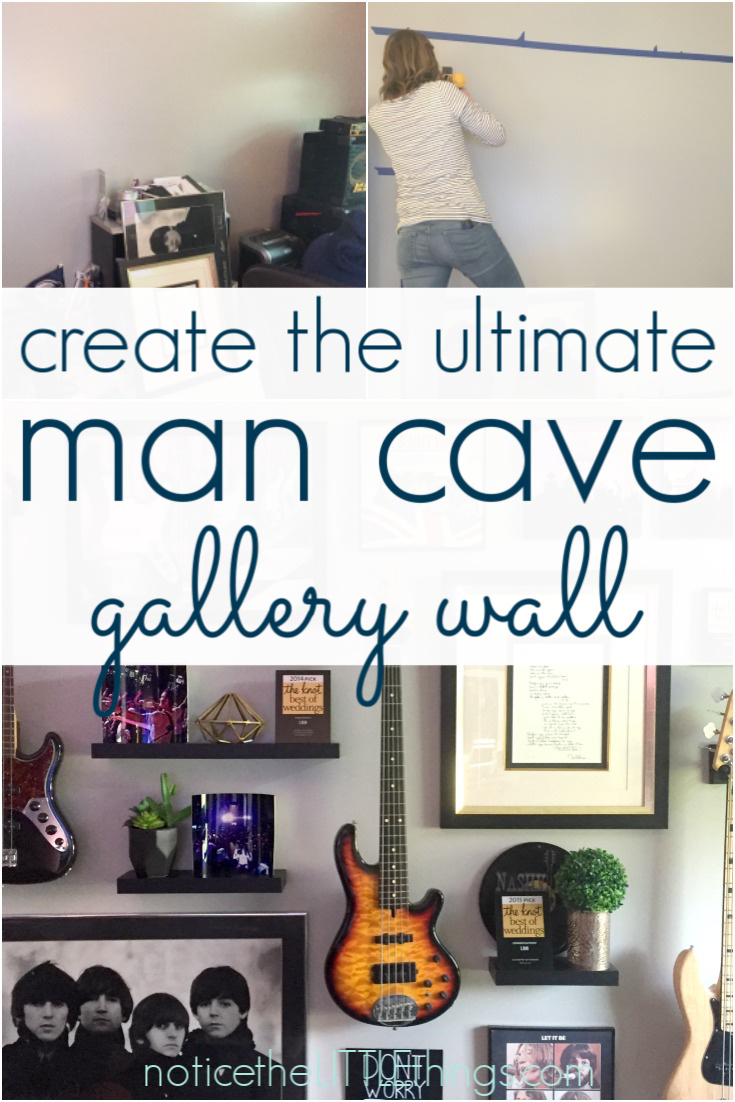
one fast non-girly gallery wall. coming right up.
step 1
the first thing my husband and i did together was decide on a theme/color scheme. i asked my husband what his vision was for this wall. he showed me a bunch of framed posters and records, as well as three guitars, and three floating shelves he’d purchased on amazon. he also showed me pictures on the computer that he wanted printed for the wall. my first thought? guitars are heavy. my second thought? floating shelves are hard to hang. there was no turning back because i had already agreed to this. after deciding on a music theme for the wall, we chose a black/silver/gold color scheme because the things he had were already framed in these colors. step one done.

step 2
the next step is to map out your space. the thing you have to remember is you are not painting along these lines, you are hanging along them. so they need to be almost 100% straight but you have a tiny bit of wiggle room. i have a hard time with a laser level. i know they are supposed to be easy, and if you are good at them, go with that. i prefer to use yardsticks, a level, and painters tape. i know. it’s weird. my husband thinks so too.
my space included the whole wall, with about a 15″ margin on the top and bottom, with enough room on the sides for the door to open.
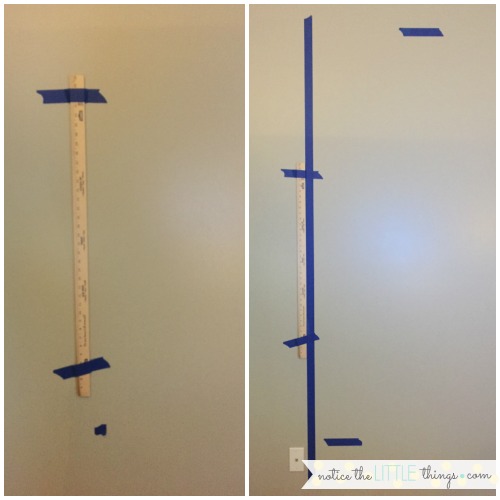
using my crazy method, i taped a yardstick to the first edge of the space, making sure it was level. then i ran painters tape the length of the yardstick and beyond, creating the first side. i used the yardstick as a guide so i could get the whole stretch of tape straight. i did this for each side of the wall. it went remarkably quick.
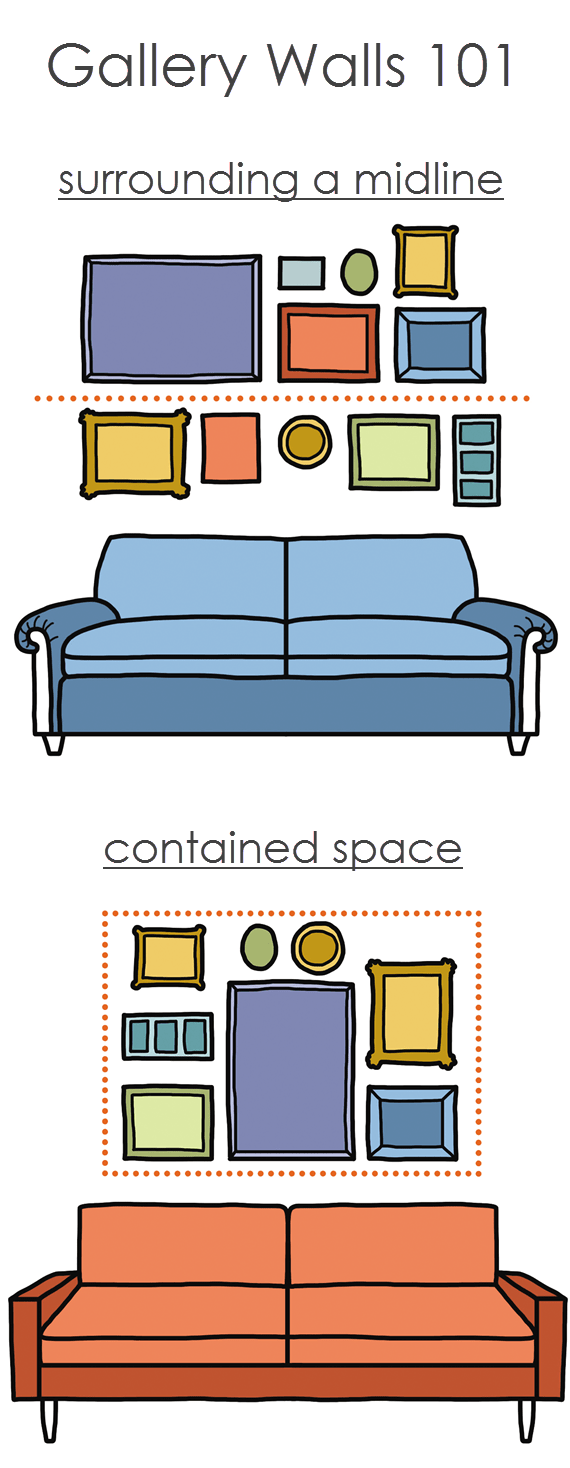 like the gallery wall on our stairs {that post here}, i worked within a hard rectangle edge for this design. you might want your edges to be less exact. in that case, you will want to work around a midline. above is an image from a book reviewed by simplified bee. the book is called Home Decor Cheat Sheets by Jessica Probus and Alice Mongkongllite, and can be found here
 on amazon. i am not affiliated with this book, i just think this picture explains this perfectly!
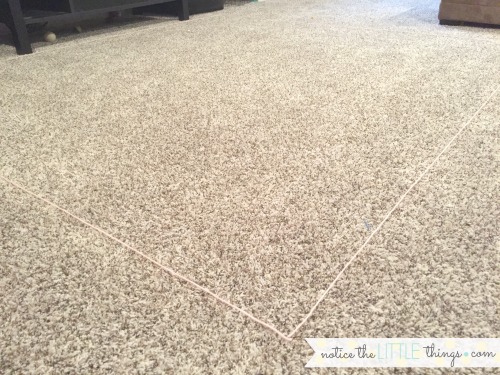
after mapping out my space on the office wall, i created a staging area on the floor of my basement that was the exact same size. i used pink yarn. if you remember, i was under a time constraint and needed to work with what i had. i could have used painter’s tape but the yarn was easier to move around. i used a level to lay the yarn in a rectangle to match my space on the office wall. {note :: if you use this method, yarn is stretchy. you have to measure it when it is not stretched and then lay in on the floor unstretched. i recommend using a string that doesn’t stretch!}
step 3
decide what you want to hang. gather the things you want to include on your wall. my husband showed me the artwork and the guitars he wanted on the wall. he also emailed me some extra pictures in case i needed to fill in any gaps.
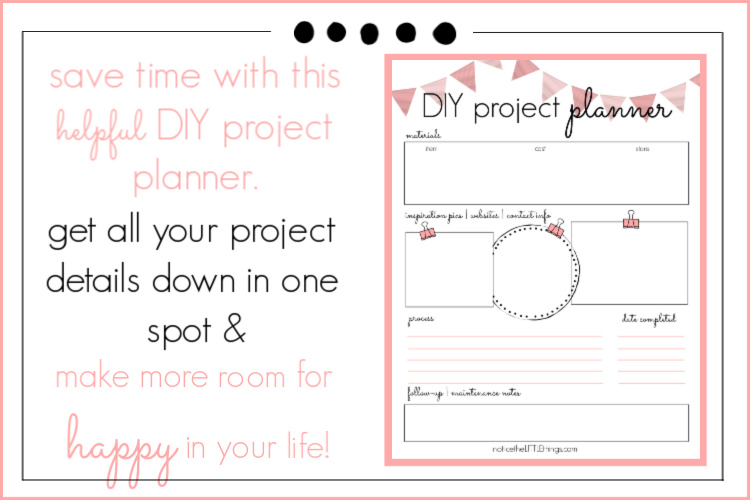
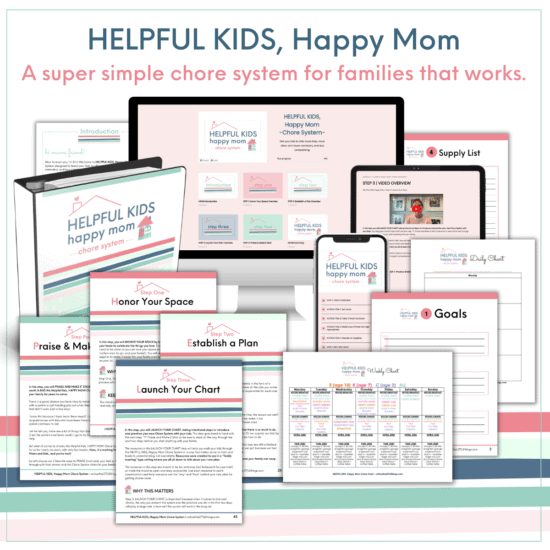
at this point, you might want an easy way to keep yourself organized for this project. I LOVE DIY, but as a busy mom, i don’t have time to go to multiple stores, multiple times. without a plan, that’s usually what happens. to save time and keep myself organized, i created this super helpful DIY project planner to organize new project ideas. when i have everything written down in one spot, it keeps a project running smoothly. you can snag a copy of this printable for yourself in the LITTLE printable library. if you’re like me, you know when you’re organized in small ways like this, it creates big room to notice the things you love the most about DIY and your space!
step 4
time to arrange the items you want to hang. do this in your staging area first. when you are arranging your items you want to concentrate on equal spacing between each item {or as equal as possible. you will see with the guitars, exactly equal wasn’t possible}.
i started by arranging what i had. after that, i measured the remaining empty spaces. i used these measurements to order metal and mounted prints for the gaps. in the meantime, i used paper cutouts to act as these prints so i could see exactly what they would look like on the final wall. sam’s had the best variety when it came to the sizes they could do.
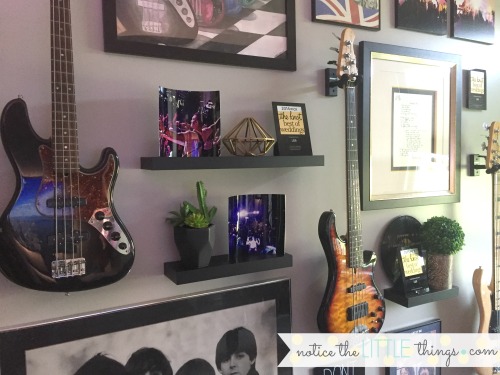
as i started arranging, i started to get excited. floating shelves are hard to hang, but i’ve never created a gallery wall with dimension before. it was totally worth it. the dimension was such a cool design element. also, i knew i’d get to do some shopping for some fun goodies for the shelves. those extras, i decided, would be what i wrapped for my husband for his actual christmas presents.
step 5

transfer your items from your staging area to your actual area. the truth? i am terrified of hanging things on the wall. it is such a commitment with that nail hole! i always mess up at least once so i use command strips every chance i get. unfortunately, those weren’t exactly going to to work for guitars. i ordered hangers specifically for guitars from amazon.
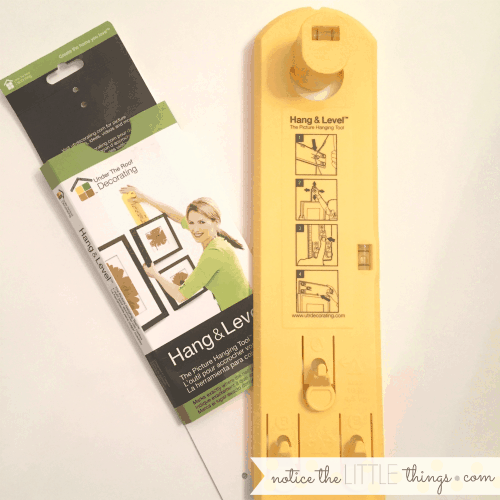
my best advice if you have hanging anxiety like me is to take your time. and use this magic hanging tool. it changed my life for the low cost of $14.99! i am not a spokesperson for this product, i just love it! i’ve seen it at lowes, target, and here on amazon and it helps hang ANY kind of picture straight. i started hanging three days before christmas. despite the time constraints i felt, i worked very slowly. i used a stud finder, and of course none of my pictures lined up with a stud. so i used anchors.
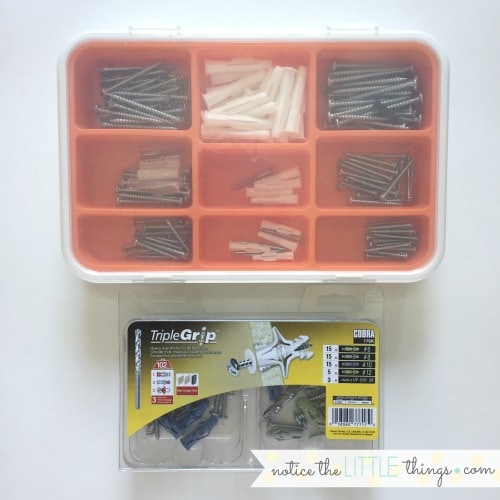
i have two anchor kits. i’ve had the orange one forever. it is from ikea. the other one is from lowes. i have no idea the hanging weights of the ikea kit {though i am sure i could look it up}. typically, i hang lighter things with the ikea kit. the lowes kit gives specific weights for each colored anchor. i like that. the guitar hangers came with anchors so i used those. same for the hanging shelves. for other heavier pictures i used the lowes anchors. for the lightest items, i used command strips.
![]()
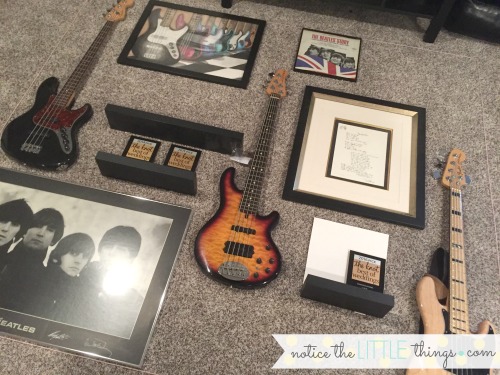
the first thing i hung was a guitar. i needed to tackle the challenge. then i hung the bottom left beatles picture using the magic picture hanging tool. then came another guitar. there is no perfect place to start. whatever helps you get your spacing right is probably the best method for you. also, no one is going to know if your spacing isn’t exactly perfect with this kind of wall. i promise you mine is not.
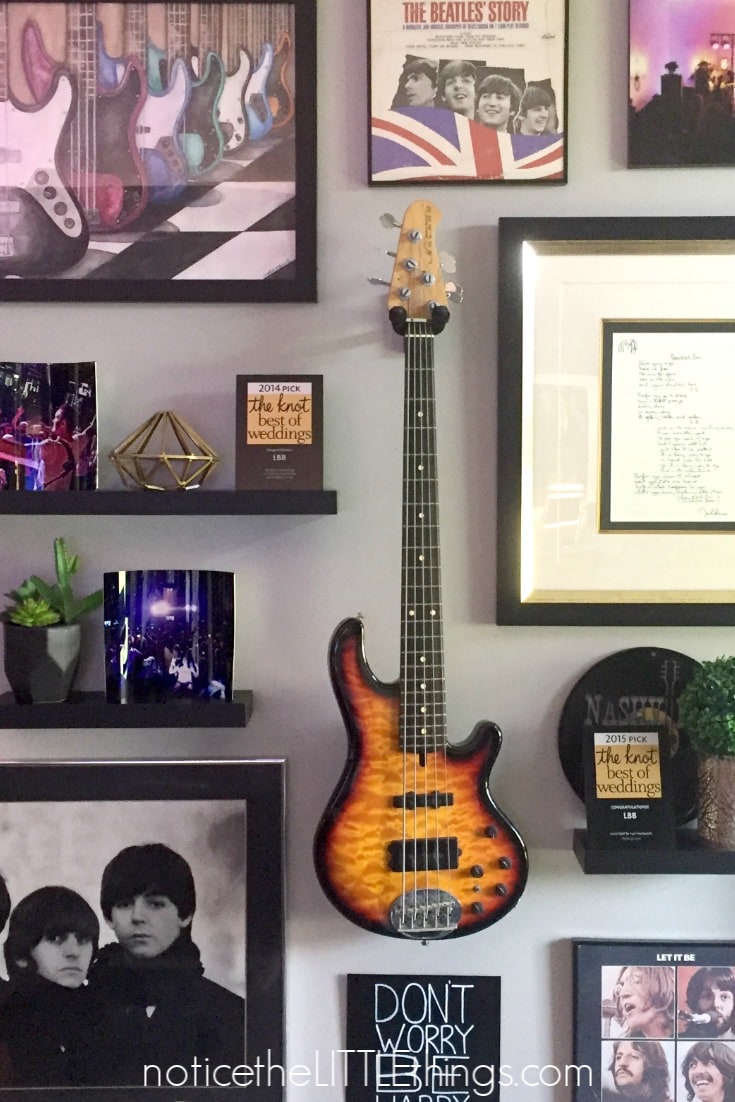
the best part of doing a gallery wall is removing the tape! there is so much satisfaction in peeling it off to reveal the finished product. the shelves and the guitars are my favorite part about this wall. the dimension is really cool, and this can be achieved with any number of things! the kids and i had fun picking out all the pieces for the shelves to give to keven as gifts. i also really love the color scheme. it is not a palate i’ve worked with before but i think it fits the vibe of keven’s office perfectly.
i am glad my husband made me venture outside my comfort zone with this project. if you’re like me and a gallery wall is outside of your comfort zone, remember to break the project into steps. decide on a theme/color scheme, map out your space, arrange your pictures, and transfer! you got this!
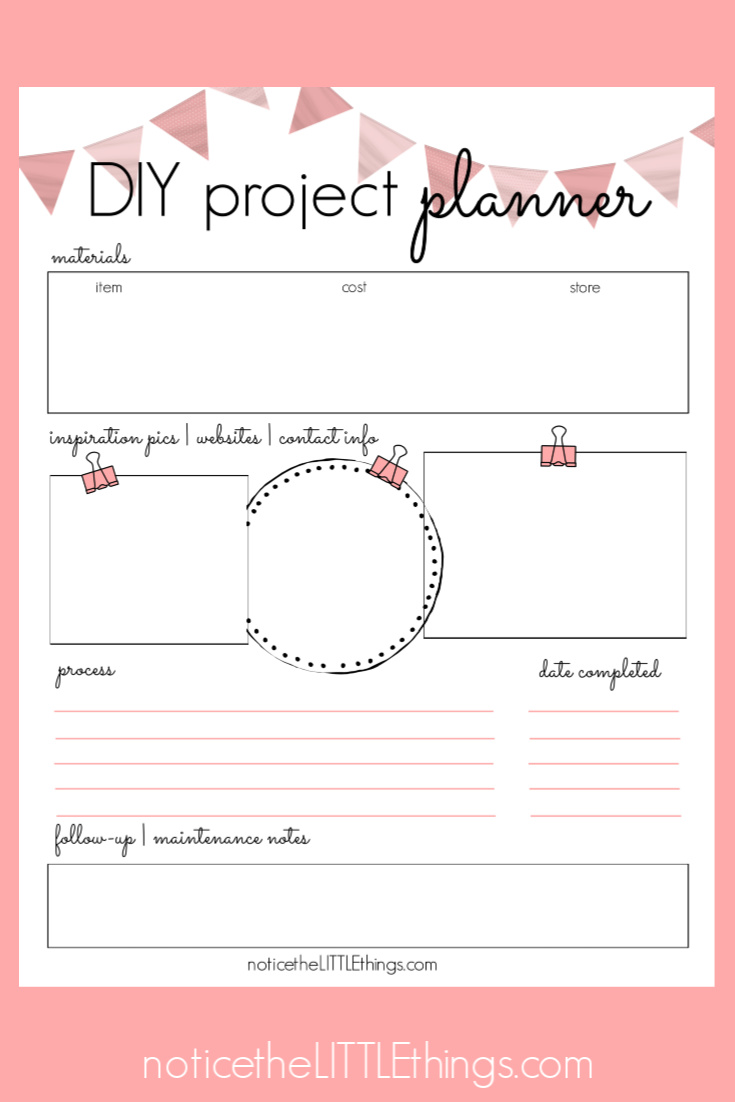
don’t forget to grab your DIY project planner and stay organized in all your DIY adventures! getting prepped and started is always the hardest part. make it easier on yourself with this CUTE printable so you can spend more time focused on all the parts of DIY that bring you JOY!
![]()
{want to save this idea for later? click the red save box on the image below to pin this post. or follow notice the LITTLE things on pinterest here.}