
i always admired other peoples’ gallery walls but never thought i could accomplish one on my own. i sometimes have this fear of hanging pictures, like that hole in the wall is so permanent and what if i get it wrong? with a gallery wall, what if i get it wrong 10 times? i used to quit the idea of before i even started.
but here’s the thing. our first floor is open concept. it’s great for lots of things. but the downfall? not much wall space for pictures. most of the walls in our downstairs are occupied by necessary things, like windows and cabinets. we have plenty of natural light and enough storage, but not a lot of space for displaying family pictures or fun decor. a gallery wall seemed like the best answer.
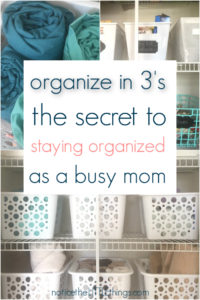
before starting any project, it is super helpful to get organized. as a busy mom, i don’t have time to go to multiple stores, multiple times. but without a plan, that’s usually what happens. i finally got smart {and CUTE!} and created this super helpful DIY project planner to organize new project ideas. i am not sure about you, but when i have everything written down in one spot, it saves me so much time! you can snag your own copy of this printable in the LITTLE printable library. when you’re organized in small ways like this, you free up time and attention for the things you love the most about your home and the people there with you!
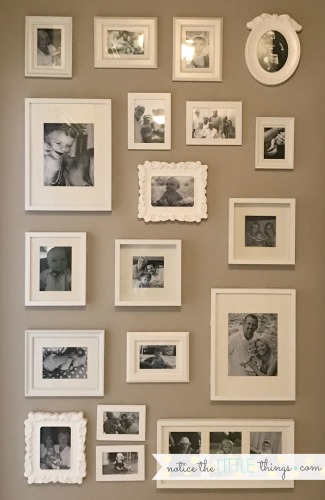
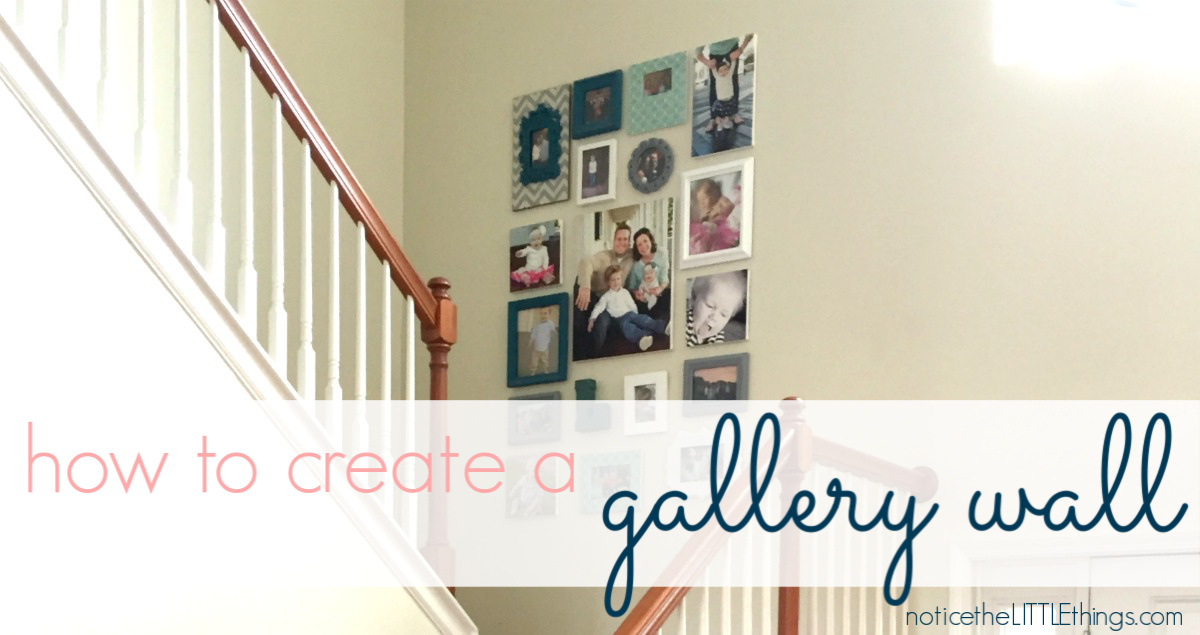
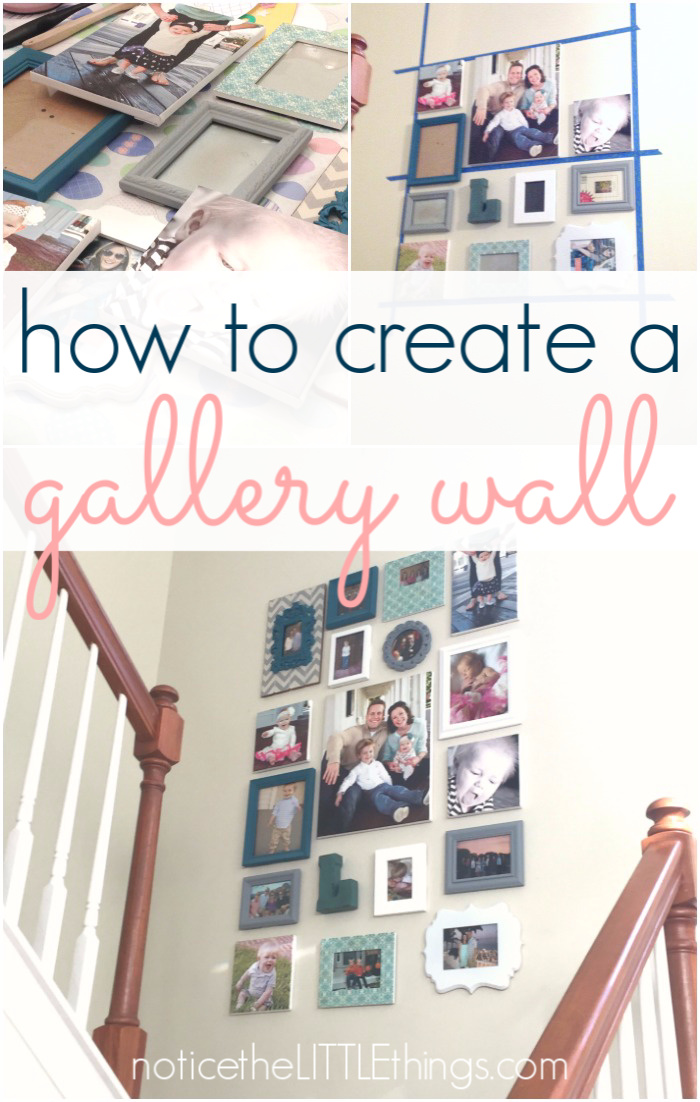
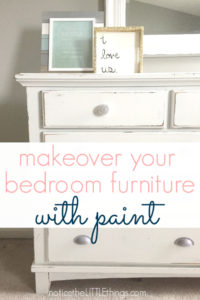
before i began my DIY gallery wall, i called my friend steph for advice. she has a gallery wall {above} that i’ve always admired. she is the BEST decorator and she gave me two tips – keep your spacing consistent and coordinate your frame colors. with her tips in mind, i got started, and i cannot believe how our wall turned out. hands down, it is the most asked-about thing in our entire house! looking to create your own gallery wall? check out the 5 super easy steps i followed to create ours.
step 1
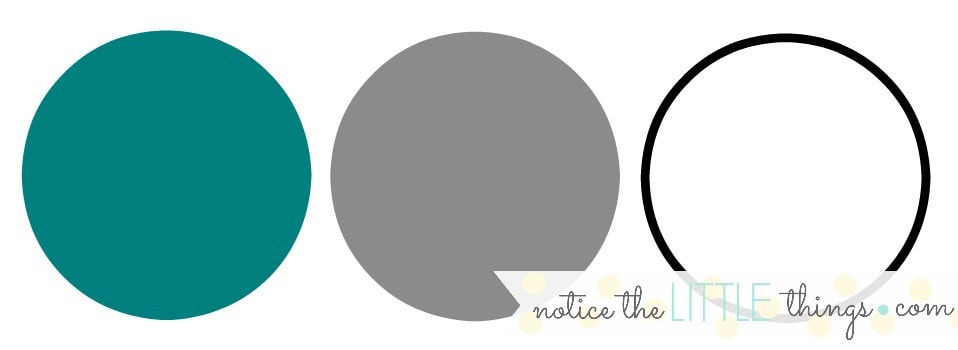
decide on a color scheme. we were still getting settled in our house so i really hadn’t yet decided on a firm color scheme. but i liked the aqua-ish walls the former owner had painted in the living and dining room, so i decided to play on that. i also love white, and gray. heeding stephanie’s advice, i decided on that simple color palate – aqua/teal, gray, and white.
step 2

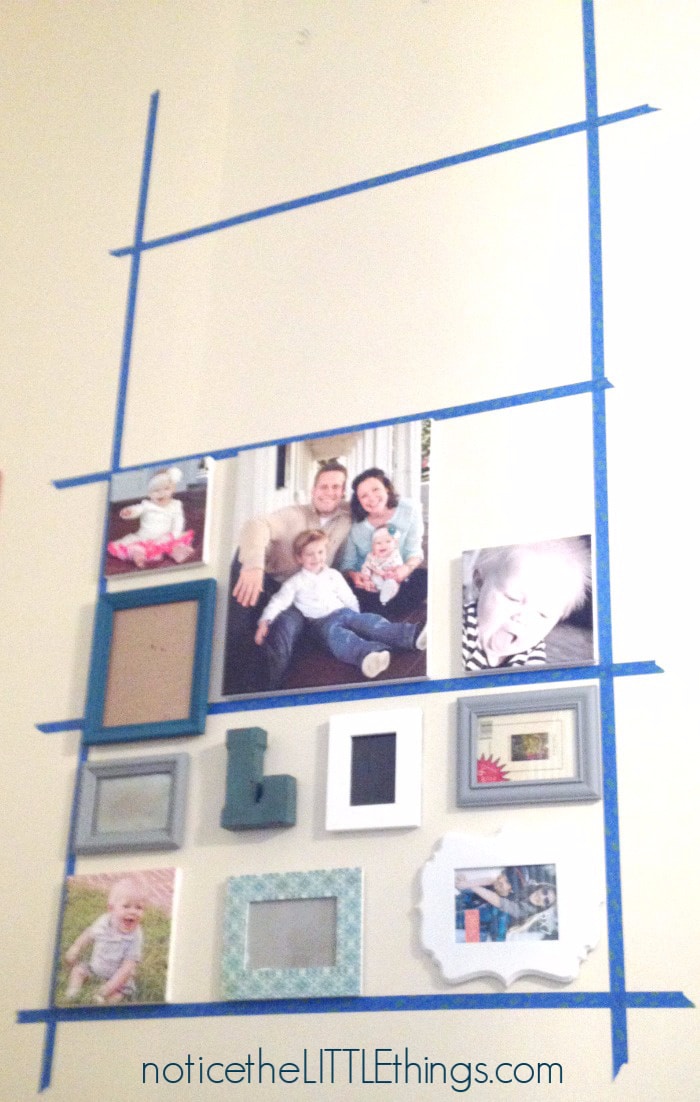
map out your wall space and your staging area. i used painters tape and a level to outline my space. i also divided it into sections to help with the spacing as i started to hang.
there is no perfect size for a gallery wall. it just depends on your space. when it comes to hanging pictures, typically our tendency is to hang them too high. i go to a lot of houses with high-hanging pictures. i’ve heard it said that the middle of your picture should be eye level. i usually try to keep both mine and my husband’s height in mind when following this rule, and split the difference.
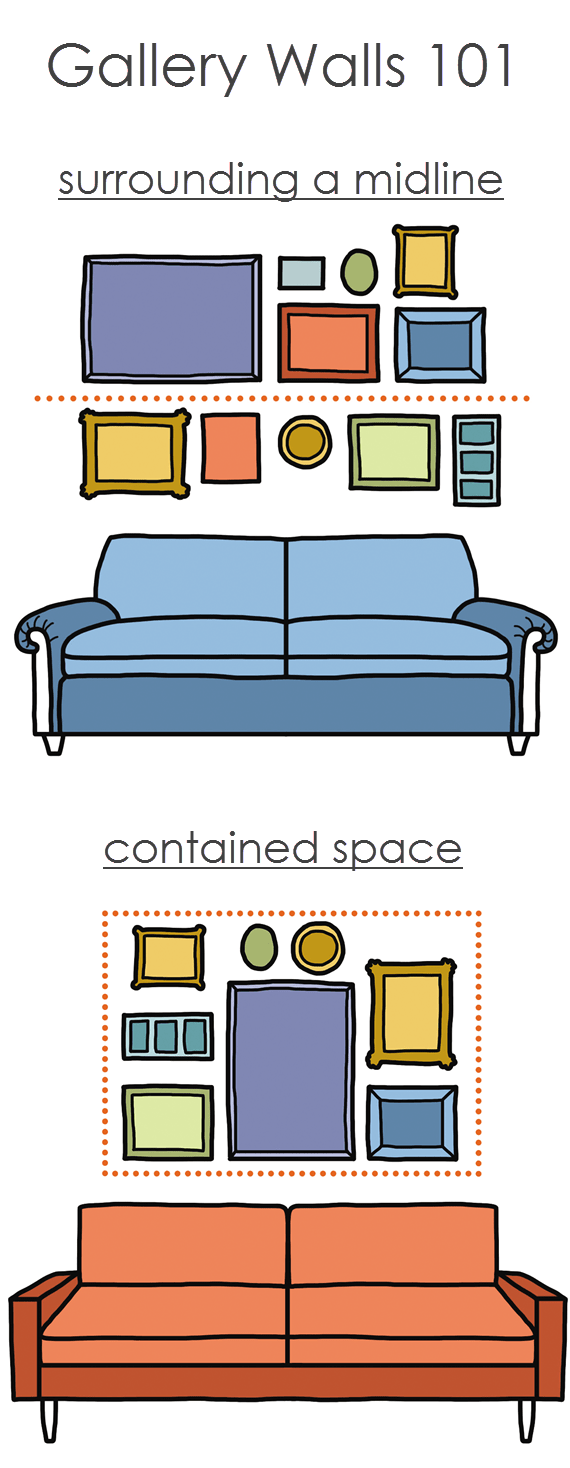
for this gallery wall, i stuck to a hard rectangle edge. you might want your edges to be less exact. in that case, you will want to work around a midline. above is an image from a book reviewed by simplified bee. the book is called Home Decor Cheat Sheets by Jessica Probus and Alice Mongkongllite, and can be found here on amazon. i am not affiliated with this book, i just think this picture explains this perfectly!
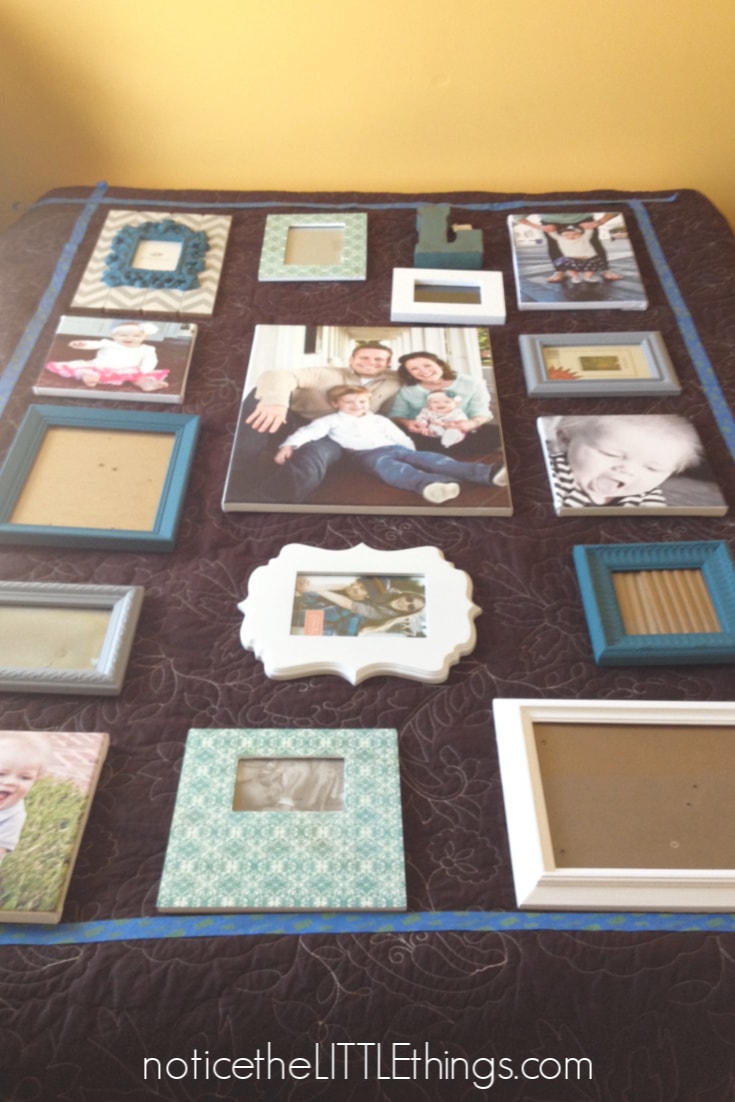
to make it extra easy on yourself and to make sure you hang everything straight in the end, it’s helpful to map out a staging area. i forgot to take a picture without the items arranged but you can see this area should be the exact same size as your final spot. this was the hardest part for me. i can’t finish a project in a day. because kids. i needed a space that might go undisturbed. in my house, such a space is virtually nonexistent. i settled on our guest room bed. that had its downfalls, but it was the best i could come up with. {check out that yellow wall! yikes. i am happy to say it is now gray.}
step 3

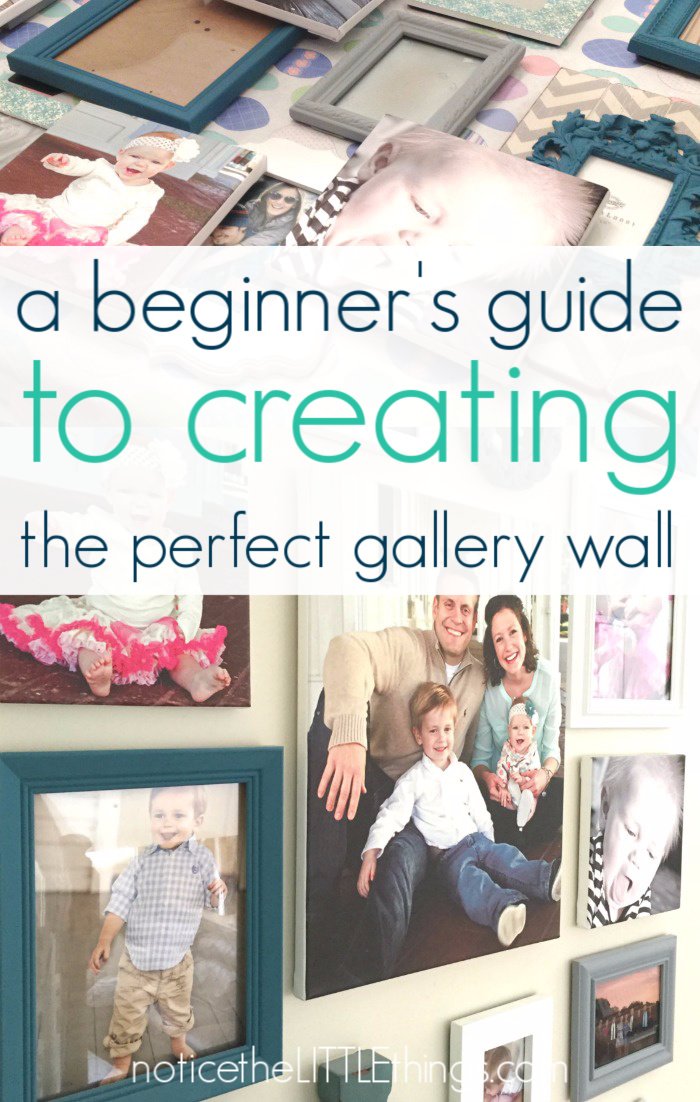
decide what you want to hang. for this project, i had some canvas family portraits i wanted to use. otherwise i purchased additional frames from goodwill and hobby lobby to fill in the gaps. it was clearly easter time when i tackled this project. ha! i painted all of the goodwill frames except for the ones i covered in scrapbook paper. decorating does not have to be expensive!
step 4
time to arrange the items you want to hang. do this in your staging area first. when you are arranging your items you want to concentrate on equal spacing between each item {or as equal as possible}. when you start to arrange, you will learn whether you have gaps you need to fill. you can fill these gaps with more items you have around your house or you might need to purchase or order more frames for these spots.
step 5
transfer your pictures to your wall. the easiest way to do this is with command strips. you can buy these at any superstore, hardware store, or amazon. basically, they are like hanging pictures with velcro. i love them because if your picture is not perfectly straight, you just unvelcro and adjust. they come in varying weight classes, the highest being 16 pounds. i used 12 pound strips for this whole wall. not a single nail hole.
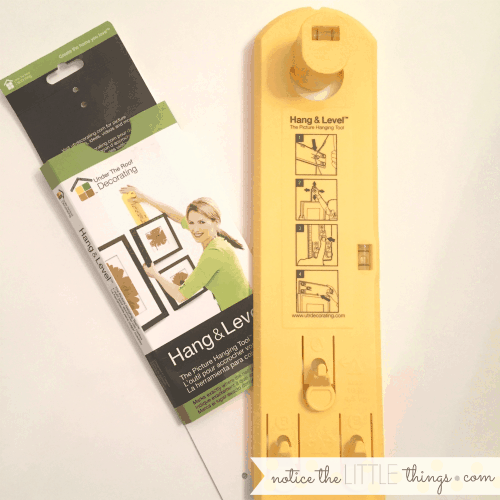
if a nail hole is unavoidable, i found this life saving picture hanging tool at our local hardware store. i’ve also seen it at target and on amazon. if i could be the spokesperson for this product, i would. there are directions on the packaging but basically, this $15 tool takes all the guesswork out of hanging things straight. it is really great for hanging pictures with a wire but works in almost all picture hanging situations. it saved my life when i did my husband’s office gallery wall {read that post here}.
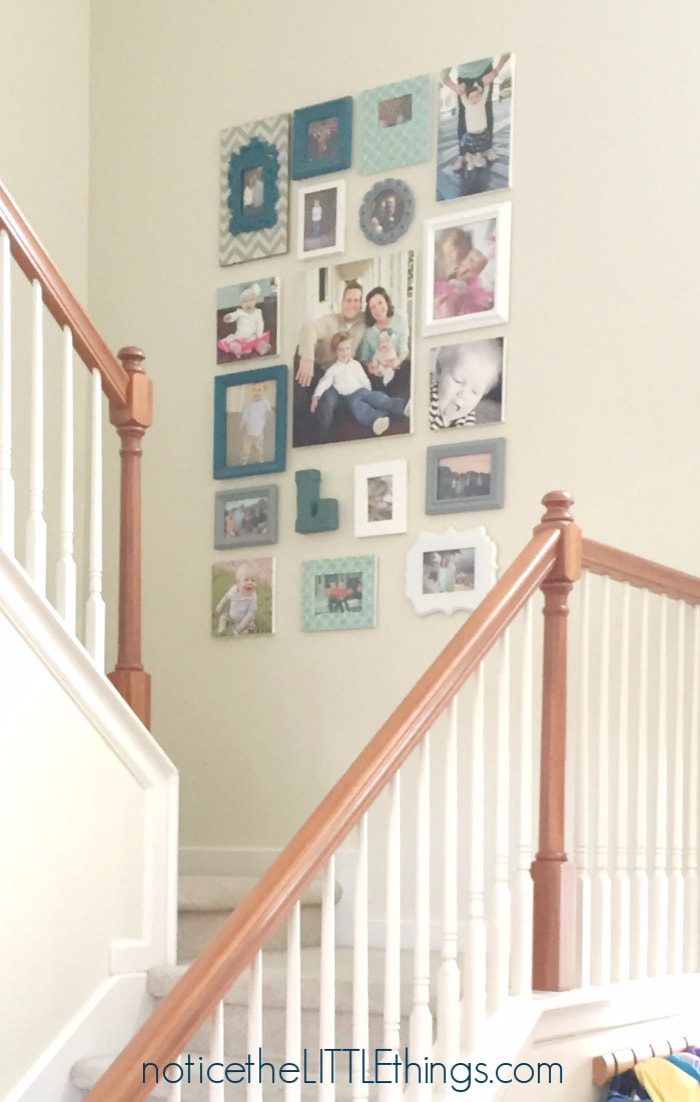
now all that’s left is to stand back and admire your work. it took me a couple weeks to fill that space with the circular picture at the top. but it was worth it. this wall makes me happy every time i walk up and down the stairs. most everyone who visits comments on it, which is why i decided to write this post. it honestly was not hard. i just had to decide on my color scheme, collect my frames, map out my area, stage, and place. you got this!
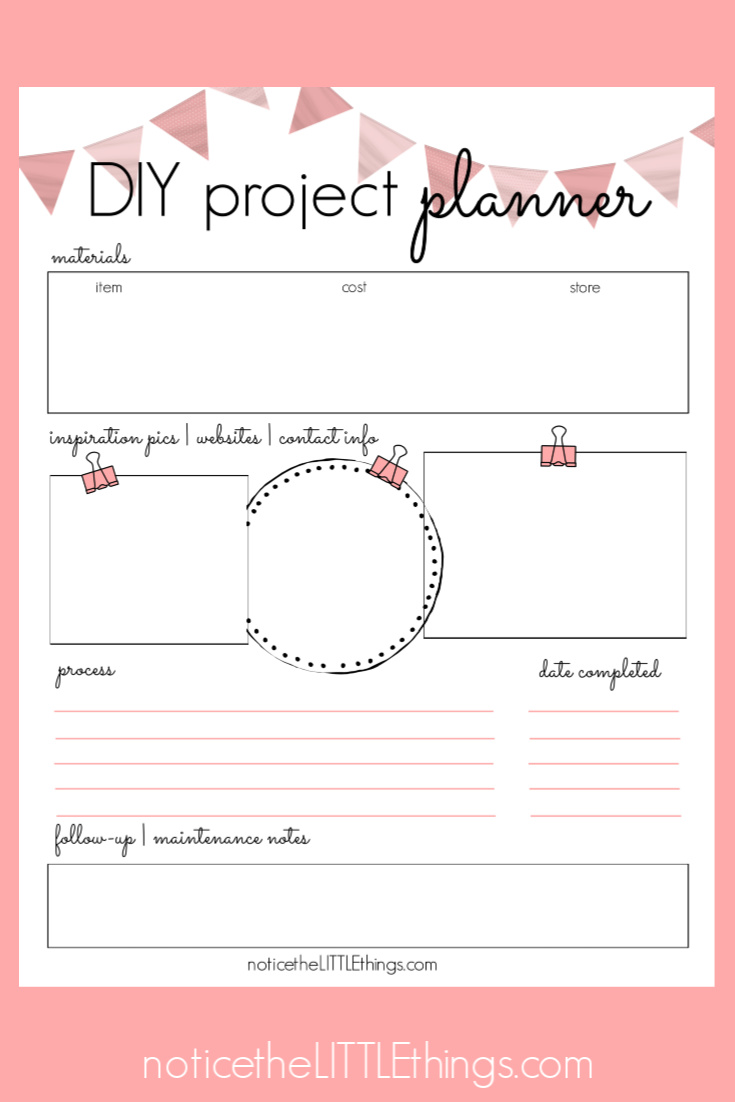
don’t forget to grab your DIY project planner to keep yourself organized in all your DIY adventures! getting prepped and started is always the hardest part. make it easier on yourself with this CUTE printable so you can spend more time focused on all the parts of DIY that bring you JOY!
interested in reading more at notice the LITTLE things?
join in noticing 10 LITTLE things in every kind of day and come along on new diy, parenting, and organizing adventures. click here to subscribe and receive access to my favorite FREE printables.
![]()
{want to save this idea for later? click the red save box on the image below to pin this post. or follow notice the LITTLE things on pinterest here.}


Those pics are the cutest! And I love how perfectly the colors coordinate! Thanks so much for linking up for I DIYed that!