how do the property brothers renovate a whole kitchen in a week? really, what is their secret? maybe they don’t have to wait on materials? or maybe its because they have a whole team? 35 days later, we are finally finished with our laundry room renovation. it might have taken longer than a week but for our first reno, i feel really good about the budget and design decisions we made.
budget-friendly laundry room renovation
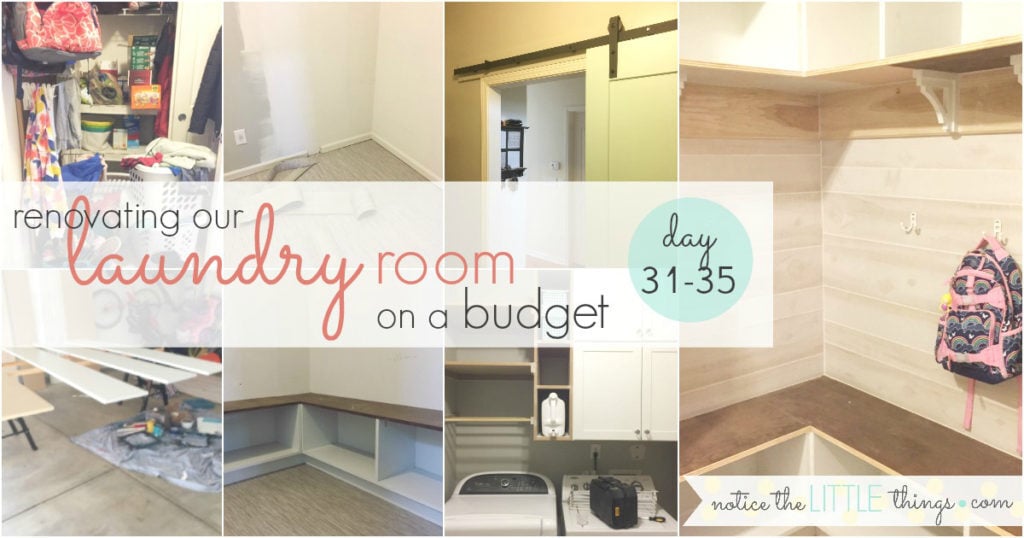
day 31-35
days 31-33 task
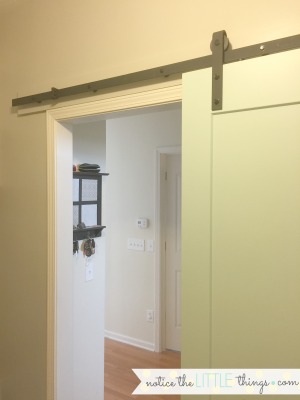
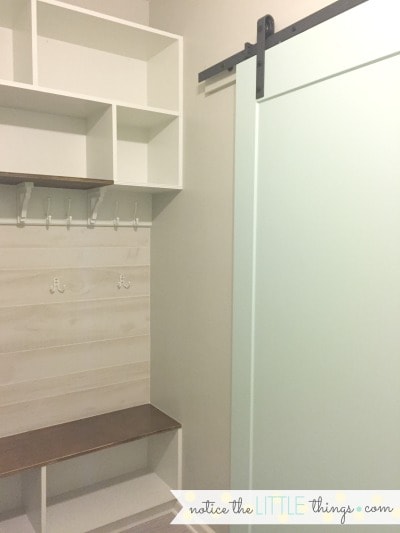
{1} paint and hang the sliding barn door {can you guess what color i chose?}
day 33-35 task
{1} finish painting everything {how am i not done painting?}
day 21-22 {task 1}
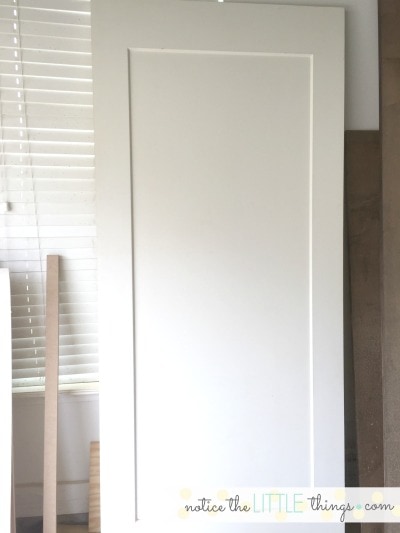
paint and hang the door. before we started this reno, we had two doors opening into the laundry room, along with sliding closet doors. too many doors in one small space. i thought about eliminating the door into the house entirely, but sometimes it is nice to shut out the dryer noise. this barn door and slider were the perfect answer for our space-saving and budget needs.
at first, i thought about ordering a fun color for the door but i chickened out. i really like color but i was trying to stick with neutrals in this room so i could change out fun accents from time to time to keep it interesting. so i ordered a white door. i know. boring.
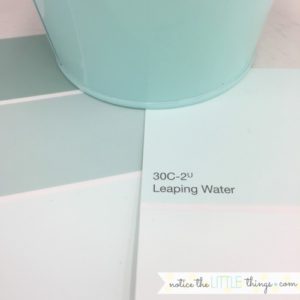
today, as i got ready to give the door its final coat of white, my mind started dreaming of aqua. who’s surprised? before i lost my nerve {again}, i drove to the nearest paint store and bought a quart of aqua.
i brought a small aqua bucket i have to help keep me on track. no matter how much i know what color i want, when i get to the paint store i always end up overwhelmed and my mind just cannot remember my original color thought! and there are a million shades of aqua. i decided on sweet retreat by clark & kensington from ace hardware {a brand i’ve never used before but was very happy with}. keven didn’t protest but he also didn’t seem overly thrilled with my aqua plan. i promised him he’d love it.
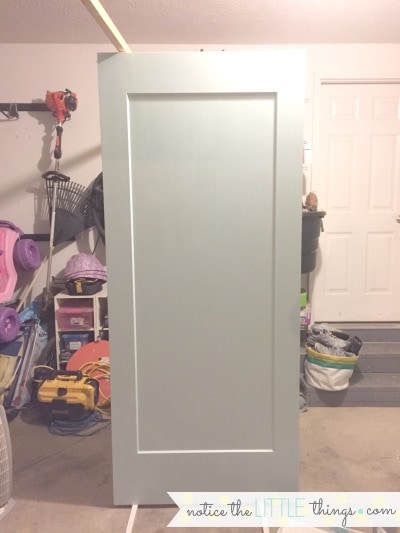
our builder was kind enough to set the door up in the garage like this so i could paint both sides without having to flip it {as i’d been doing with all the MDF for the build-ins}. i have to tell you, i painted this in the WORST garage lighting ever, in a hurry after the kids went to bed, and i was pretty sure i would walk out to streaks in the morning.
K and i were both surprised the next morning to see that everything had dried nice, even, and smooth. truly the color was perfect. just enough color without going overboard.
our builder hung the sliding barn door for us. i am absolutely positive i would have done it wrong. we ran into a problem with the track not lining up with the studs on the wall. it’s always something! obviously the door would crash down if the track wasn’t secured into the studs. our best solution was to add a piece of wood behind the track. the wood was secured to the studs and the track was secured to the wood. aesthetically, i wasn’t too excited about the wood. but when we painted it the same color as the gray wall behind it, i was amazed at how it blended in.
even my husband, who often rolls his eyes about more aqua, agrees it was the right choice for this door.
day 34-35 {task 1}
finish painting. as stated in days 26-30, this reno felt like the never ending painting project. but the best part of days 34-35? the end was finally in sight. i only had to paint the unfinished wood i could see in the laundry room. there was nothing additional waiting for me in the garage. hallelujah!
painting built-ins {or any kind of furniture for that matter} can be a LITTLE intimidating. i used to feel the same way. especially about what supplies to buy. over the years, i’ve painted kitchen tables, coffee tables, night tables, mirrors, dressers, chairs, bookcases, beds, and more.
painting built-ins was really no different. i have a fool-proof, chip-proof painting method that comes from years of trial and error. after many phone calls from friends asking to remind them what is the best kind of paint to use on their furniture piece, i finally compiled all my favorite tips and supplies into one helpful guide. feel free to make your life easier and grab your copy here.
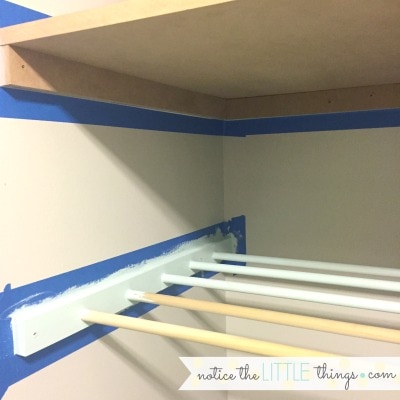
i decided to paint the dowel rods for hanging wet clothes in the same aqua as the door. but i stopped at that with the aqua. trust me. i was tempted to do a couple shelves, but i reigned it in.
if you’re nervous about painting, the thing i have learned is to just get started and keep going. at times, i tend to fixate on things like streaks or drips or brush strokes showing up. i’ve had some bad streaks and some please please let me stretch this paint to finish this project moments but in the end, everything always turns out fine. all those mistakes that seem so obvious in the beginning even out in the end. i never think they will and every time i am surprised at the finished product. and there’s always sandpaper and a quick touch up.
that moment when i was finally finished painting and it was time to decorate? happy dance. check back next week for the final project reveal and final savings. {want to catch up on our budget-friendly laundry room renovation from day 1? click here. interested in reading what happens next? click here.}
interested in reading more at notice the LITTLE things?
join in noticing 10 LITTLE things in every kind of day and come along on new diy, parenting, and organizing adventures. click here to subscribe and receive access to my favorite FREE printables.
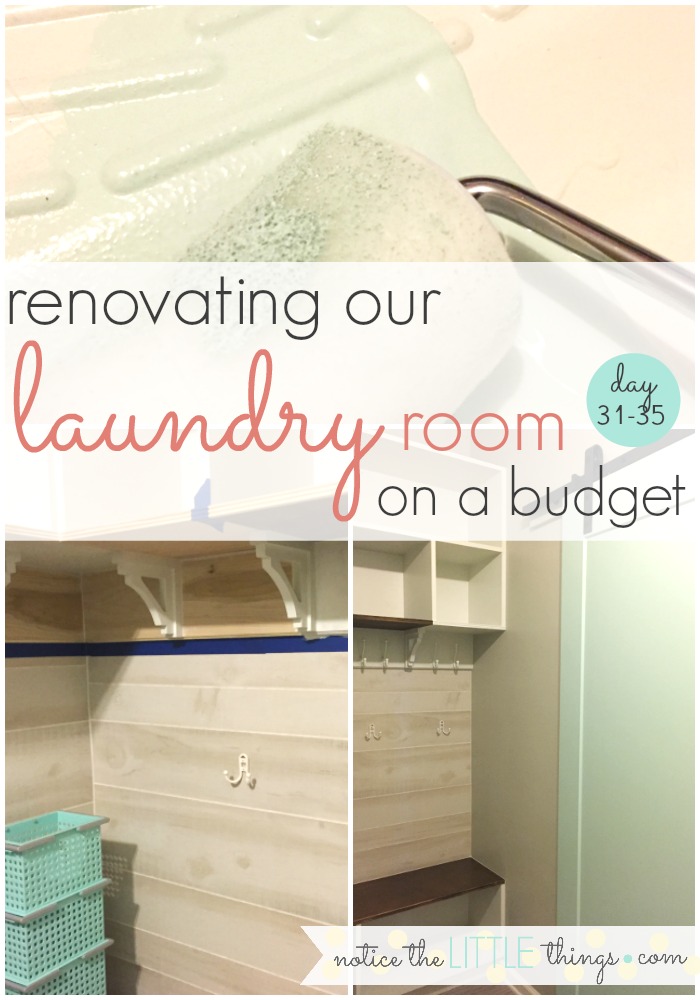
{want to save this idea for later? click the red save box on the image below to pin this post. or follow notice the LITTLE things on pinterest here.}

