has your kitchen table seen better days? maybe the top boasts evidence of your child’s recent art projects – markers, paint, or glitter? perhaps your table is scratched, shows water stains, or doesn’t match your current decor style? not to worry. you can EASILY fix all of that.
everything i listed above was true for our kitchen table. it was a hand me down from my parents. it was the table i grew up eating around with my family. after college, my parents gifted it to me and i painted it black. it stayed black for 10 years. it was very resilient but 10 years is a long time. in those years it collected a few marker stains, paint stains, and one claw mark from that time we dog sat my brother-in-law’s dog. more importantly, when we bought our forever home, black wasn’t exactly my style anymore.
our kitchen table needed a refresh.
i could have bought a new table. but we’d recently purchased our house and, well, that was expensive. the budget wasn’t ready for all new furniture. also, i liked that it was my parents’. i decided to paint the table again.
{you will notice, i paint right in the middle of my family room. what were my 2 and 4 year old doing while i painted? painting too! i let them paint the underneath part of the table, where no one sees. they sit under the table with their watercolors and we paint together. see those diaper boxes in the background? they’re empty. i save boxes like that to set next to to what i am painting and the kids use their paints on the boxes. large pieces of poster board work too. it takes me a LITTLE longer to paint with kids around but i promise it is possible!}
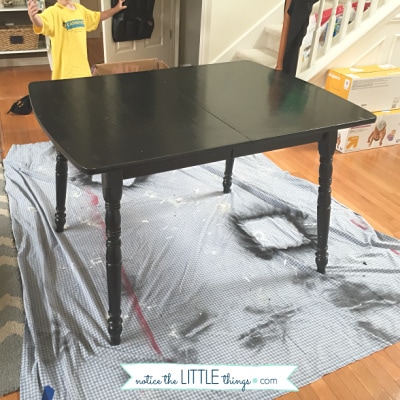
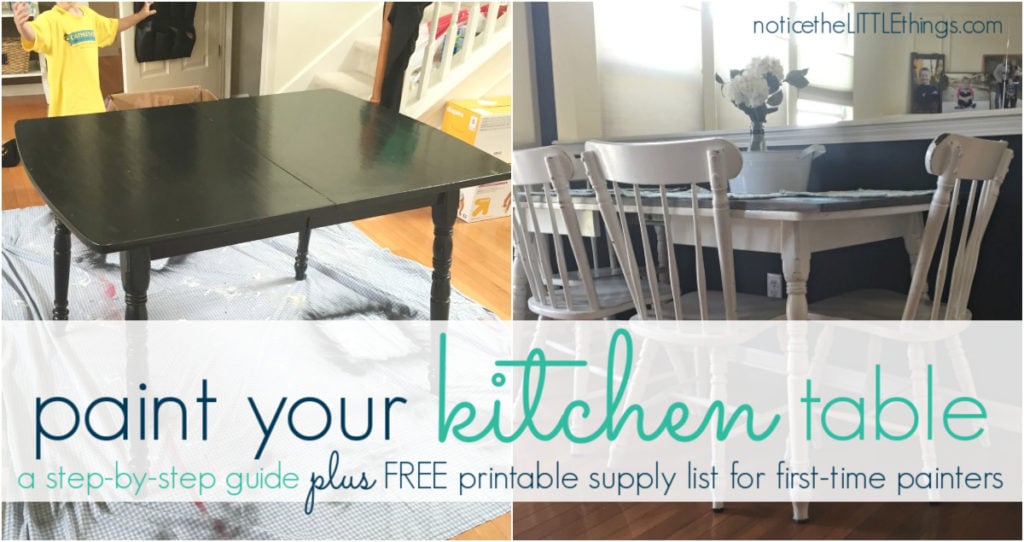
when i was finished with our kitchen table, even i couldn’t believe the results. our 35-year-old table went from this…
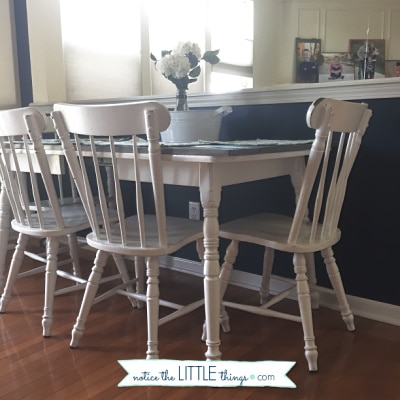
to this!
there are so many parts about DIY that i LOVE, but sometimes it’s hard to get started, especially if i am trying something for the first time. if you want to try something like this, but you’re just not sure where to start, i’ve got you covered. with lots of trial and error, i’ve landed on a fool-proof paint combination for painting furniture of all kinds. it stands up to LITTLE kids, pets, and all the other wear and tear any normal piece of furniture might face. i created a complete guide to painting furniture, full of all my favorite tips, tricks, and supplies. it’s perfect if you’re just getting started or if you need this painting project to go smoother than your last! when it comes to DIY, it is so important to focus on the parts of a project that bring you JOY. this guide is meant to help you with that!
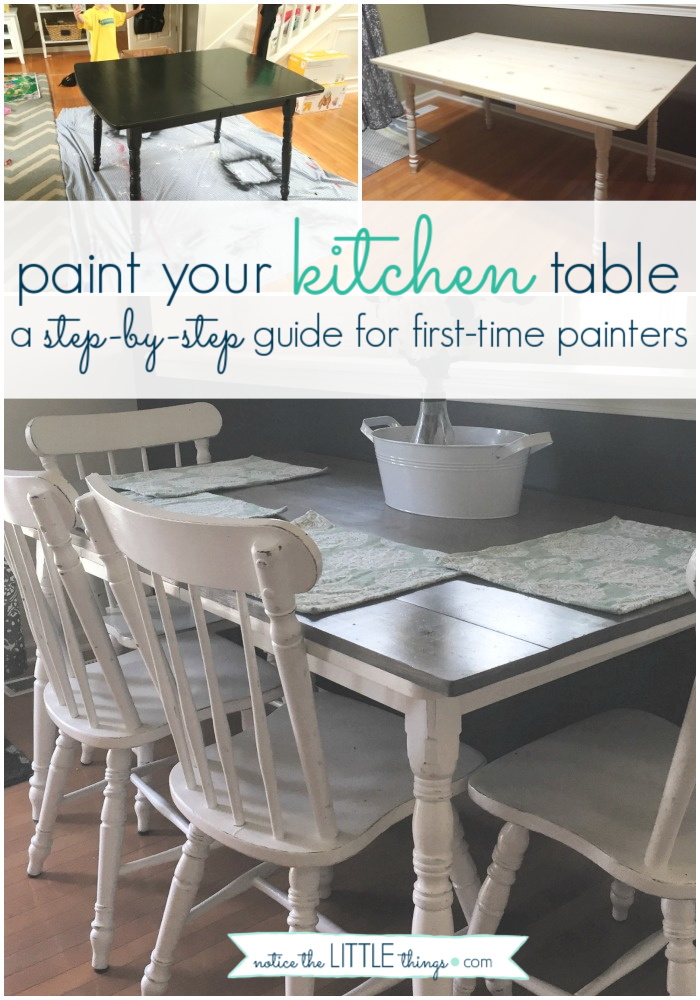
i was {and still am} into more of a farmhouse style. the top of our table did not fit that design. i asked a friend {with lots of fancy tools} if he would be willing to build me a new table top. he suggested a carpenter who specialized in tables. i had the carpenter look at the table and the price he named was WAY MORE than i envisioned for this diy project. i went back to our friend and he agreed to help.
below are the steps we took to transform our kitchen table. if you are looking for a budget-friendly way to create a new table top {in addition to painting your table and chairs}, start at step 1. if you want to paint your current kitchen table and chairs {or any table and chairs}, skip to step 2. if you are looking for something more dining room specific, click here.
step 1
construct your new tabletop
our friend created a new top for our table from whitewood. whitewood can be found at your local hardware store and it is cheap, cheap, cheap. it takes a stain well and has held up amazingly for us over the past three years. i don’t expect to need a new table any time soon. i highly recommend creating a new top for your table.
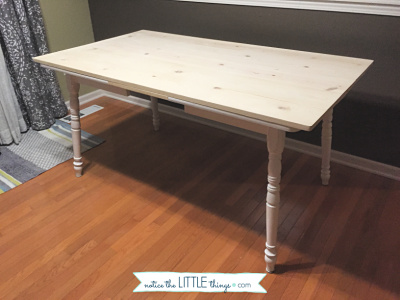
we cut five, 7″ wide planks of whitewood to a couple inches longer than the length of our table. the whitewood we used was about an inch thick. you could go thicker but be careful of the weight you are putting on your table base. your base has to be able to support the new weight.
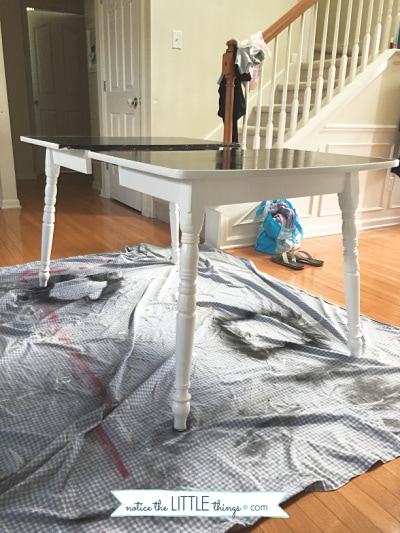
i wanted to stain the new table top a different color than the table base. so before we installed the new top, i primed and painted the bottom part of the table white.
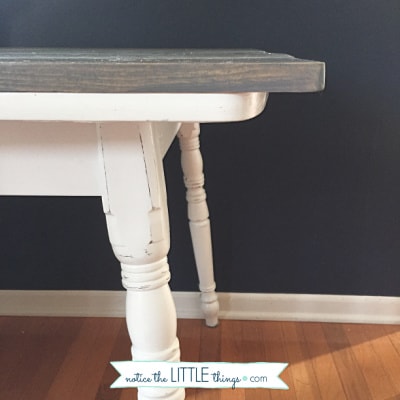
once the base was painted, we wood glued and pin-nailed the 7″ planks one by one directly to the existing table. you can see here that the new top is slightly longer than the old top. you can also see that i used a palm sander to round the edges. i didn’t want any LITTLE ones to hurt themselves on the corners.
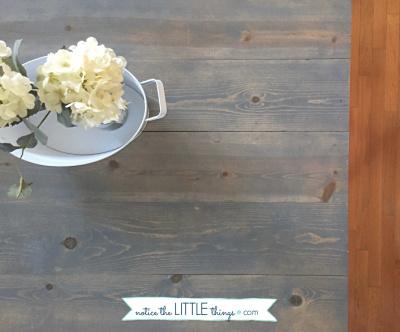
the table carpenter told me nailing the planks directly to our table wasn’t a good idea. wood grows and shrinks with the weather. he was right. sometimes the cracks between planks are slightly more noticeable now that it’s done. noticeable to me, but not to anyone else. i was also a LITTLE worried about crumbs in the cracks. we use placemats and this problem is largely solved. i am a type a neat freak. if the crack crumbs don’t bother me, they won’t bother you either!
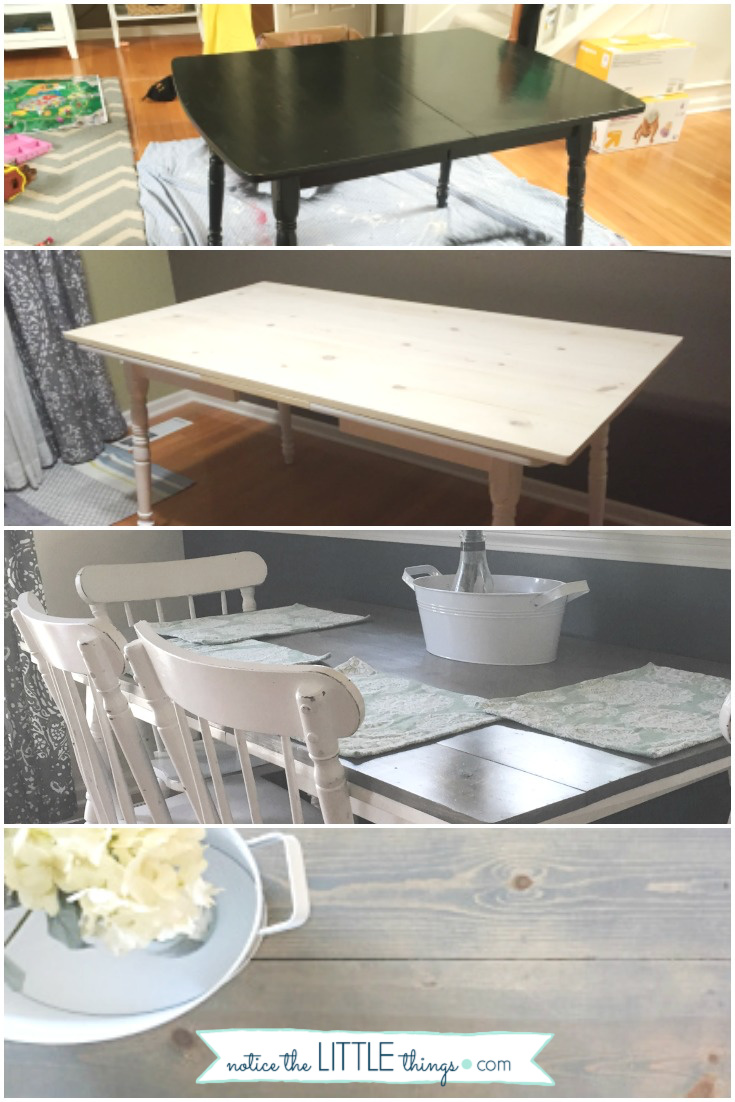
i could not believe the farmhouse table we achieved for such a small price! once the top was secure, we moved on to painting the rest, and staining the top…
step 2
gather/purchase your supplies
to paint your table and chairs so that they will not chip, you are going to want to prime, paint, and seal each piece, including the table and each chair. this is not hard, it just takes a few days. you can plan on about a week to complete this project from start to finish. for the budget-friendly cost, i think it is well worth the time!
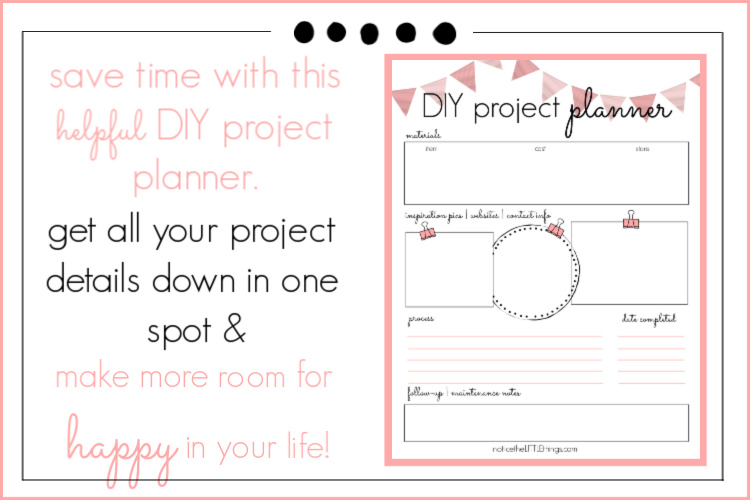
you can buy your primer, paint. polyurethane, brushes, and rollers at your nearest hardware store. or you can download my supplies cheat sheet here to make this step super easy. i also like to write down all my project supplies and ideas in one spot. no one has time to make extra trips to the store! without a plan, that’s usually what happens to me. i use this DIY project printable so i can concentrate on the things i LOVE about DIY {not multiple trips to the store!}. i’ve found when i am organized in small ways like this, i free up time and attention for the things i love the most about DIY!
step 3
apply your primer
wipe down the piece you will be painting with a wet cloth to remove any dust or residue. when your piece is clean, it is time to prime.
when it comes to painting furniture, using a primer is a must. i tested this out on my hutch. i didn’t use primer for that project and my hutch chips very easily. on my kitchen table and chairs, i used one coat of primer.
if you built a new table top and you want to paint it the same color as your table, prime it when you prime the rest of the table. if you are staining your new table top, you will want to use a different product, called a pre-primer, to prepare your wood before you apply the stain. this can be purchased where you buy your paint and stain.
step 4
apply your paint
after your primer dries, apply your paint. i use a combination of a brush and roller when i paint furniture. i always hope i can get away with just one coat of paint, but i usually need two {especially on something like my kitchen table where i went from black to white}. i wait a couple of hours between coats.
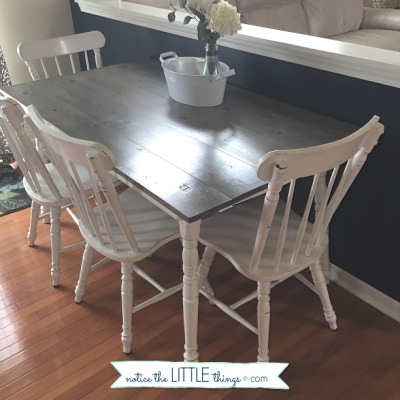
if you are staining your new top, you will want to do that within 30 minutes of applying your pre-primer. you can apply the stain with a rag or a brush. either way, have a few rags {or old socks} handy to wipe off excess stain. this will help it dry more quickly and allow the grains of your wood to show through. apply the stain based on how dark you would like the final product. for my table, i only applied one coat.
confused on what paints and stains to buy? access my favorite primers, pre-primers, paints, and stains here.
step 5
distress your piece and apply your polycrylic
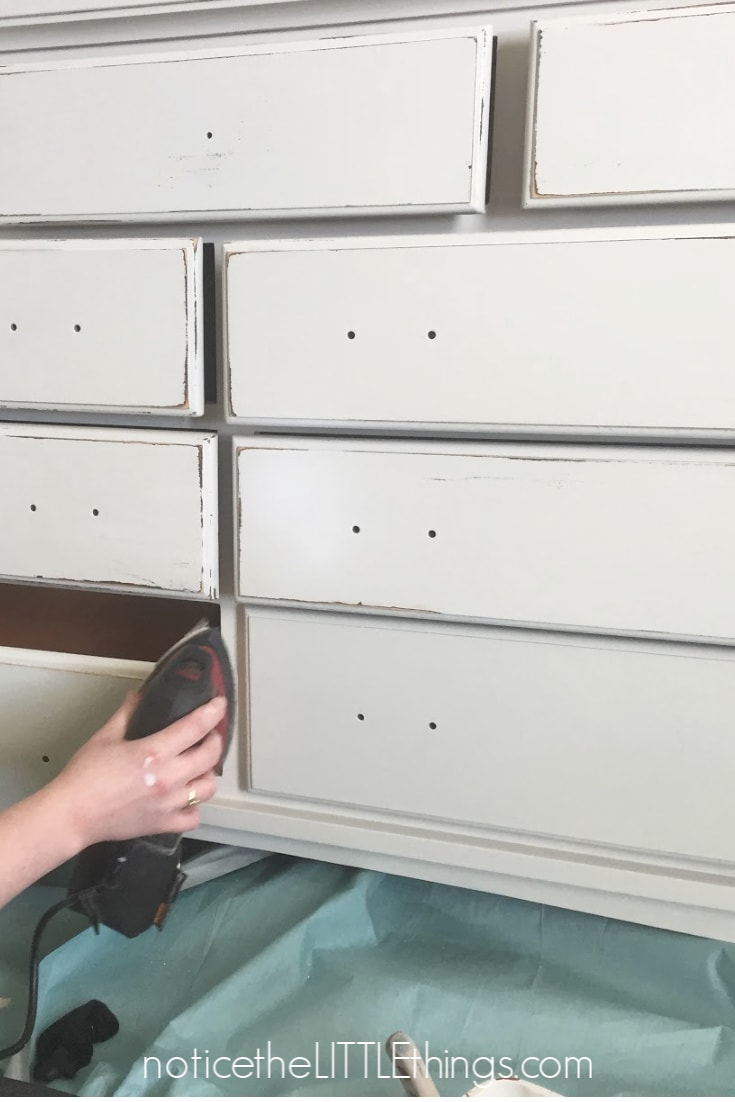
after your paint color dries, now is the time to distress your piece if that is the look you are going for. i like the distressed look. plus, if your piece happens to take an extra hard hit or your son decides it is the perfect place to race his monster trucks, you won’t have to tell him no. chances are, your paint will stand up to this wear and tear, but i prefer to distress and then completely let go of any worry.
i use a palm sander to distress my pieces. i forgot to take a picture when i distressed my table. this is my sister, helping me distress my dresser {that post coming soon!}. let me tell you, taking a palm sander to my smooth paint joy makes me nervous. every. single. time. i am always sure i will ruin it. but a LITTLE sanding to the edges achieves that chippy look that is popular right now. i tend to stick to the edges when i distress, but you can venture to the flat surfaces as well. it’s completely up to you.
when your paint or stain dries and your distressing is complete, you will want to apply a polycrylic to seal your color. you can use the same polycrylic over paint and stain. there isn’t a different one for a stain. either way, this will prevent chipping and allow you to wipe your piece down as many times as you need to remove marker, paint, fingerprints, and other common table stains. here is the polycrylic i use.
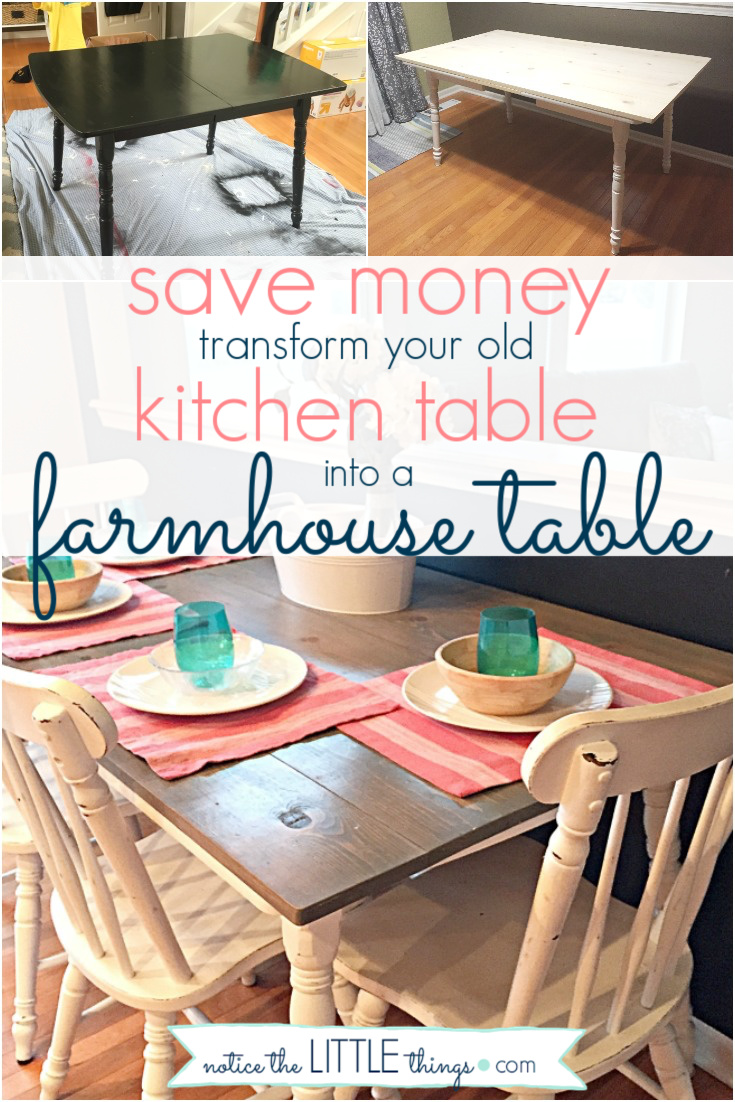
painting our kitchen table and chairs transformed our entire kitchen, and really our whole first floor {because you can see the table from multiple rooms}. it turned out to be the most budget-friendly option for our family. in fact, we liked it so much, we painted our coffee table to match {for before and after coffee table pics click here}.
i don’t worry when the kids sit and do their homework or art projects at our refinished kitchen table because i know this method stands up to the wear and tear of life. if you are looking to refresh additional furniture pieces you can check out the before and after pictures from our piano, hutch, and coffee table projects.
don’t forget to grab these two resources. help take the guesswork out of the painting process AND focus on all the LITTLE things you love about DIY!
{want to save this idea for later? click the red save box on the image below to pin this post. or follow notice the LITTLE things on pinterest here.}
