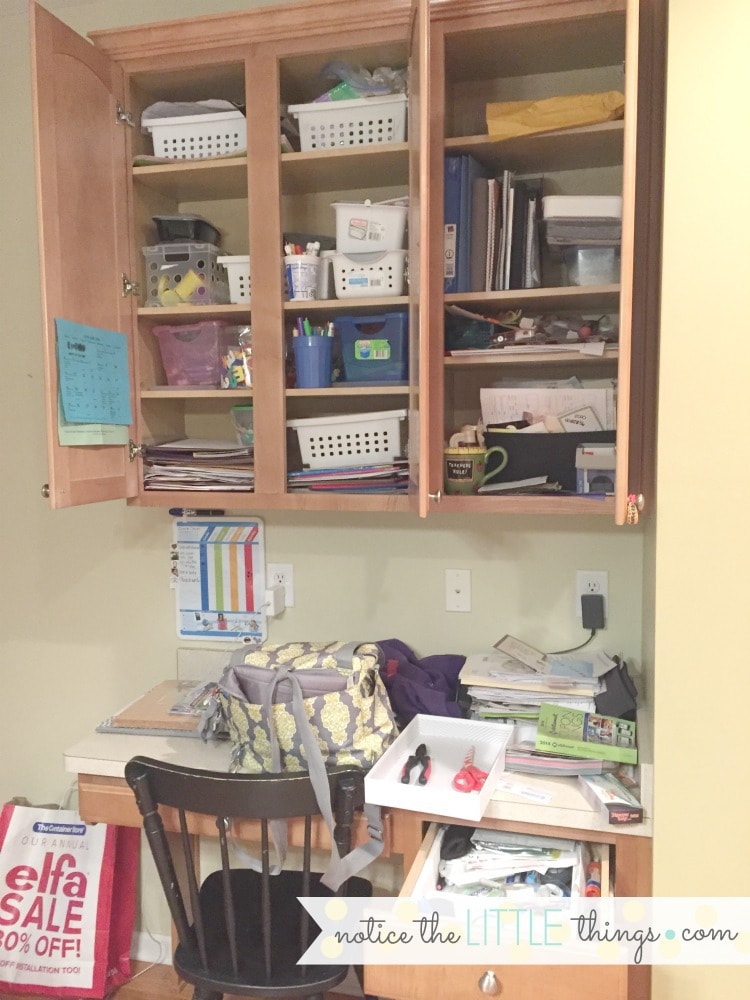
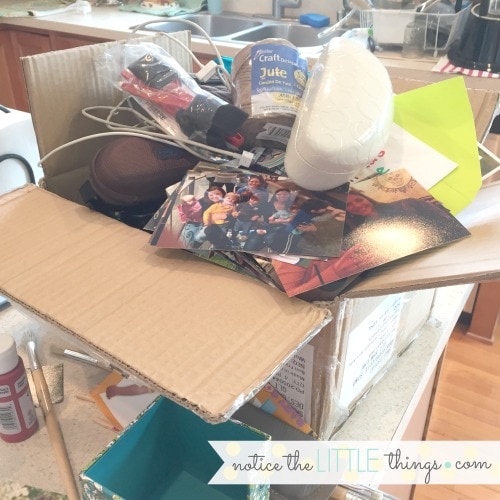
how does my desk get so messy? do you ask yourself this same question? at one point last year i looked and here is what i saw:
- a dirty sock
- a report to edit
- a random screw of unknown origin
- a lollipop {half eaten}
- various chargers
- a bit of twine
- a tiara
my very small kitchen desk, inside and out, had become the place for all the things that didn’t have a place.
our kitchen, as i’ve said in previous posts, is our hub. reading this, you might be tempted to think that means me in an apron, flour on my cheek, whipping up some new recipe for my family to all, collectively, love without whining or complaint. don’t be fooled. the kitchen is our hub because that’s where everyone likes to dump all their stuff. in particular my desk. among the items on this year’s kitchen organization overhaul list, was my desk.
i know. yikes. and let’s use the term desk loosely. as you can see, it’s more like an extension of our countertops. it is tiny. it houses an array of items, mostly kid crafty things, not grown-up desky things. sigh.
at times, i am tempted to complain about my desk because my husband works from home and has a whole home office to himself. with a door that closes. but really, if i had a space to work with a door that closed, someone would just shout from behind the door and stick their fingers underneath. they always find me. so i won’t complain about my small kitchen desk. instead, i decided to get creative and organized and claim the space as {mostly} my own.
if you read how to control your paper clutter part 2, you know i think the absolute easiest way to keep things and spaces organized is to have a place for everything. but sometimes spaces get away from us before we have time to put a system in place. that’s what happened with my desk.
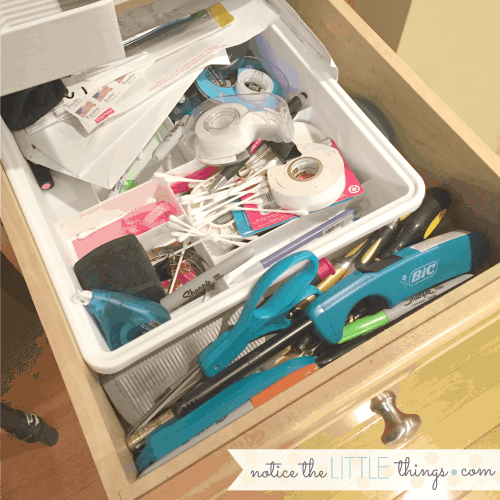
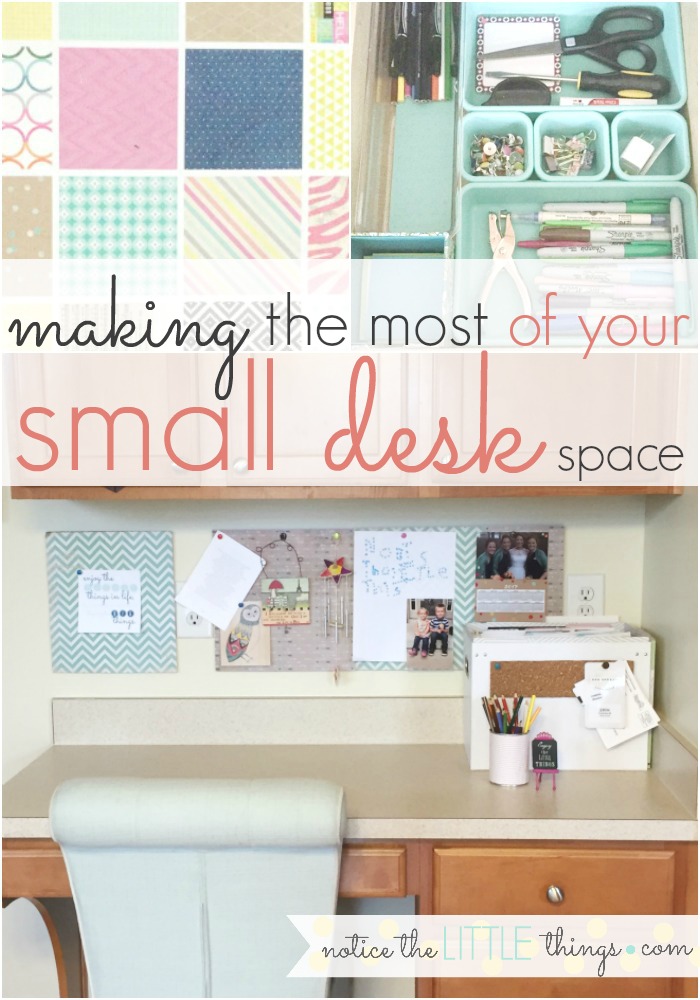
when we moved in, i made a half effort at putting some old organizers inside my new desk drawers. as it goes with a new house, we had other expenses ahead of my desk organization. so i dealt with it for a couple years and it slowly started to look like the above picture. i should have just spent the $20 on new organizers from the start. but at least now i know exactly what i need out of my small kitchen desk. and that’s a perfect place to start.
step one
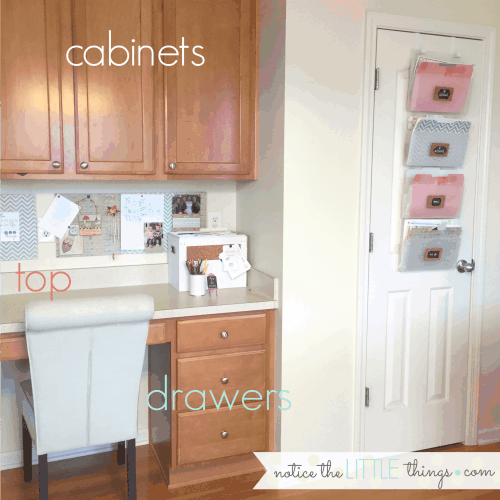
decide what you need your desk to be. split it into parts if that helps. i split my organization into cabinets, drawers, and top, and assessed my needs for each.
i needed the cabinets to be space for craft and learning activities for the kids. i’d love them to be for my own work things. someday, we will renovate the laundry room and that will become our craft hub. but for now, it’s my desk.
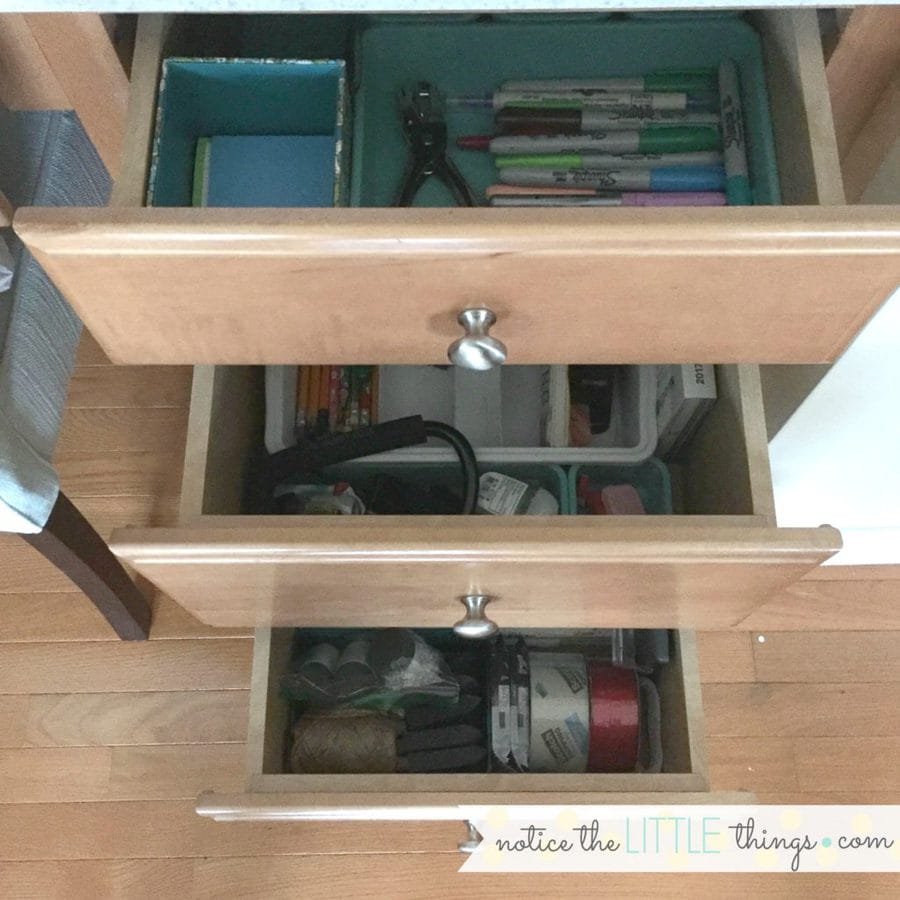
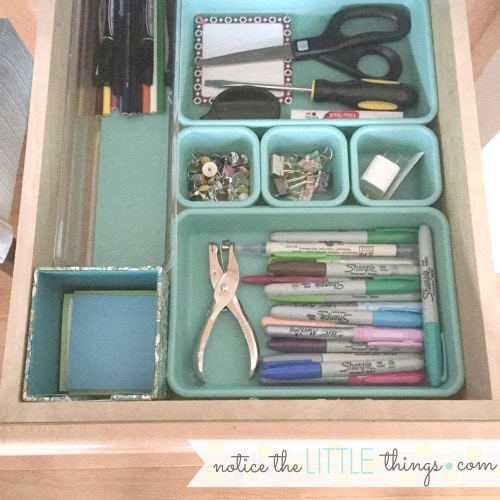
i needed my desk drawers to be a place where things, even random things, have a place. no more just tossing things in. and i wanted them to be pretty when i pull them out.
as for the top of my desk, i wanted it to be less cluttered. i wanted it to tie in with our hanging folder system and i wanted it to be a space that felt more me. i have come to accept that life means the top of my desk will be messy a lot of days. as always, the key is having a place for these things to go so clean up is quick.
step two
buy the necessary supplies to accomplish step one. don’t buy things just because they are pretty. buy things you will actually use. you know my two goals for projects are always quick and inexpensive. but if it costs a few more dollars for something that better suits your needs, it is worth it. otherwise, you’ll just be organizing and spending all over again next year.
for this desk organization, i focused on the top and the drawers. the upper cabinet craft storage wasn’t too bad. there were white baskets there, they just needed to be put to better use.
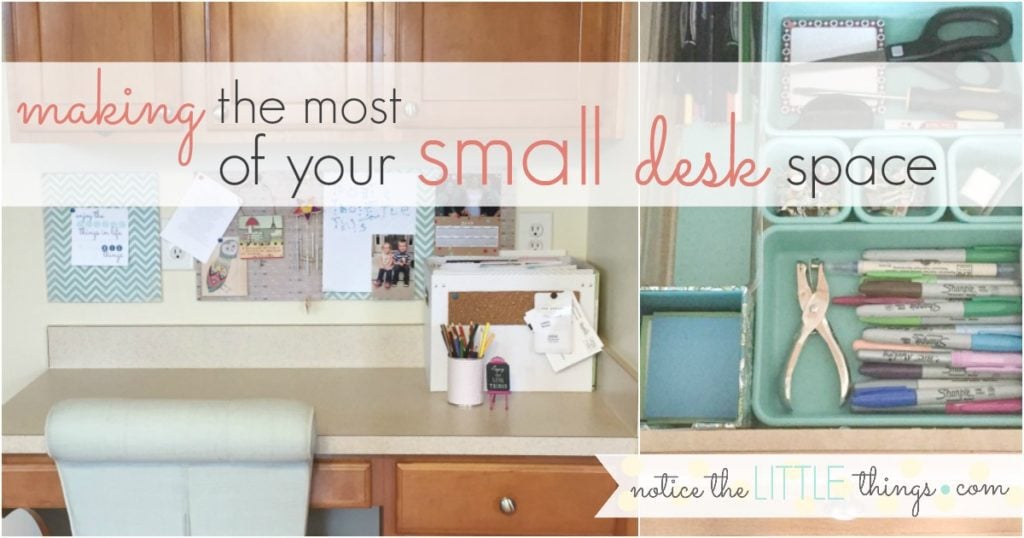
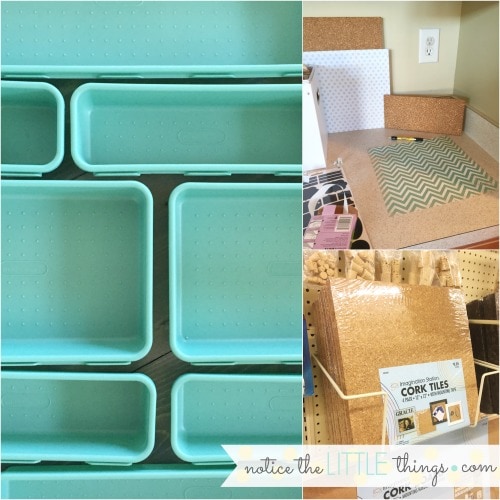
i found small, interlocking storage containers at homegoods for the drawers. in aqua! i think they cost less than $15 total {and i used matching ones for other kitchen drawers. post coming soon}. i purchased squares of cork board at target in the school supply section {i have also seen these at hobby lobby}. i dusted off some scrapbook paper i used for our hanging folders in hopes to tie this all together as a kitchen organization system.
step three
everything out.
this is the best and worst step for every organizing project. it is the best because it has to happen and it allows me to throw away/donate a lot of unused things. it is the worst because it makes a huge mess and leaves me wondering why in the world i have all this stuff.
i pretended like everything was going to fit in that small box. ha! i am always amazed at how much actually comes out during this step. why? why do i have all this stuff?
step four
everything {well hopefully you got rid of some things} back in. it is so so so important during this part that you put things back in a way that will work for you. if you are thinking, i have no idea how i am going to keep this organized, then you probably need to rethink your solution. it’s ok if this part takes a few days as you figure out something that is workable.
when i am organizing, i ask myself, will this work for me when i am in a hurry? because i usually am. in a hurry. if i can’t put something back in its place in a hurry, it probably won’t work for our family.
i used drawer organizers for the first two drawers. the bottom drawer was tricky because it is deep and there aren’t as many organizing solutions for deeper drawers. if you have an area that is particularly hard to organize, it’s good to at least decide on a purpose for that space. for my deep drawer, i decided i needed it to be for my own craft supplies. it will be the hardest to keep organized, but knowing its purpose will prevent it from becoming a catchall.
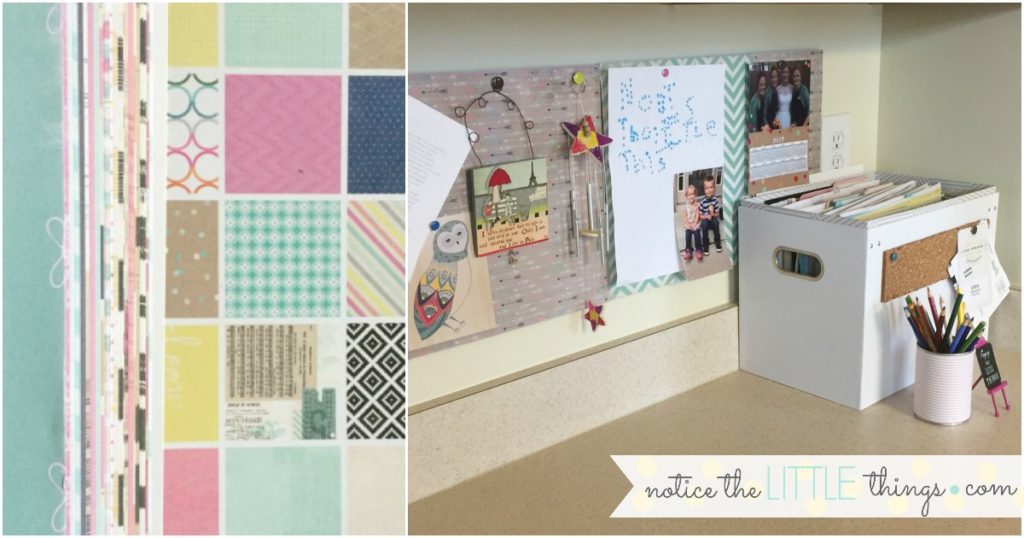
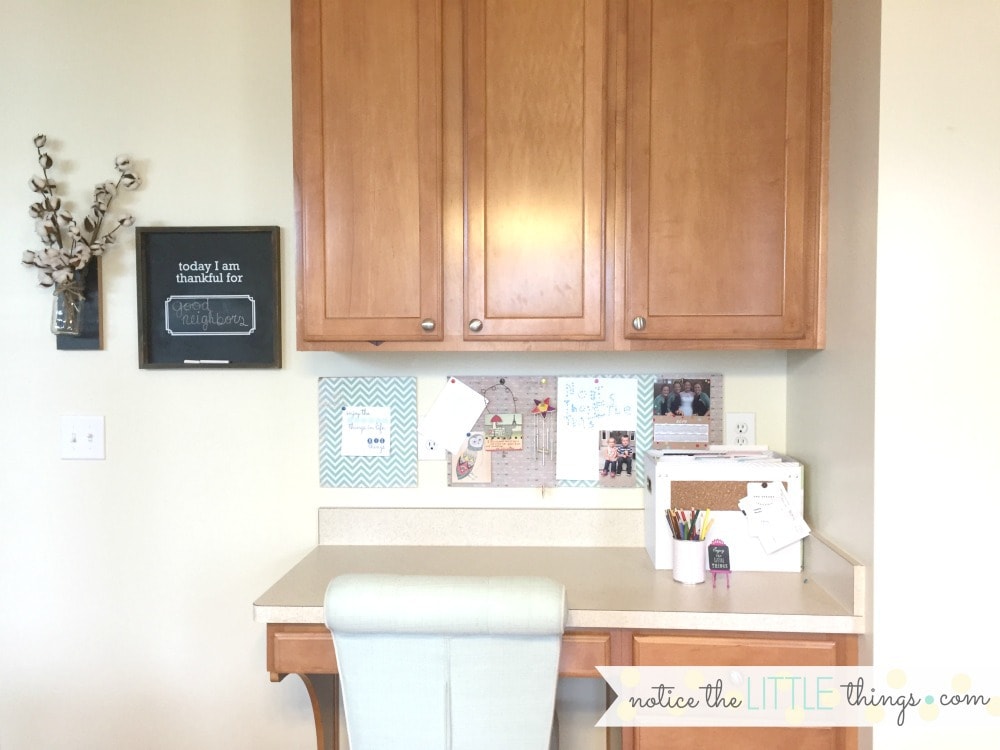
i had the most fun with the top of my desk. i took my time, designing some cork boards for the back wall, to make the desk feel more like me. i wanted to walk by and feel happy, not a sense of dread. it was so easy! and inexpensive! i covered the cork board squares i got at target with scrapbook paper. i lined them up and used command strips to stick them to the wall behind my desk. now i can pin up fun notes, quotes, kids artwork, and other things that inspire me. i added a scrap of cork board to the file box i use to keep my paper clutter under control. finally, i saved up for a new chair. scooting a kitchen chair over every time was fine but i really wanted something a little more comfortable. now maybe i will magically have time to sit down!
step five
admire your work. i am not kidding, when i finished, i kept walking by and pulling out the drawers to look at all that organized aqua goodness. why oh why didn’t i do this sooner? at least it’s done now. and yours can be too. decide what you need from your space, buy the necessary items, take everything out, and organize it as you put it back in.
the hardest part is getting started, so do that now. all those other life things aren’t going away so you might as well get your desk organized!
if you’re new to the blog, welcome! looking to organize some more spaces in your home? here are some spaces i’ve recently tackled with a few tips i’ve learned along the way ::
organizing kitchen cabinets in 5 easy steps
easy organization for all those school papers
{want to save this idea for later? click the red save box on the image below to pin this post. or follow notice the LITTLE things on pinterest here.}
