* i recently changed this post from 3 easy steps to 5 easy steps. 5 steps might seem more overwhelming BUT i actually think breaking it down into 5 simpler steps makes it easier. i hope you think so too!
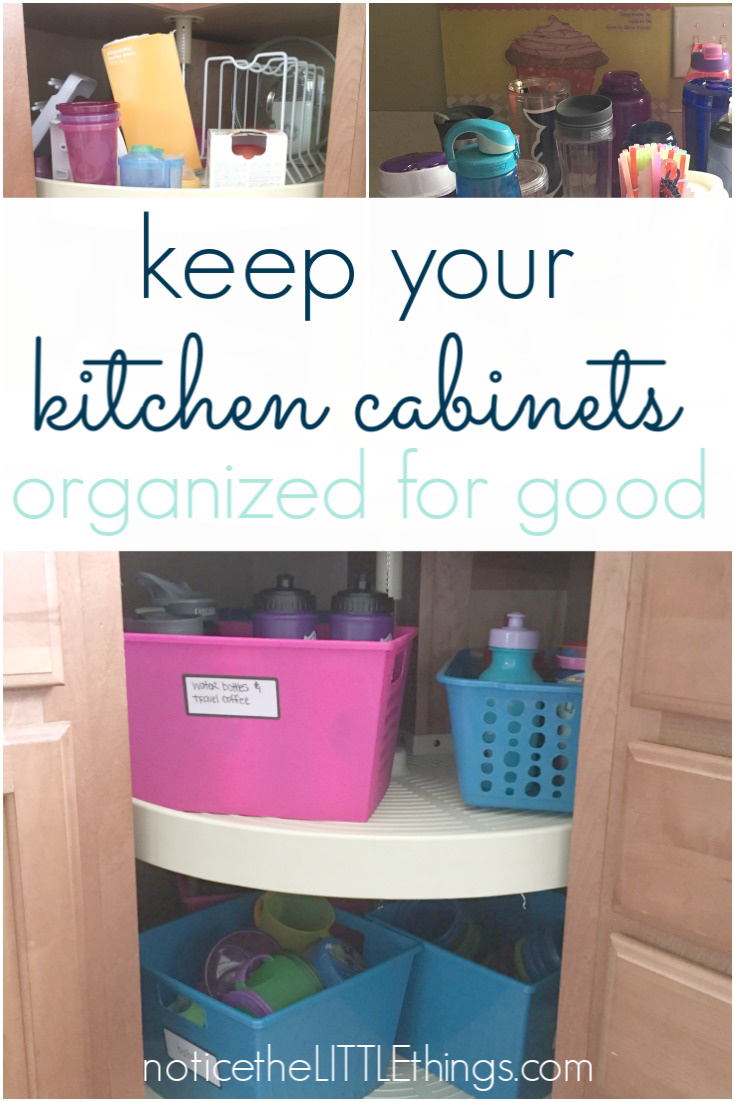
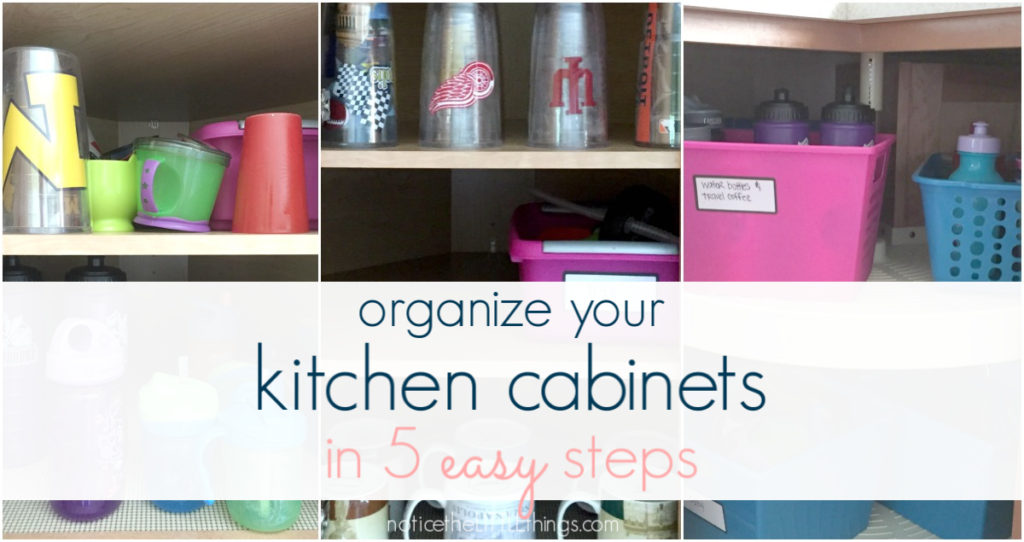
do you have to hold your hands up as you open your cabinets, for fear something might fall on your head? i’ve been there. our spice cabinet was the worst. i tackled that last year. our cups and glasses cabinet came in at a close second. you would think cups would be easy to keep organized. but the cups were all shapes and sizes. also there were water bottles, plastic bowls, lids, you name it.
all of these things were in a weird corner cabinet where anything off to the side seemed to be lost forever. unless i climbed up on the counter to peer into the depths, which is no one’s favorite thing to do. do you have cabinets like this? something had to be done.
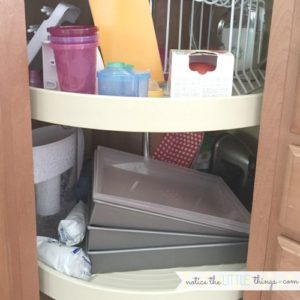
underneath the weird corner cup cabinet was our lazy susan. i understand why, in theory, a lazy susan is a helpful thing. put things on, wheel them around, close the door. the problem was, we initially had nothing in this cabinet. as time went on, it became the catch-all for everything that did not have a better home in our kitchen. i’ve read that like things should be stored together in your house. that was not what was going on in our lazy susan cabinet. its contents had no rhyme or reason.
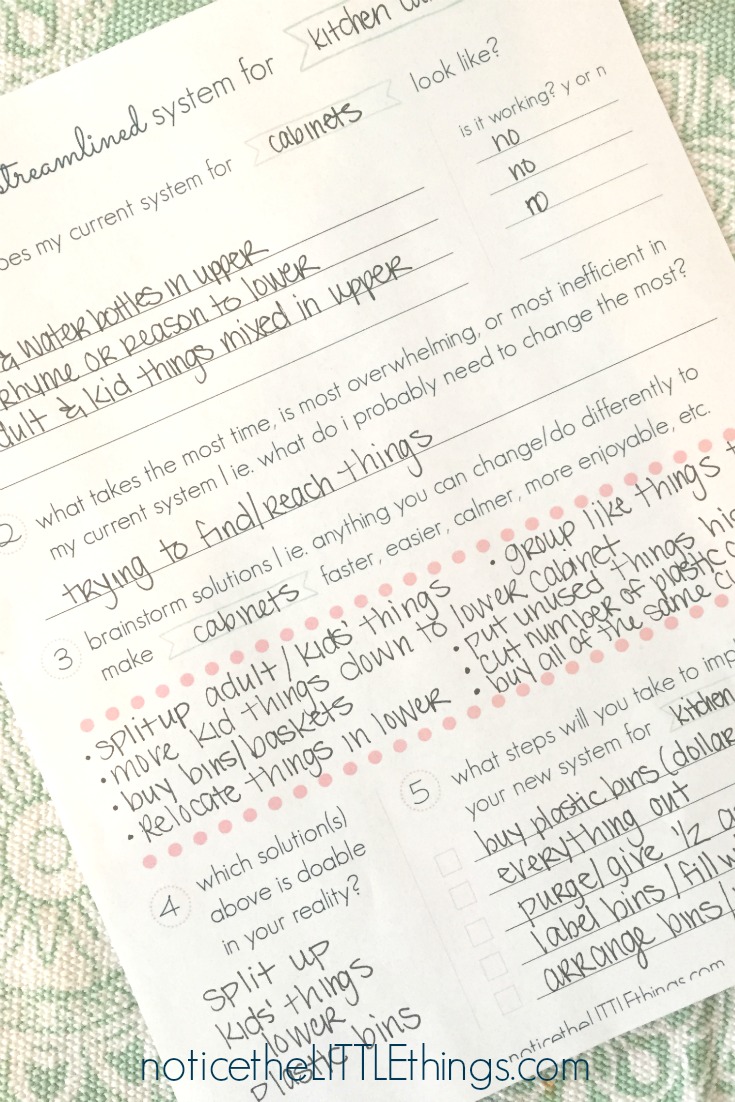
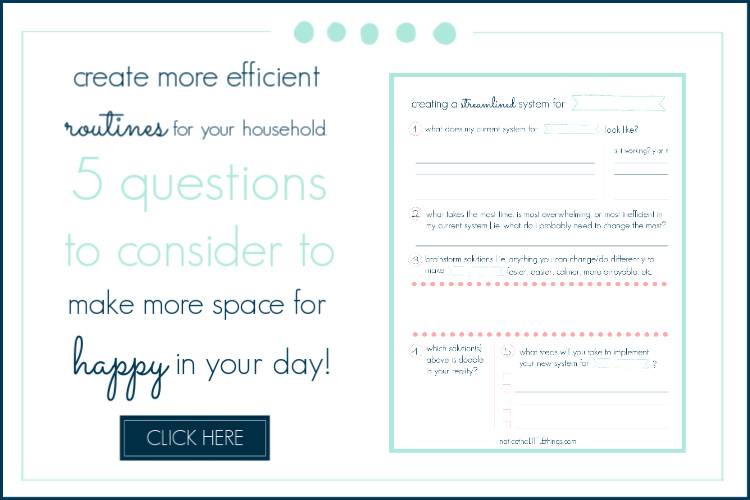
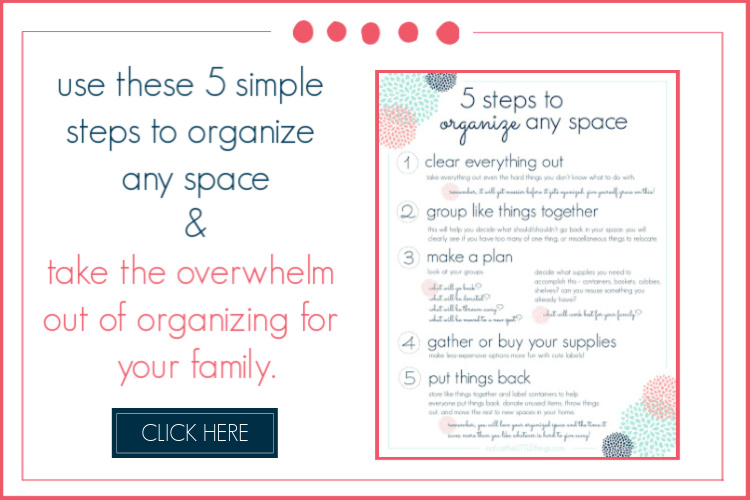
so one day, in the middle of everything {messy house, busy schedule, kids underfoot} i decided i’d had enough. the weird corner cup cabinet had to be organized. and so did the lazy susan. to figure out a new system, i asked myself my favorite 5 quick questions. these questions are so simple and so helpful, i designed a cute printable to use whenever i need to streamline something for my home or family.
the good news? since i made it for myself, i am more than happy to offer it to you! you can grab your copy here, along with lot of other fun resources to help you create more time and space for the things that matter most!
step 1
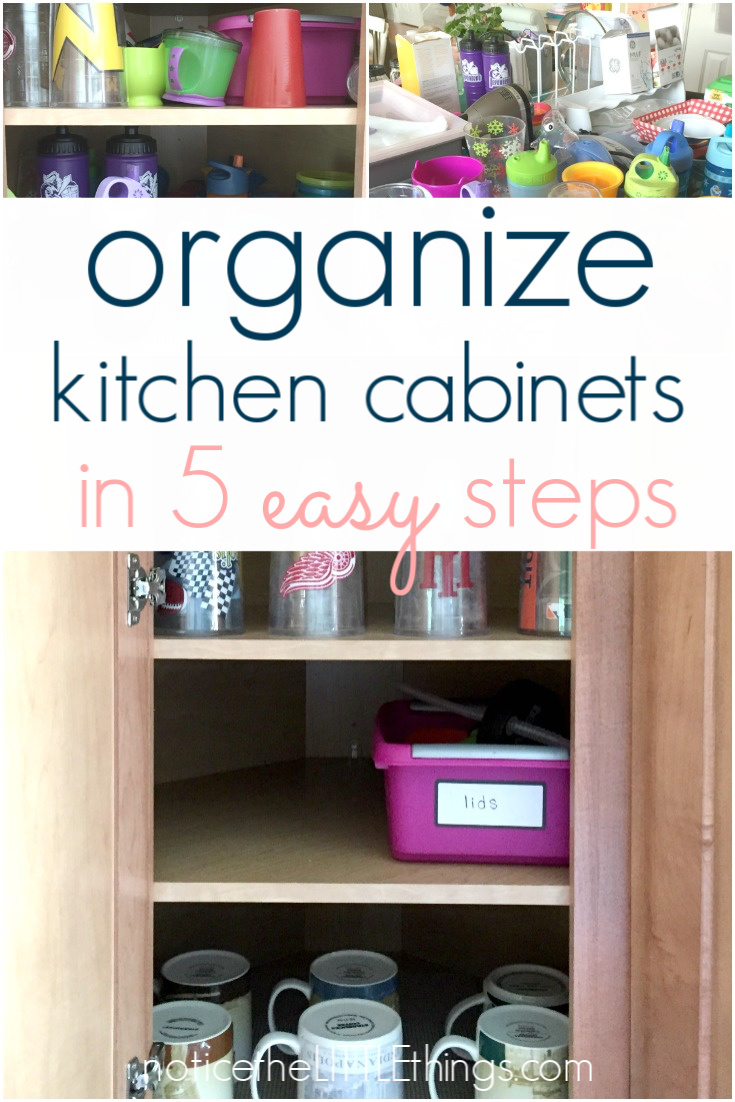
as always, with every organizing project in our house, the first step is everything out. absolutely everything. especially the things you don’t know what to do with. the things you are tempted to just leave in there? you have to get those out the most! whenever i use this method i CANNOT BELIEVE everything that was hiding in a cabinet, or drawer, or garage. it’s a LITTLE embarrassing honestly.
step 2
look over everything you’ve taken out. find commonalities between things and group like things together on your counter. grouping like things together will help you decide what should and shouldn’t go back into the particular cabinets you are organizing. it will also help you CLEARLY see what you have too much of.
my groupings were kid cups, kid bowls, lids, coffee cups, tervis tumblers, travel coffee cups, baking tins, and baby cups. i quickly realized i had waaaaay to many plastic cups, too many water bottles, and too many mugs.
step 3
make a plan. as you group like things together, the things that don’t belong in your space will become obvious. look at your groups and decide:
- what will go back in your cabinets.
- what will be donated.
- what will go in the trash.
- what will be moved to another spot in your house.
then, in regards to the things that are going back in your cabinets, answer these questions for yourself:
- how will i put each group/thing back in the cabinet?
- where will i put each group/thing back in the cabinet?
- will changing the height of the shelves help?
- do i need to buy baskets, plastic containers, or reuse a storage tool i have somewhere else in my home?
where, what, and how you decide to put things back should be based on what is most functional for your family. do not decide where things should go based on what is cutest or what someone else does.
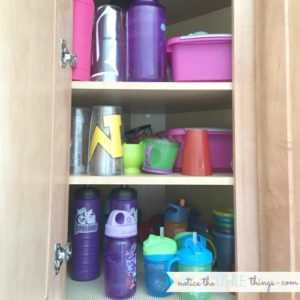
for me, i decided kid cups should go down below because my kids are old enough to get their own drinks now. water bottles, plastic bowls, baby cups, and travel coffee mugs also went down in the bottom cabinet. coffee mugs, tervis tumblers, and less-used baking pans were better off in the top cabinet.
i decided adult things in the top cabinet did not need to be placed in a basket or container. coffee mugs in a basket doesn’t make much sense. but the kid things? the water bottles? the lids and the baby cups? those would be best in some sort of container. plus, when the lazy susan is moved around, standing cups tend to fall over. containers would prevent this from happening and help the kids keep their things organized.
step 4
buy the necessary organizing tools for the decisions you made in step 3. if you have things in your house you can reuse, even better!
most of my organizing projects have two requirements – quick and inexpensive. cute is a secondary requirement. i love pretty aqua, coral, gray, and navy things. i love bins and baskets with polka dots and stripes and chalkboard labels. it would be amazing if the dollar store carried my favorite color schemes and designs. but it doesn’t. when it comes to projects like this, where the organization will be behind closed {or cabinet} doors, cheap reigns over cute.
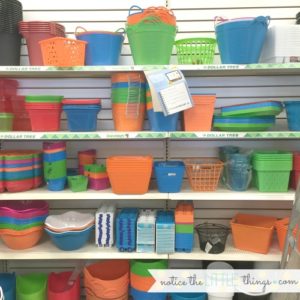
i found the usual assortment of blue, orange, green, and hot pink at the dollar store. i opted for blue, along with some pink i had leftover from my pantry organization project. blue seemed the least flashy of the colors, and something i could work with. *this just in! i went to the dollar store today and they had much better colors! i saw a lot of navy so i will head back soon without my kids to browse some more!
step 5
put things back. yay! you’re almost done! organize your things into your containers or your baskets, or place things directly back on the shelves. store like things together. this makes it easy to find things and easy to unpack the dishwasher. i highly recommend labeling your containers. this will help you remember your new system AND helps other people in your house put things back correctly. also, it’s cute.
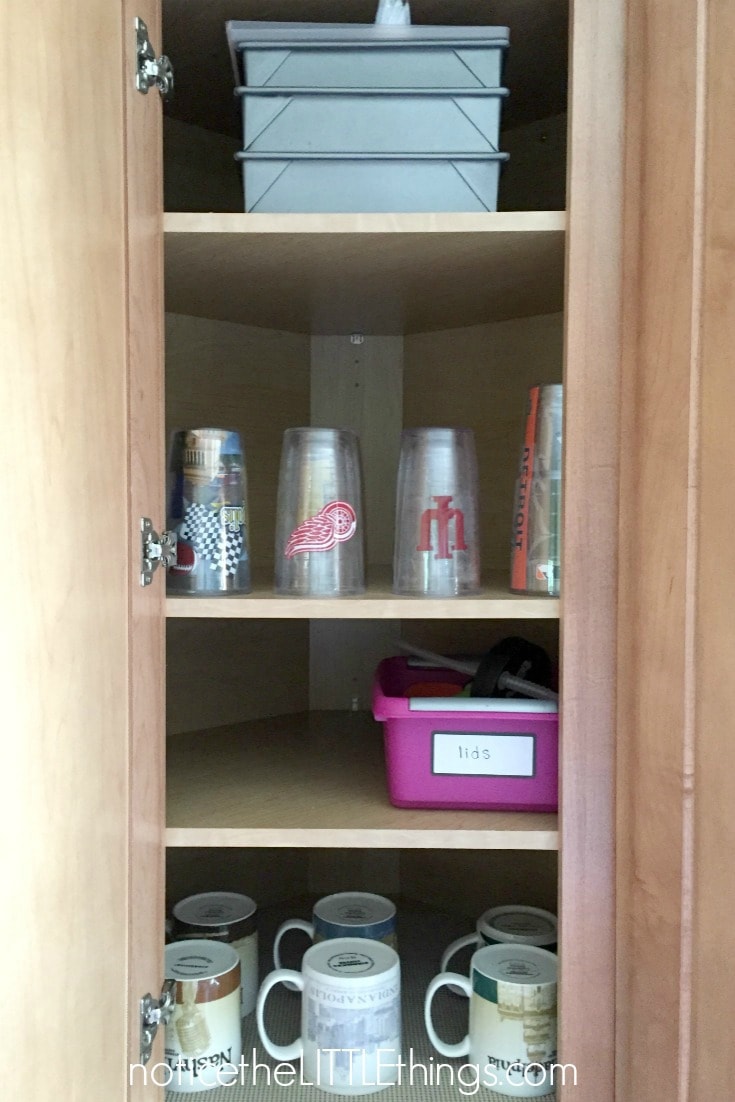
this step is also where you will throw things out, put things in a bag for donating, and move the rest to better places in your home. i actually love getting rid of things, but i know for some, this can be hard.
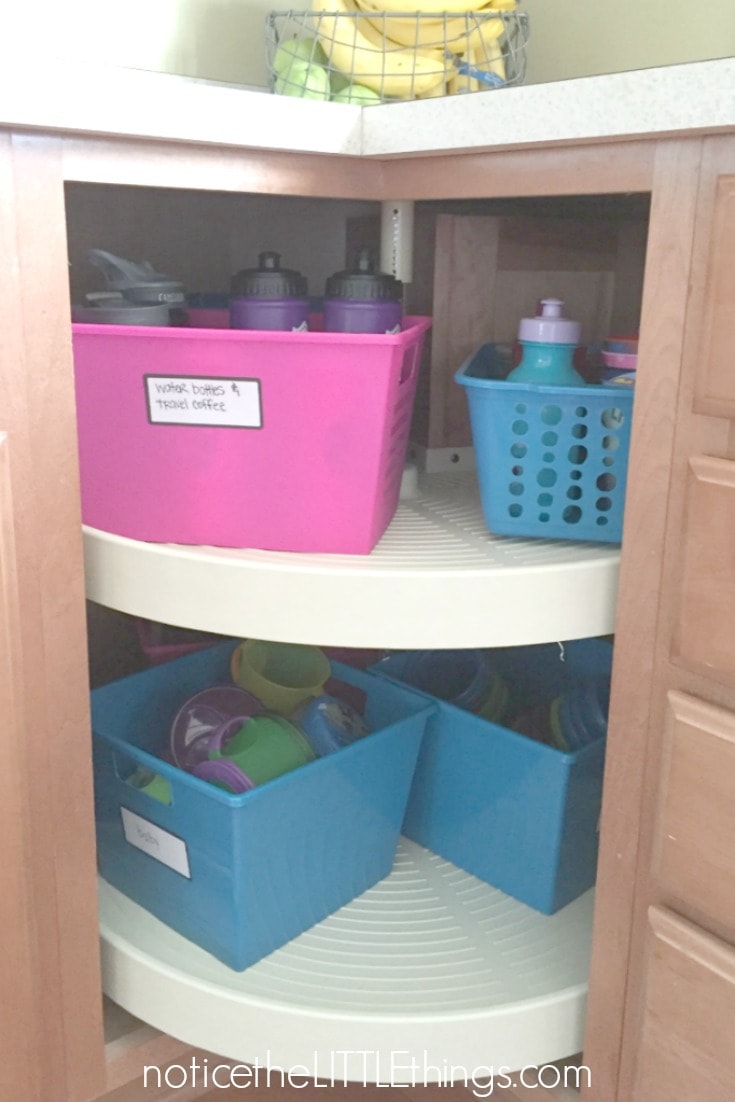
here’s the thing. if you haven’t used it in the last 3 months, you really don’t need it. if you only use it twice a year, is there something else you have that could do the same job? are you saving things because you maybe might use them? it’s time to let those things go.
i recently got rid of my garlic press. i was holding on to it because i registered for it and felt bad that i never once used it. i buy garlic in a jar, already minced and ready to go. i am the world’s most basic cook. why do i need a garlic press? does the person who gave me that care AT ALL if i get rid of it? no.
even if it’s a mug you got on a trip with your best friend. if you don’t use it, getting rid of the mug does not change the fact that you had fun on that trip. i promise you will love your organized cabinets more than you love that mug. or that garlic press.
finally, stand back and admire your work. you’ll probably be thinking why in the world didn’t i do this sooner? the answer to that question is life. it is not possible to have everything organized all the time. goodness i wish it was.
if you’re overwhelmed with where to start, i’ve got you covered. you can grab your own cute printable copy of the 5 steps to organize any space here. every time i am dragging my feet on something i know needs to be improved, i refer back to this printable to remind myself that ANY space can be organized in just 5 steps!
{want to save this idea for later? click the red save box on the image below to pin this post. or follow notice the LITTLE things on pinterest here.}
