sometimes, it’s hard to turn down free stuff. do you want this tent for your kids? sure. would your son like these pokemon cards? yep. here, we never even opened this craft project. would your daughter use this? she would. do you think these clothes would fit your youngest? i do.
with a large family and a village of helpful neighbors, free stuff is offered in abundance around here. just last weekend, my mom offered all of us their dining room table. it’s beautiful. it has a middle pedestal, which i love. the corners are cut at an angle. but it is brown and needs some work and doesn’t match anything in our house. plus i already have a dining room table, that i already painted. i turned my mom’s table down. it was hard. i am not always THAT good at turning down free stuff.
a couple years ago, my sister was moving. we have a SMALL dining room, connected to our small living room. i’d been searching awhile for something that would finally allow us to unpack our waterford glassware. it sat in its original boxes in our basement, where it had been since our wedding day. at first, i didn’t dare put it out with small kids. then, i couldn’t find a china cabinet or hutch small enough for our space. so when my sister said i’m moving. does anyone want this corner hutch? i couldn’t resist.
the problem is, free furniture rarely means perfectly suited for your house. because of my affinity for free stuff, i’ve done a fair amount of furniture painting. painting is ALWAYS cheaper than buying something new, but it can be overwhelming at first. what brushes to buy? what paint to use? do i need a primer? do i need to sand first? how to keep it from chipping? do i have to be a good painter?
sometimes the unknowns can take the joy out of DIY. in case you’re new to painting, or if you want to make your next project run more smoothly, i put together this complete guide to painting furniture. notice the LITTLE things is all about uncovering MORE joy in your day, especially when it comes to things like DIY, and this guide can help! it has everything you need to know about painting furniture in an easy-to-print format you can refer to during your project. it includes a list of favorite brushes, paints, and other supplies with pictures, with tips to help you feel confident the whole way through! find more JOY in in the DIY process with this helpful guide.
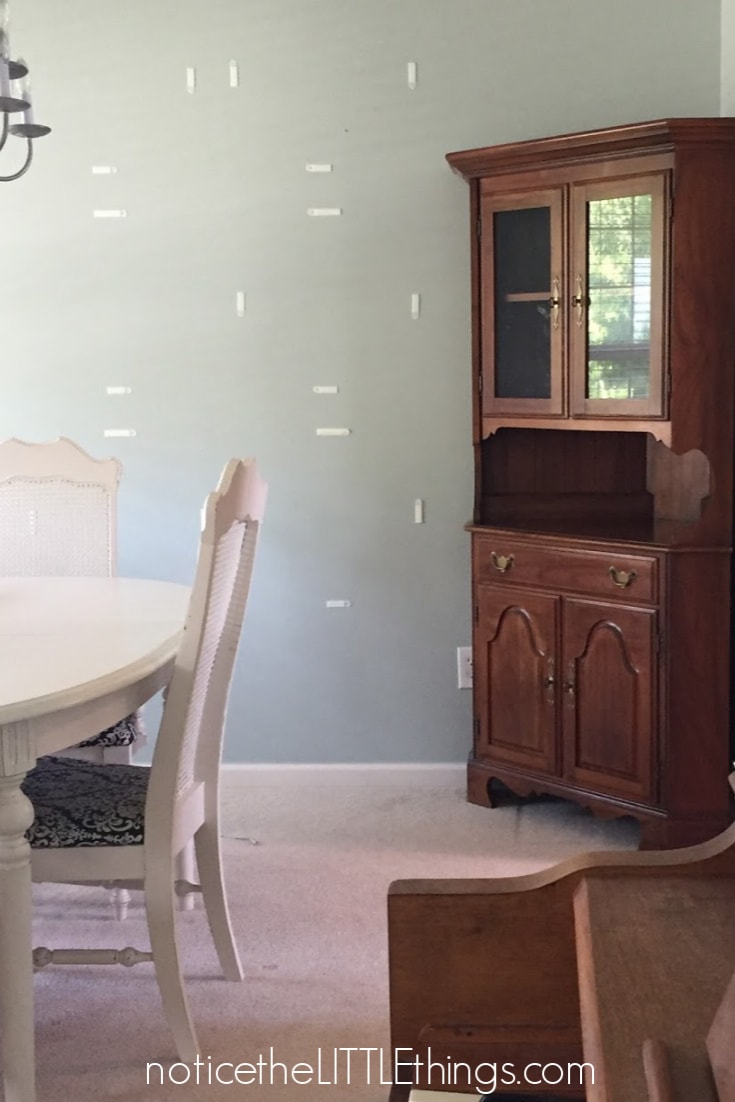
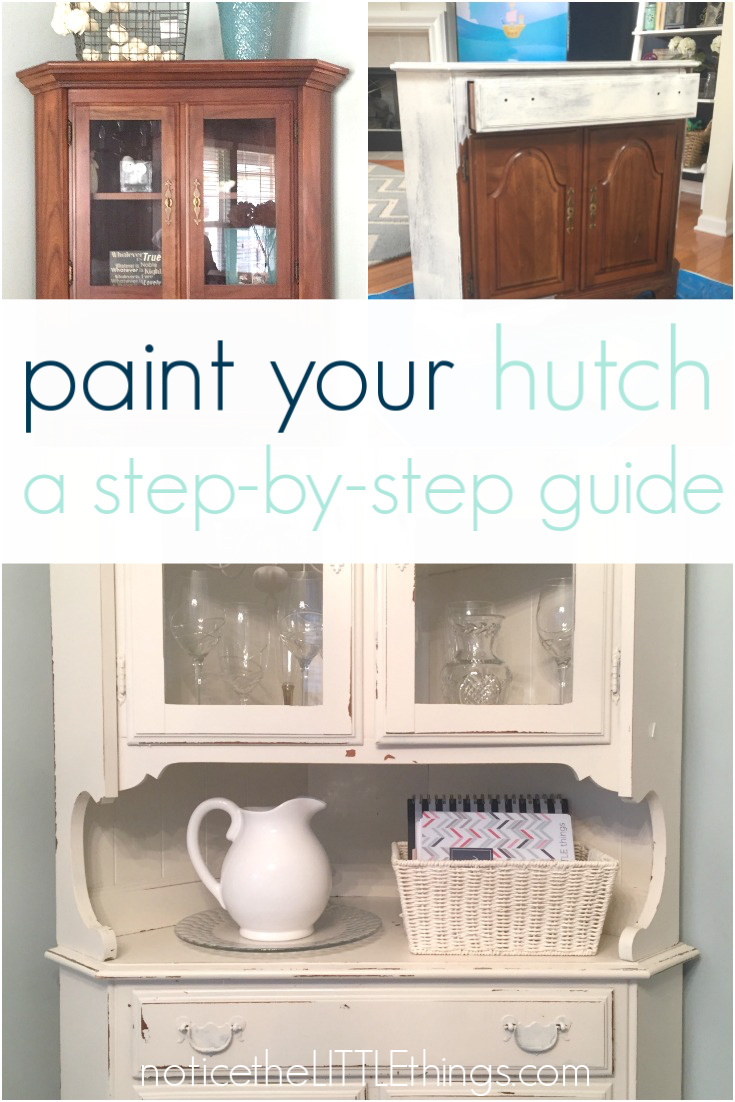
the hutch from my sister fit PERFECTLY in our space. but, as you can see, it sat mismatched in our dining room for two years. friends, that is sometimes the reality of diy or really just homeownership, right? it’s hard to have everything right in your house all at once. for me, other projects (like our kitchen table and our coffee table and our laundry room renovation} came before this hutch. which meant it was the first thing people saw when they walked in the door for two years. eek. but i had a vision. this past year it was finally time for the hutch!
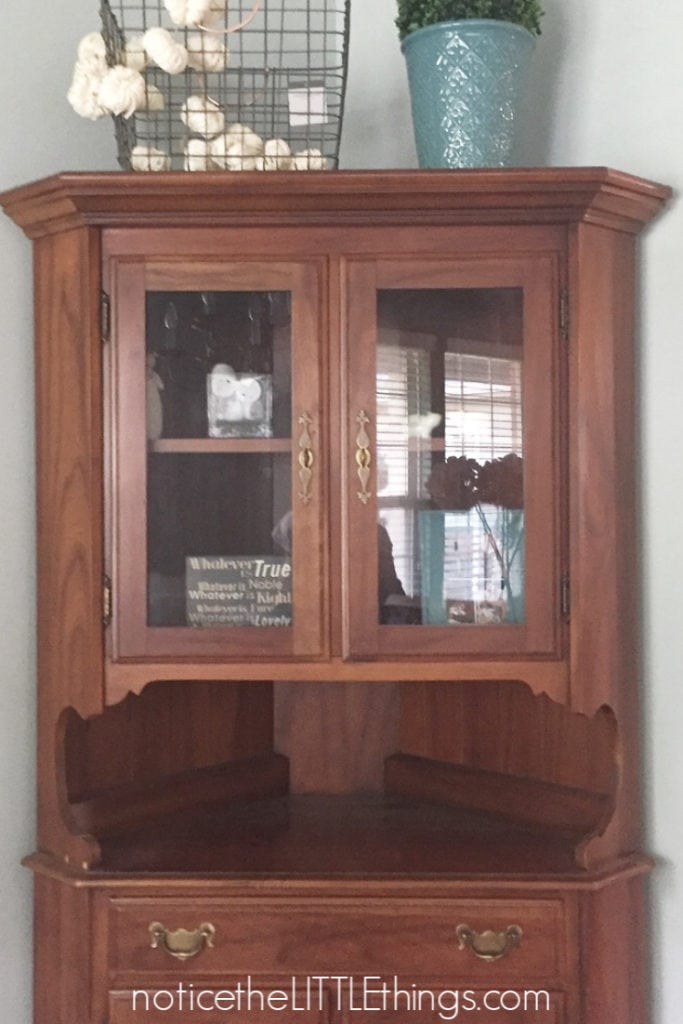
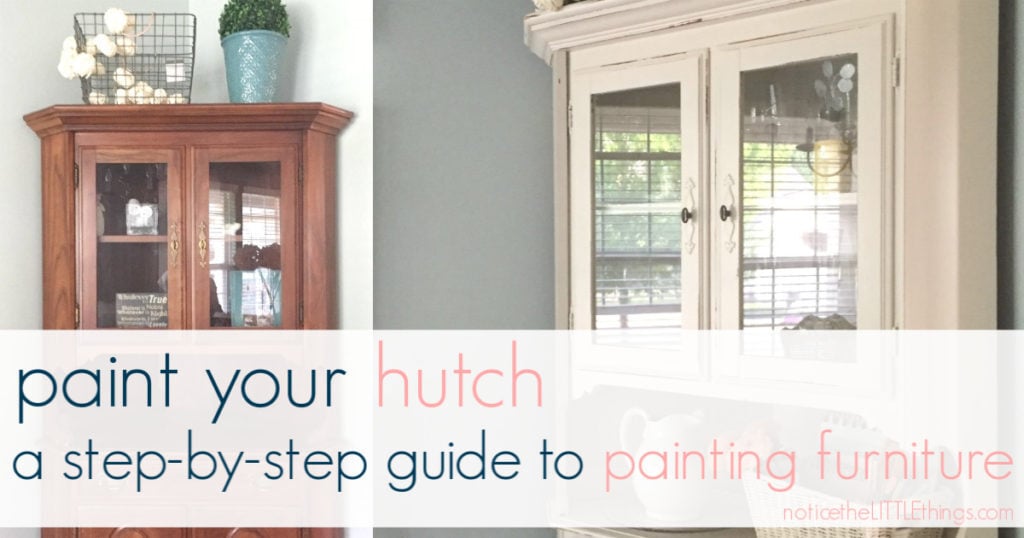
looking to refresh a piece in your own house? here’s how you can go from this…
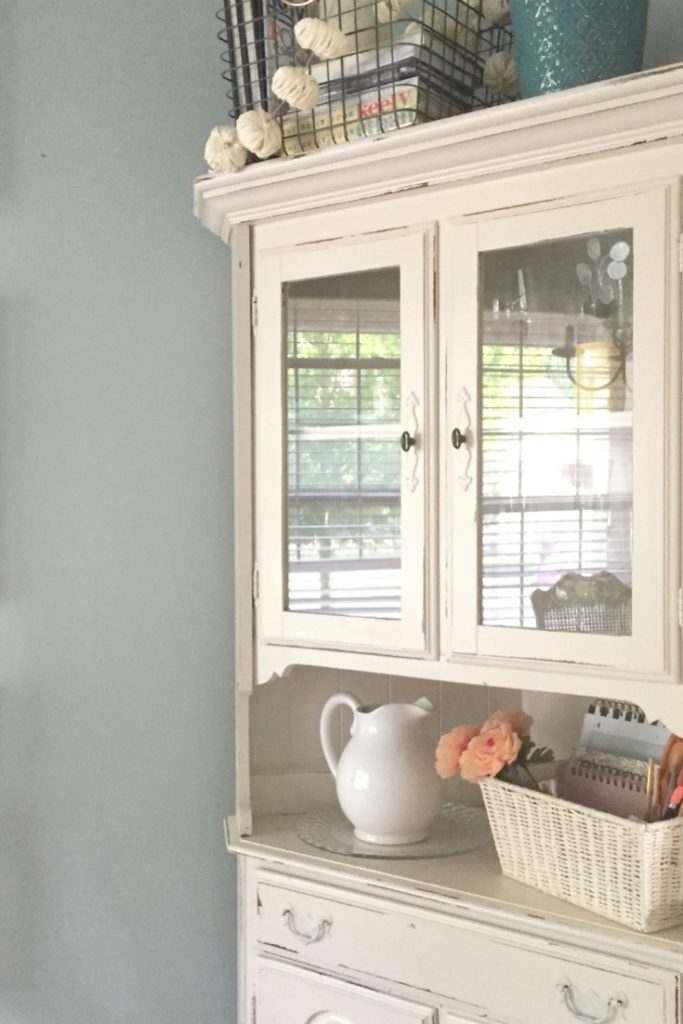
to this…
step 1
gather/purchase your supplies
to paint your hutch {or any piece of furniture} so it will not chip, you are going to want to prime, paint, and seal the whole thing. this is not hard, it just takes a few days. you do not have to be a good painter. i promise. you just have to start and keep going! you can purchase your favorite brushes, primer, paint, and polycrylic at your local hardware store {or you can download my supplies cheat sheet}.
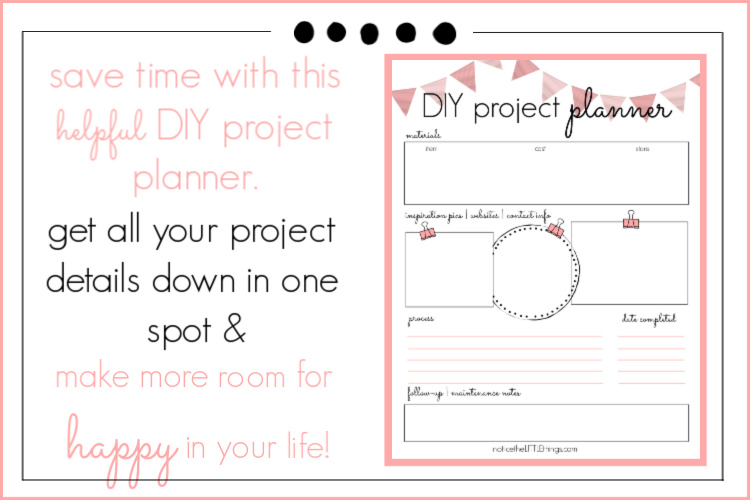
you might also want to snag a copy of this fun DIY project planner. staying organized in small ways like this helps me focus on the creativity of a new project, rather than the nitty gritty details, because sometimes those details are what keep me from getting started in the first place! keeping all your project details in one place will free up time to concentrate on the things you love most about DIY.
step 2
apply your primer
wipe down the piece you will be painting with a wet cloth to remove any dust or residue. when your piece is clean, it is time to prime.
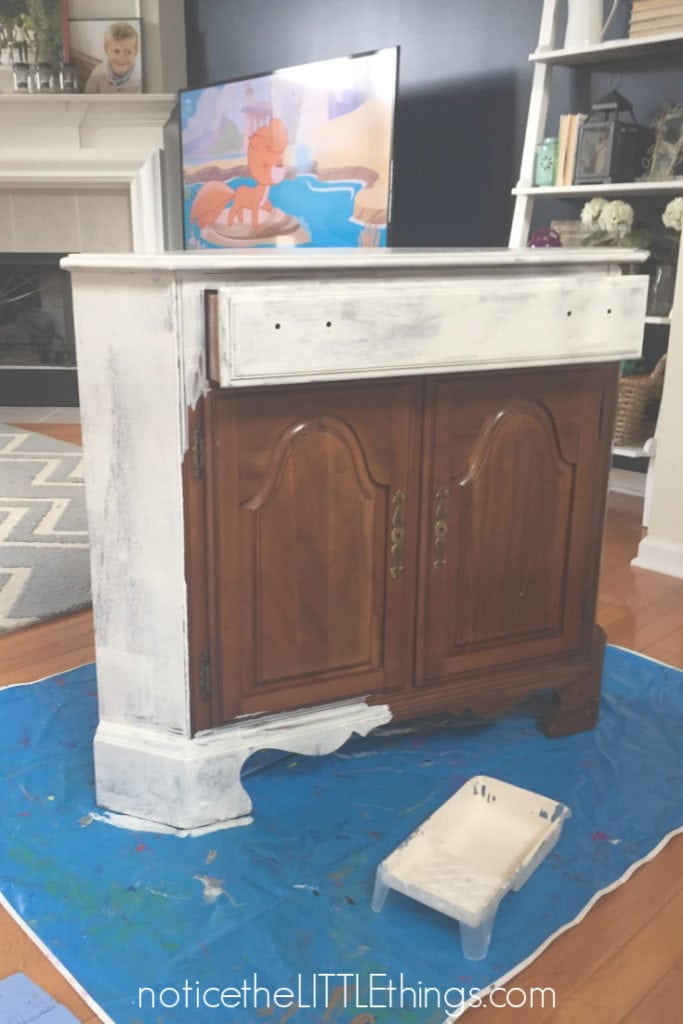
you can see i do this right in the middle of our chaos {disney channel on in the background for proof}. real-life diy at its finest!
when it comes to painting furniture, using a primer is a must. sanding is NOT. i know. so great, right? really. you don’t have to sand. i have never sanded a single piece i’ve painted and everything i’ve painted has lasted for years.
primer, however, is a must. i tested out this theory on this project actually. my sister helped me with this hutch because i was 8 months pregnant. she convinced me that i probably didn’t need primer. i figured it was worth a try.
except it wasn’t.
my hutch chips. it is the only piece i have ever painted that chips. luckily, the kids don’t have reason to use it and i know to be gentle. but i wish it was like the rest of my projects – indestructible. final word, use primer. find the kind i like here.
step 3
apply your paint
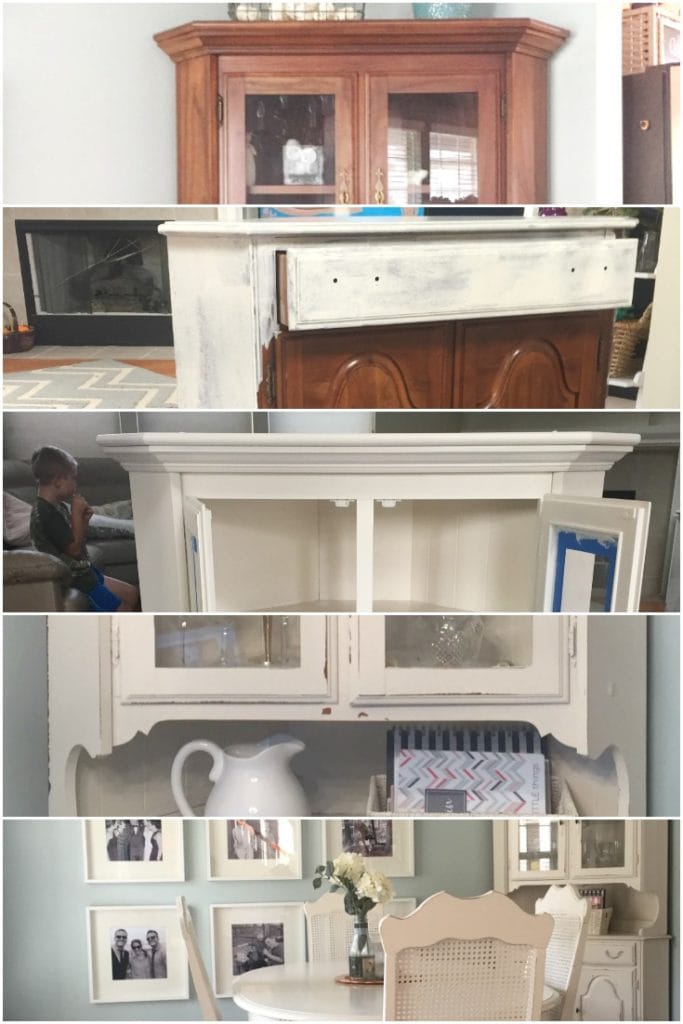
after your primer dries, apply your paint. i use a combination of a brush and roller when i paint furniture.
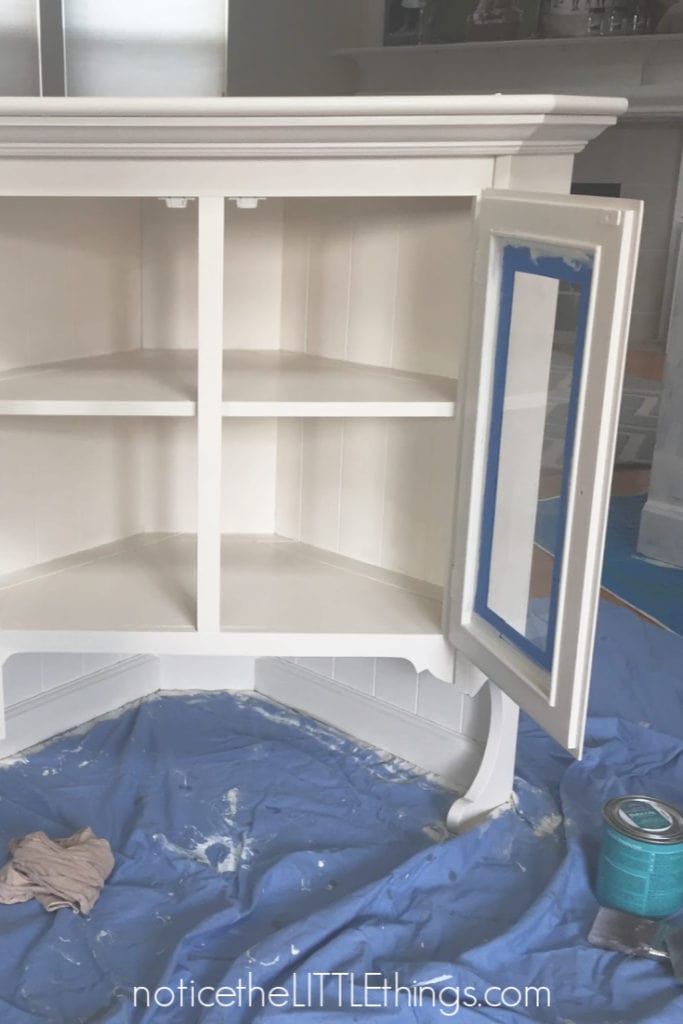
i always hope i can get away with just one coat of paint, but i usually need two {especially on something like my kitchen table where i went from black to white}. you only need to wait a couple hours between each coat.
step 4
distress your piece and apply your polycrylic
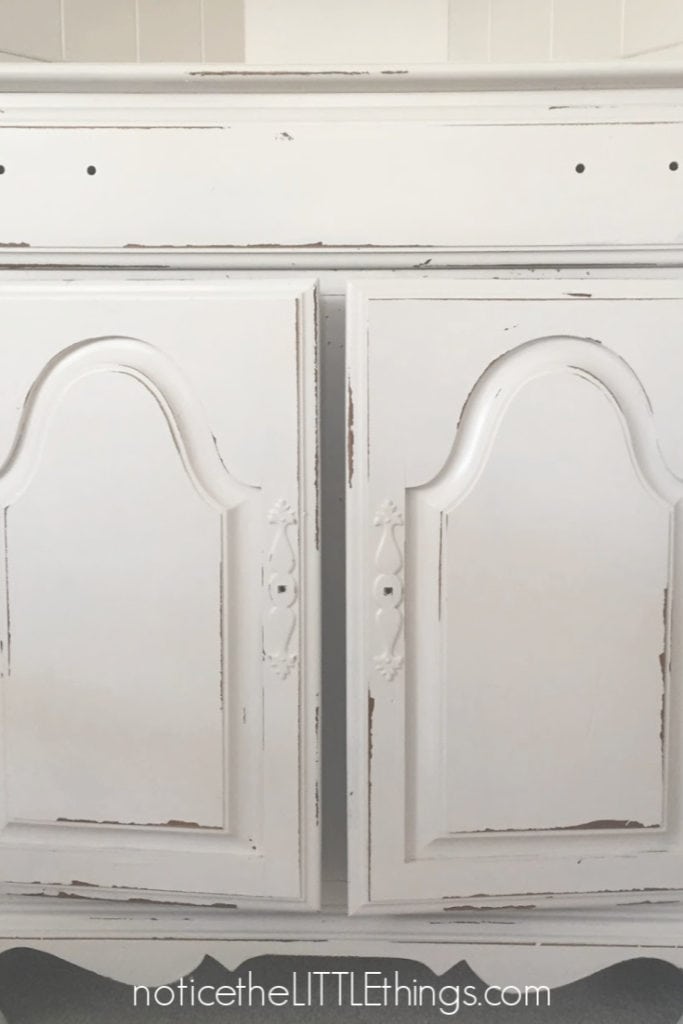
after your paint color dries, now is the time to distress your piece if that is the look you are going for. i like the distressed look. plus, if your piece happens to take an extra hard hit or someone decides it’s the perfect place to set their drink without a coaster, it won’t matter. chances are, your paint will stand up to this wear and tear anyways, but i prefer to distress and then completely let go of any worry.

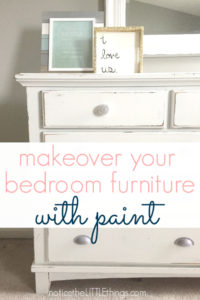
i use a palm sander to distress my pieces. {this is a picture of my sister helping me with my bedroom furniture, but the same method was used on the hutch. i just didn’t get a picture.} let me tell you, it makes me nervous. every. single. time. i am always sure i will ruin my freshly painted piece. but a LITTLE sanding to the edges achieves that chippy look that is popular right now. i tend to stick to the edges when i distress, but you can venture to the flat surfaces as well. it’s completely up to you.
after distressing, wipe your piece down with a soft cloth to remove the sanding dust. then apply your polycrylic. polycrylic is much easier and faster to apply than paint because it is so thin. use a new, clean brush and be careful of drips. i usually just do one coat of polycrylic. if you are painting something with higher traffic, like a table, then two coats on the top part of the table is probably best.
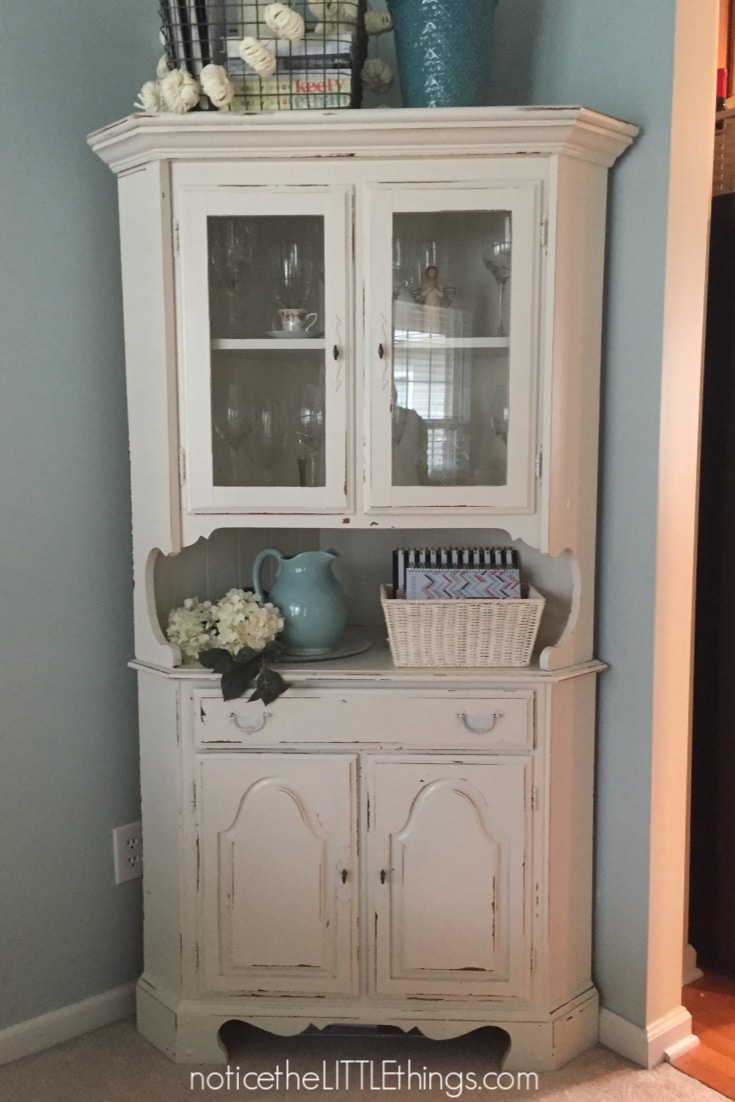
painting our hutch transformed our dining room, and the feeling you get when you walk in our front door.
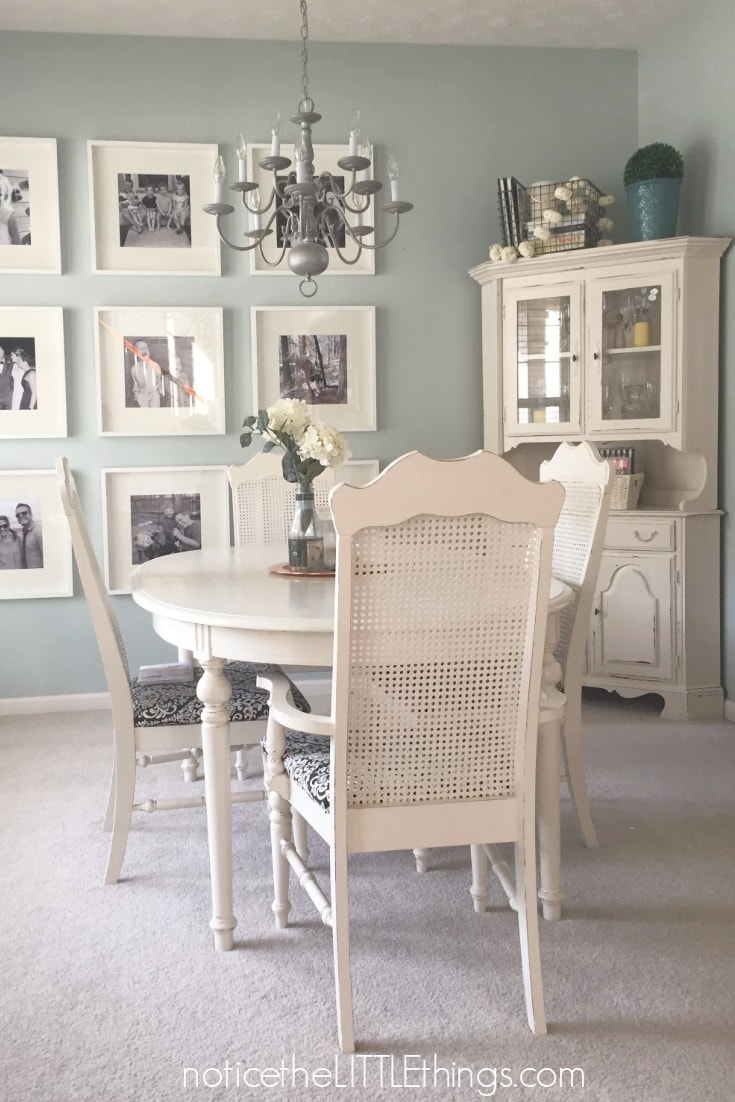
now, within the same room our piano, hutch, and dining table are all painted. none of these pieces matched when at first and now they look like we bought them as a set. it was by far the most budget-friendly option for our family.
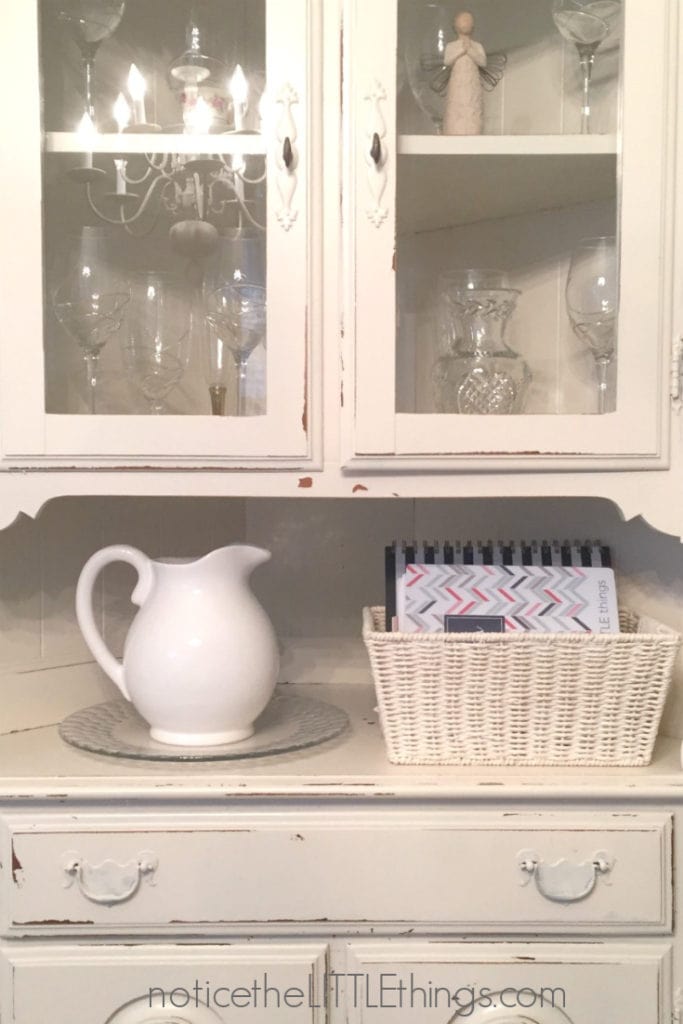
i don’t worry when the kids sit play around these pieces because i know this painting method stands up to the wear and tear of life. if you are looking to refresh additional furniture pieces, you can check out posts on how to paint your piano, kitchen table, and coffee table for more fun before and after pictures!
don’t forget to grab these two resources. help take the guesswork out of the painting process AND focus on all the LITTLE things you love about DIY!
{want to save this idea for later? click the red save box on the image below to pin this post. or follow notice the LITTLE things on pinterest here.}
