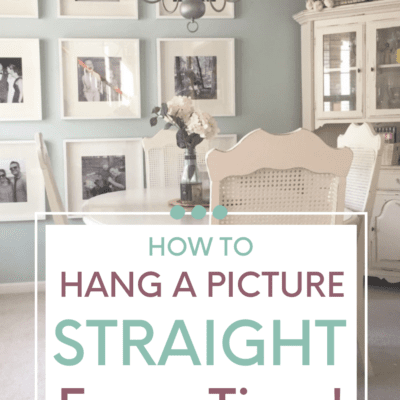
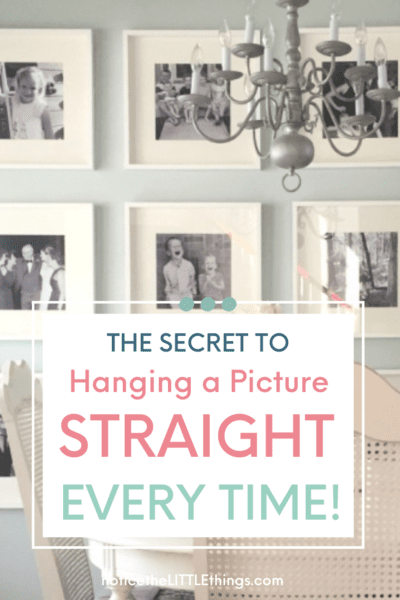
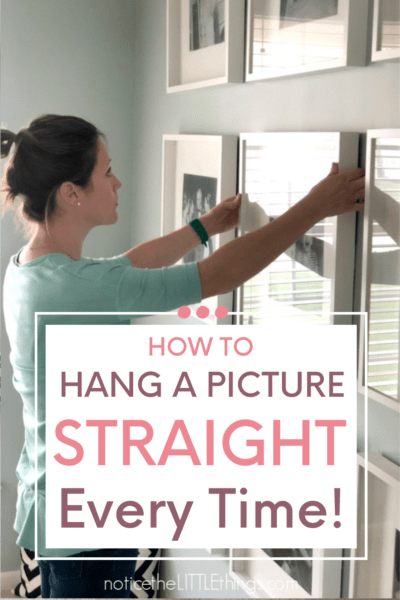
Hanging a picture on a wall with a nail can feel like such a commitment, right?! There’s always that fear that the nail won’t be in the right place, the picture won’t be level with the rest, or it is all just too high. And heaven forbid you have to get out the caulk and paint! In this post, learn how to hang a picture straight every time, on the first try, without making a bunch of holes in your wall you have to cover up. Trust me, it can be done!
i used to be terrible at hanging pictures straight. every time i got something new for our walls i found myself searching:
- how to hang a picture straight?
- how heavy can command strips hold?
- picture hanging hacks
- is there a picture hanging tool?
- how do i hang a gallery wall evenly?
maybe it’s because i am a recovering perfectionist (who is still more perfectionist than recovered). sigh. maybe it’s because my husband and i have VERY different ideas about what hanging a picture straight looks like.
his version looks like put as many holes in the wall as it takes to get it straight. mine looks like i better get it right the first time because i DO NOT want to have to get out the spackle and paint.
for these reasons, i’m embarrassed to admit it took over a year for me to hang a picture in our house with an actual nail.
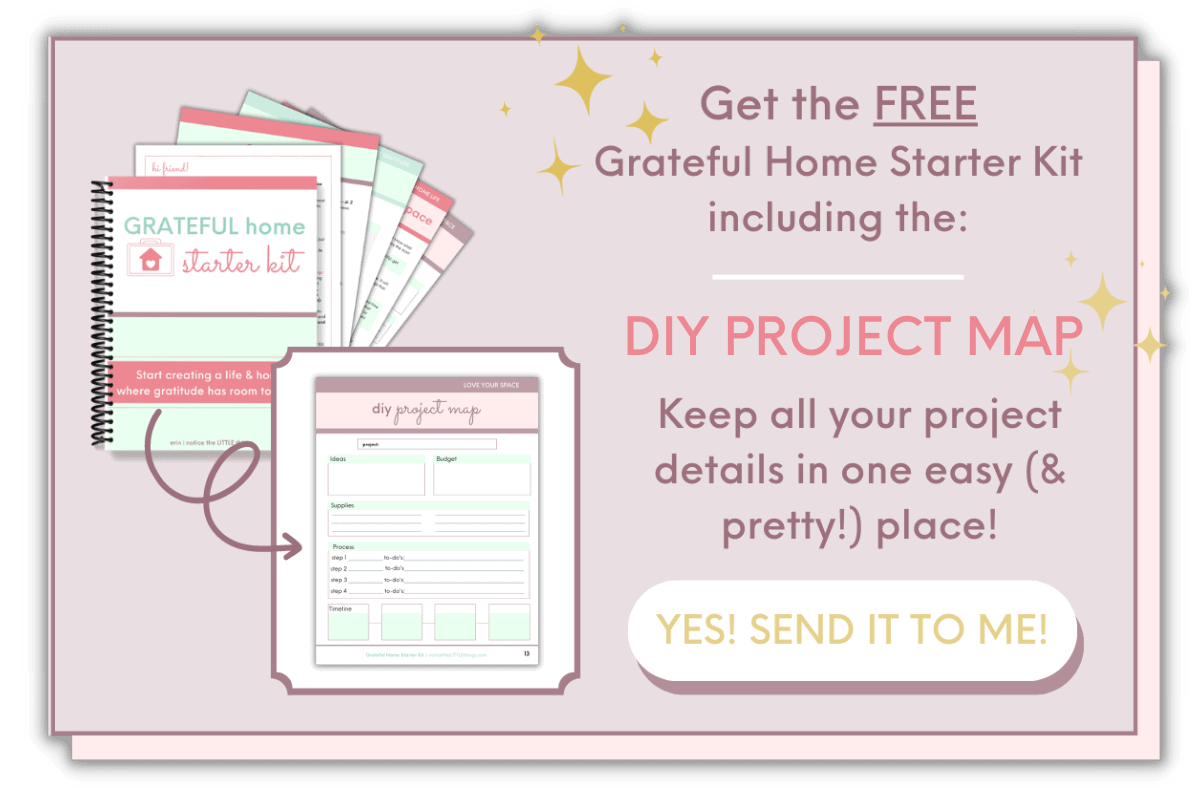
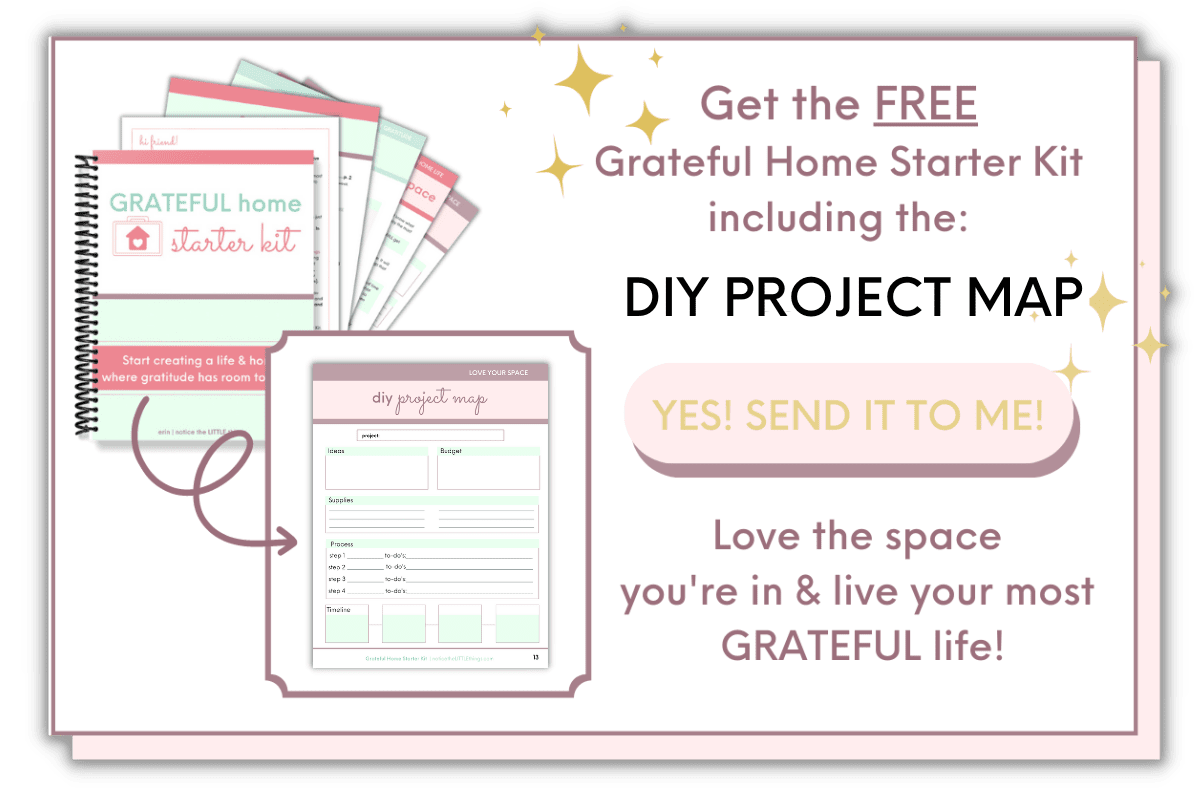
since that time, in addition to becoming better at hanging pictures (easy step by step below!), i also created the FREE Grateful Home Starter Kit including the super helpful DIY Project Map. i love DIY, but as a busy mom, i don’t have time to go to multiple stores, multiple times. i need all my project details and supplies in one place so i can get started and get finished without a lot of fuss.
with the FREE DIY Project Map, you can save time and keep yourself organized because it helps you keep your project details, supplies needed, steps, and timeline all on one pretty page. if you’d like one for yourself, along with all the other resources in the Grateful Home Starter Kit, just click HERE.
ok, now that you have a spot for all you project details…let’s talk picture hanging, specifically
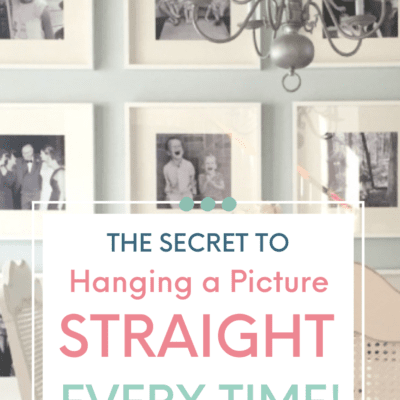
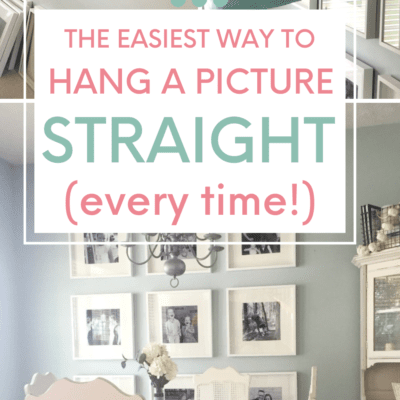
how to hang a picture straight every time…
when it comes to hanging ONE picture straight, i am not SO terrible. that is pretty basic. most walls in our house, however, require more than one picture to fill the space. this is probably true for you too. and that’s when things get tricky.
multiple pictures usually need to be even with each other or in another exact right spot to make the collection come together. but i’ve figured out a method that works every time!
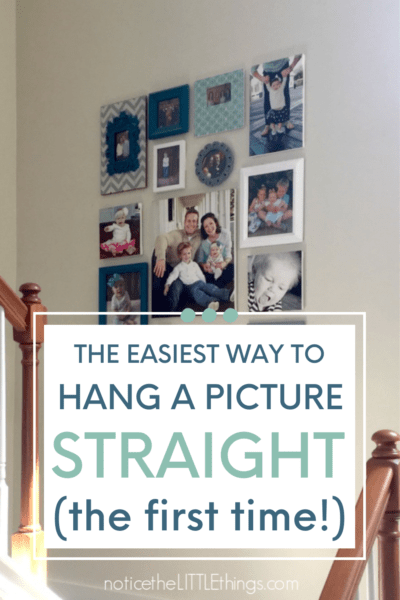
i for the very first gallery wall project i did on our stairs, i avoided the use of nails entirely. instead, i hung the entire gallery wall with command strips. i knew i could get away with this because all of the pictures were really light weight.
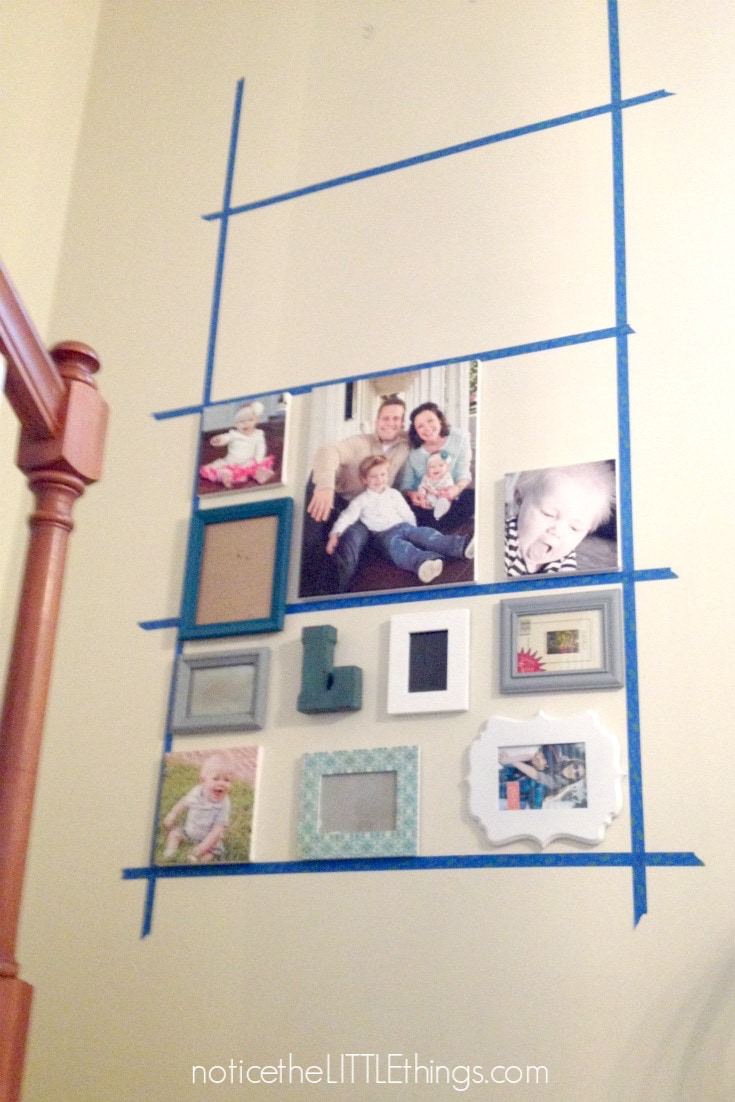
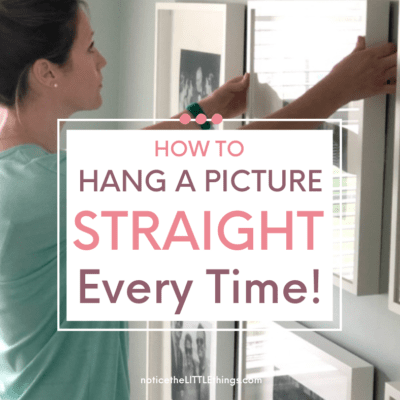
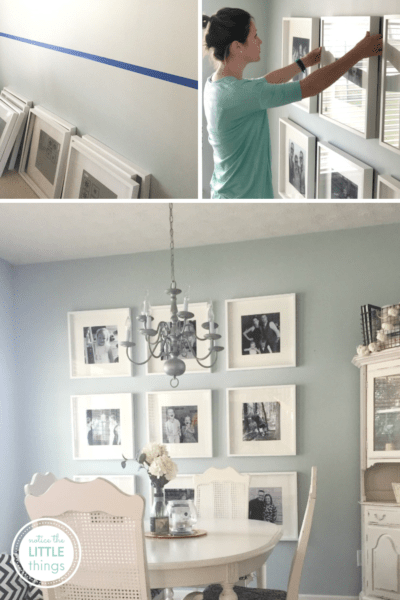
for starters, any time i hang more than one picture, i use painters tape to create a grid for myself. that way i can make sure i am staying even as i go.
making a painter’s tape grid is actually super easy if you have a level. if you want to read more about exactly how to create a grid to hang a picture wall, you can read this post: A Beginner’s Guide to Designing a Gallery Wall..
RELATED POST: How to Create a Gallery Wall
RELATED POST: A Beginner’s Guide to Designing a Gallery Wall
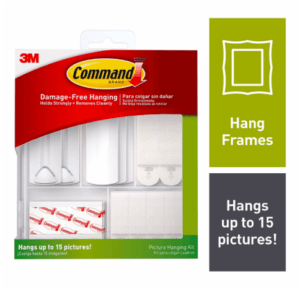
if you haven’t used command strips before, they are God’s gift to perfectionists. they basically allow you to velcro your picture to the wall.
if it’s not straight? just unstick and readjust. it’s so easy. this particular type of command strip above is sold in different weight increments, depending on the weight of the item you want to hang. my favorite is the variety pack you can find on amazon.

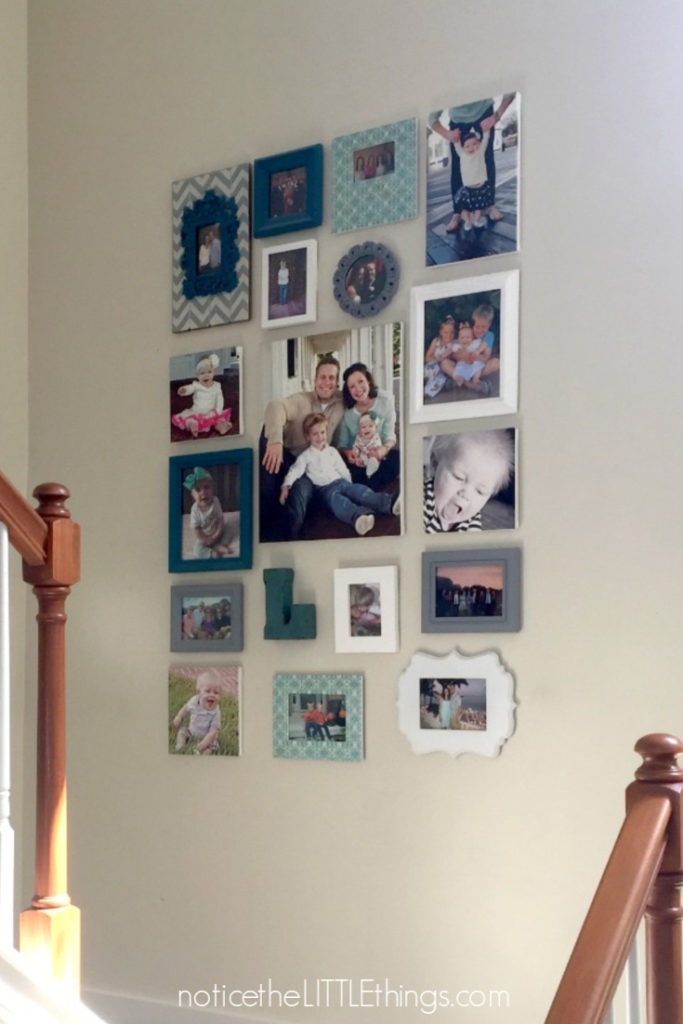
after successfully hanging or first gallery wall on the stairs, you can imagine my disappointment when i tried to hang the pictures for this wall (above), only to realize command strips would not work on these frames. i tried, but in the process i shattered two frames (and at the time, ikea was 2 hours away). so i needed a new plan.

the frames i had were actually designed to be hung by a wire. you can see i got all set up with my painters tape grid. sadly, after the command strips didn’t work, the thought of trying to get nine wire-hanging frames straight was enough to make me put off the project for another year .
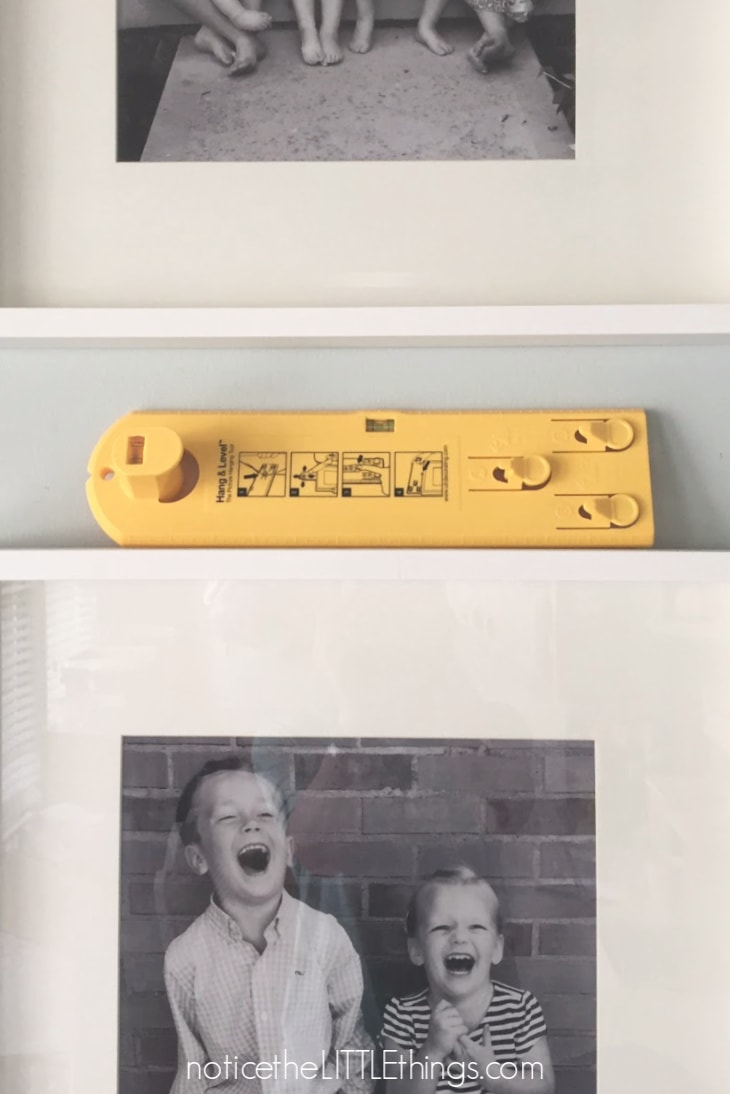
then i stumbled across this crazy, amazing, magical picture hanging tool. it is called the hang & level by Under the Roof Decorating.
this product is truly a miracle worker, and it’s only $18.99! i remember being at the hardware store, debating whether to buy it. thank goodness i decided to go for it! it has taken away all of my anxiety about putting holes in the wall because now i always get it right on the first try.
the hang & level has a built-in level, a way to help hang wired pictures and pictures with sawtooth hangers. those are the ones that look like little alligator teeth.
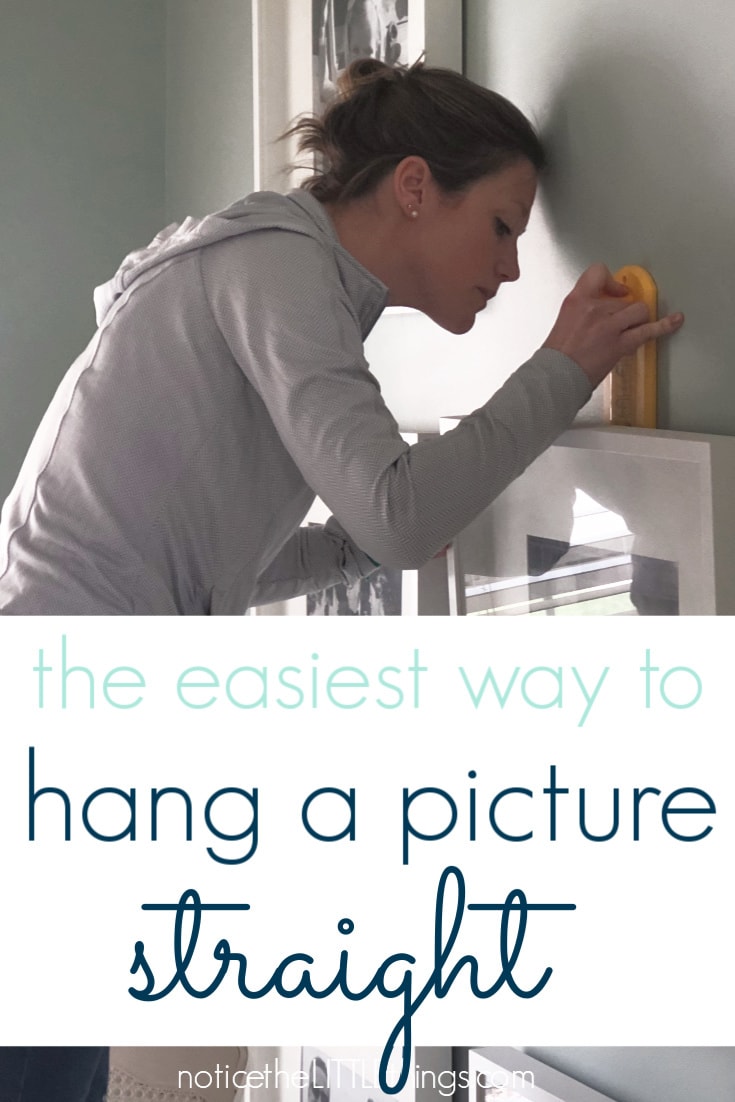
the tool has a LITTLE plastic button you press that puts a mark on the wall when you have your picture in the right spot. then you take your picture down, place your nail or screw where you marked, and hang the picture up. it is that simple!

with the use of a couple yardsticks, a level, painters tape, and the hang & level tool, i was able to hang all nine frames in one afternoon, by myself! if i can do it…so can you!
i also used the hang & level to get all the pictures straight in this gallery wall project in my husband’s office. he wanted pictures of ALL kinds – wires, sawtooth, guitars even! it was so great to have ONE PRODUCT to help me with so many different picture types.
as it turns out, hanging a picture straight is not as intimidating as i initially thought. you just need the right tools! command strips are perfect for lighter frames and even canvases. the hang & level tool works for anything that requires a nail or screw in the wall. luckily for picture hanging, these tools are both very affordable. a small price to pay for keeping your wall paint in tact!
if you’re like me, and you have picture hanging anxiety, i hope you can find some peace with these two helpful products! and don’t forget to snag your FREE DIY Project Map, part of the popular Grateful Home Starter Kit.
OTHER MUST-READ POSTS:
how to paint your bedroom furniture
how to paint your coffee table
want to save this idea for later? click the red save box on the image below to pin this post. or follow notice the LITTLE things on pinterest here.