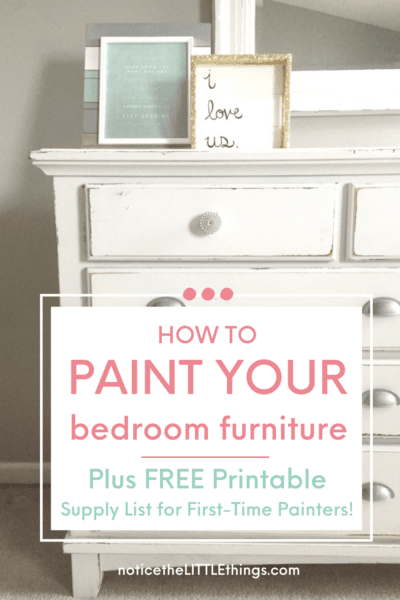
Is your bedroom furniture feeling a little dated? Or maybe you’re just ready for a change but buying a whole new bedroom set feels a bit out of budget?! I totally get it. In this post, learn how to paint your bedroom furniture and give it a whole new look or style! I’ll show you how to paint your dresser and paint your nightstands in 4 easy steps. Plus, you can grab my special FREE Printable Painting Guide for Beginners, including my favorite painting supplies. And when you’re done in your room, you can use these exact same steps to paint furniture in other rooms!
one more thing before we start, these steps will also work on wood that’s not real AND wood with shiny finishes. nothing is perfect but as long as you don’t skip the priming step, this method is worth a try! so if you’ve been wondering:
- how to paint furniture without sanding
- can i paint my dresser
- can i paint my nightstand
- what kind of paint do you use on furniture
- how to paint furniture for beginners
you’re in the EXACT right spot. so let’s talk master bedroom furniture. is yours old? new? did you get it as a wedding gift? purchase it yourself? buy it as a set or piece things together as you went?
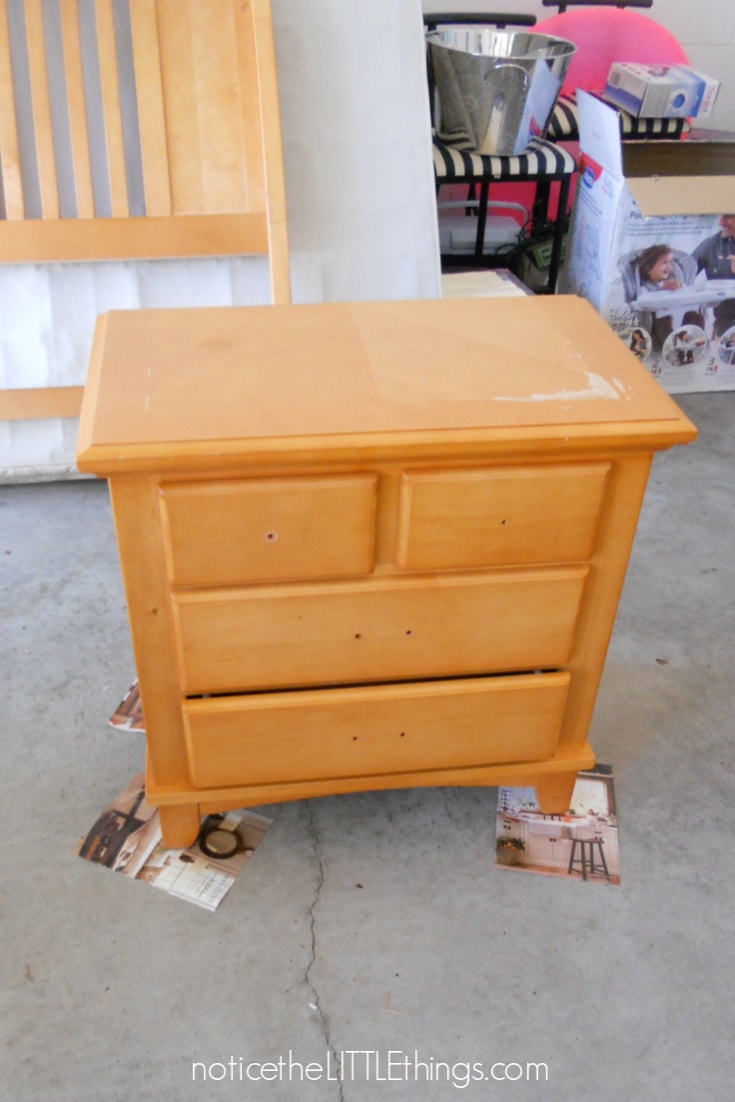
ours is in the pieced together category. back when we lived in florida, my good friend stephanie was selling her honey-colored nightstands and dresser. at that time, our bedroom furniture was nonexistent and waaaaay down on the list of necessary purchases.
so i jumped at the chance to grab hers second hand. it was in great condition and i love a good DIY project. so i did what everyone else did in 2008. i went for a dark color. i was sure i would love it forever.
tell me, were you in on this trend? the dark brown or black bedroom furniture trend? i wish i could say i had the vision to know i really, actually prefer light and bright furniture (not the early 2000 brown and black craze). but i jumped right on that bandwagon and painted that honey-colored furniture a dark brown. yikes.
i will say, even though it was brown, the first time i painted this furniture it was indestructible. the finish was smooth and it was virtually impossible to chip, even with a bump from the vacuum.
this is because, by that time i’d painted many things and PERFECTED a winning paint combination.
RELATED POST: How to Paint Your Piano
RELATED POST: How to Paint Your Coffee Table

if you’d like a copy of my complete and EASY Free Guide to Painting Furniture, which lists all my favorite paints, the order in which to use them, and the best supplies to make sure your paint holds up, click here.
ok so fast forward to 2017 when my sister molly was over and not so gently informed me that my master bedroom needed a makeover. in other words, that dark brown had to go.
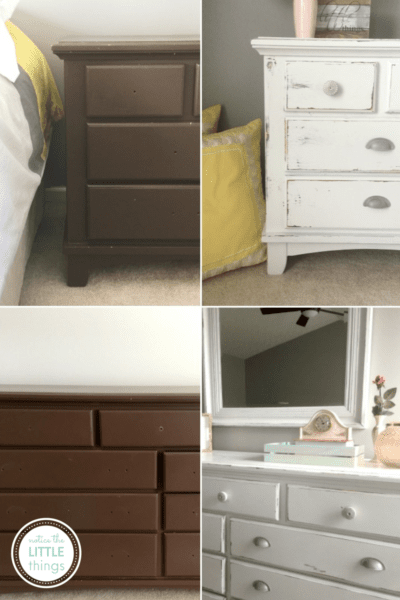
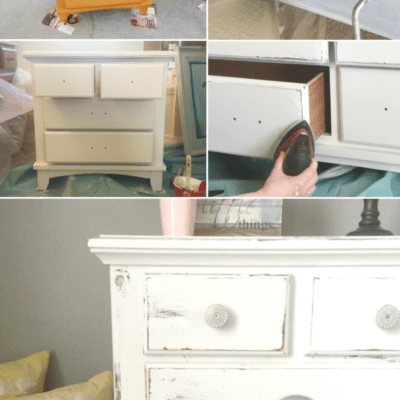
she said she would help and since i was pregnant, i took her up on the offer. in just 4 steps, we were able to transform what started out as this…
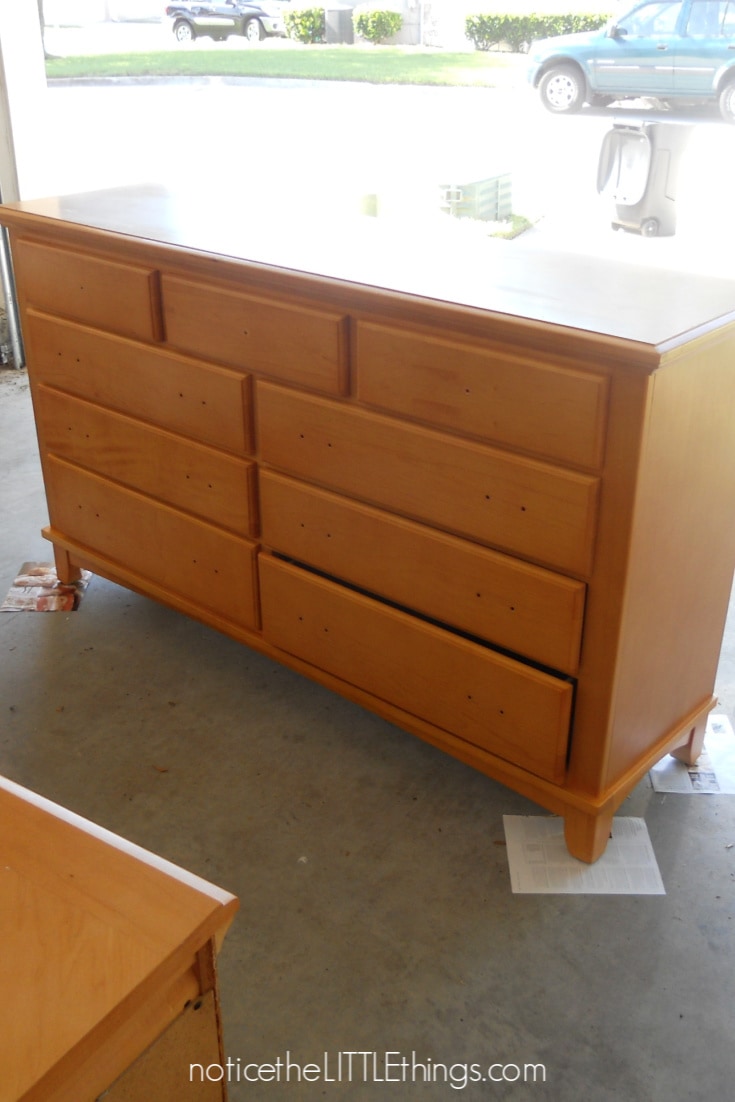
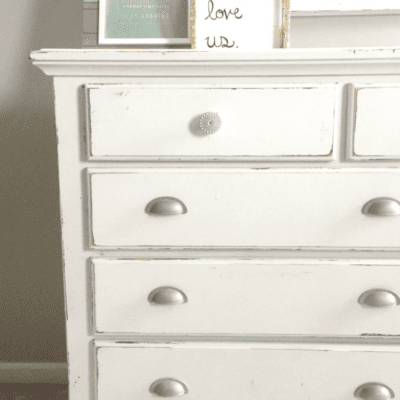
into this…
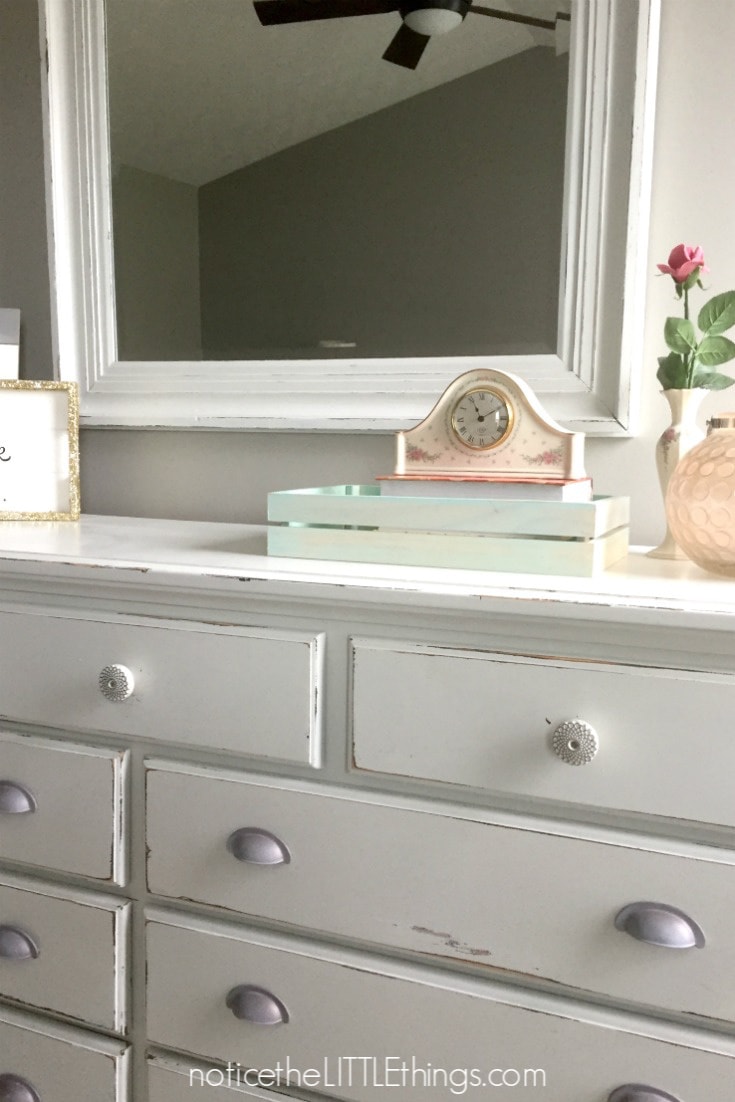
and you can too! i was so thankful for my sister’s encouragement to start this project! i have so many DIY ideas in my head but sometimes getting started is intimidating. so now i’m here to cheer you on!
in addition to the Free Painting Guide, i also have this fun and easy FREE DIY project map. keeping my plans and supply list all in ONE CUTE PLACE has helped so much. now i can avoid a million trips to the store! you can grab your own copy HERE.

ok. now for the good stuff.
how to paint your bedroom furniture in 4 easy steps:
step 1 to paint your bedroom furniture
gather/purchase your supplies
to paint your bedroom furniture (or any piece of furniture) so it will not chip, you are going to want to prime, paint, and seal the whole thing. this is not hard. my sister and i did these pieces in ONE DAY. she works fast and taught me that almost dry is dry enough for a second coat. remember that for step 3. to complete your project, you are going to want to purchase:
- brushes {at least one each for priming, painting, and your polycrylic}
- a small paint roller and refill rolls
- water-based primer
- water-based paint {in whatever color you choose}
- polycrylic
you can grab all of these at your local hardware store. for a list of all my favorite supplies with pictures, you can download my FREE Supplies Cheat Sheet. to keep track of all your project details, you can download the FREE DIY Project Map too!
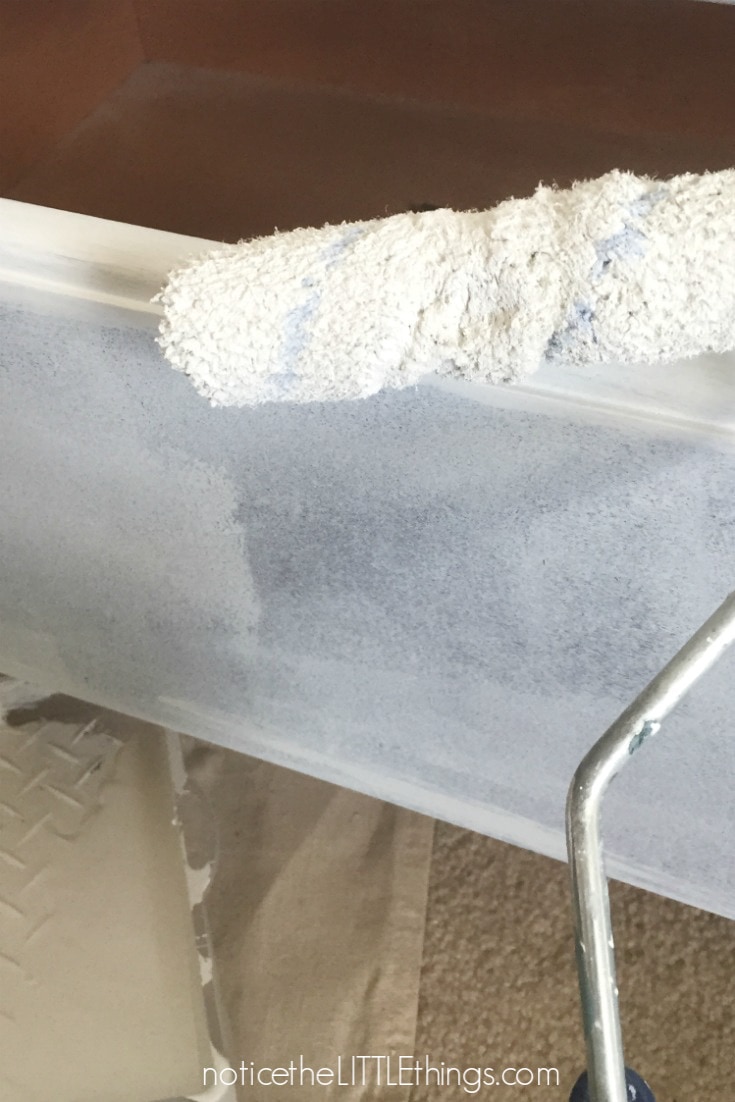
step 2 to paint your bedroom furniture
apply your primer
wipe down the piece you will be painting with a wet cloth to remove any dust or residue. when your piece is clean, it is time to prime. priming is SO important. trust me. i’ve tried to skip this step to save time and it didn’t turn out well.
but guess what you can skip? sanding! i have never sanded a single piece i’ve ever painted and everything i’ve painted has lasted for years. yay!
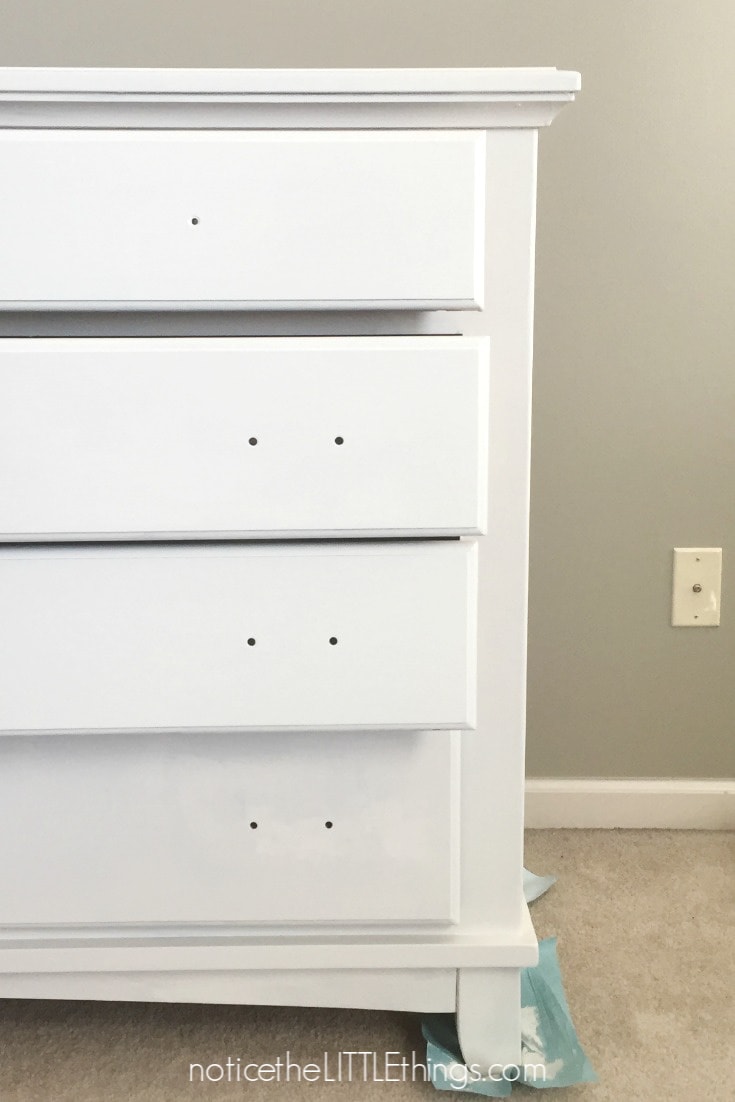
you can see i do all of this right in the middle of the room. if i have to move a piece out to the garage, it’s going to take me a LOT LONGER to get started, because that feels hard.
it’s ok to paint in place! just grab a drop cloth and do your best to be careful. this is what real life DIY looks like!

step 3 to paint furniture
apply your paint
here’s what you really need to know about painting furniture. you don’t have to be a great painter!
i promise, any little brush strokes or drips you forgot to catch will just all blend in by the time you are done. i used to spend hours agonizing over my brush strokes, and the different textures between the brush and the roller. in the end? none of that is noticeable!!

after your primer dries, apply your paint. i use a combination of a brush and small roller when i paint furniture. i wish i could get away with just one coat of paint, but i always need two (especially on something like my coffee table where i went from black to white).
on this project i learned you don’t need to wait TOO LONG between each coat. maybe an hour. if you’re painting more than one piece at a time, this works out well because you can just rotate through with coats.
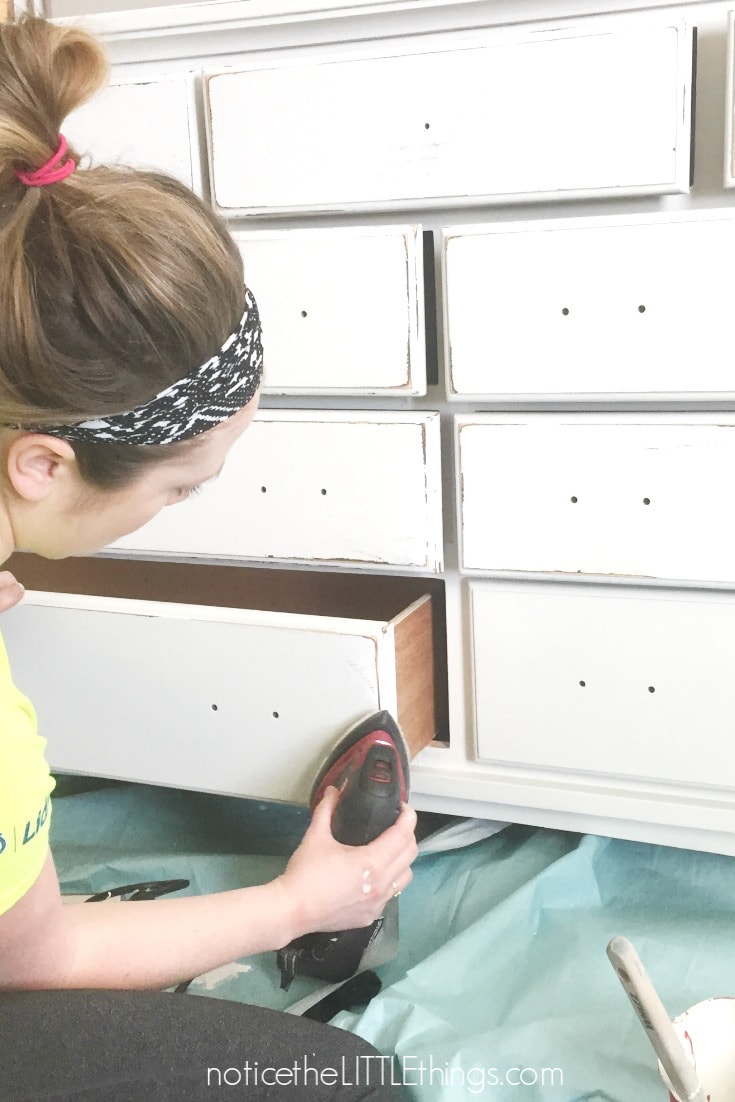
step 4 to paint furniture
distress your piece and apply your polycrylic
after your paint color dries, now is the time to distress your piece if that is the look you want. you do have to wait until your paint is ALL THE WAY DRY before this step.
i like the distressed look because if my piece happens to take an extra hard hit or someone decides it’s the perfect place to set their drink, it won’t matter. chances are, your paint will stand up to this wear and tear anyways, but i prefer to distress and then completely let go of any worry.
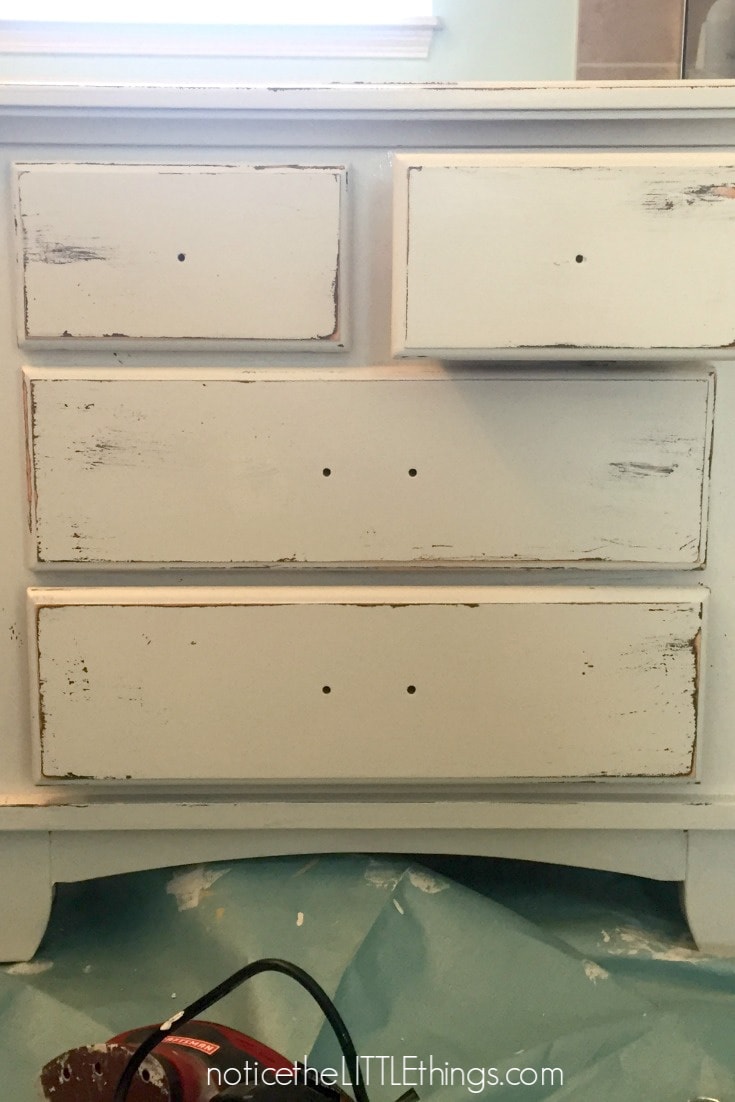
i use a palm sander to distress my pieces. i will tell you, this step makes me nervous. every. single. time. i am always sure i will ruin my freshly painted piece.
but a LITTLE sanding to the edges achieves that popular chippy look. i feel safe sticking to the edges when i distress, but you can venture to the flat surfaces as well. my sister is better at that. remember, you can always go back over with a LITTLE bit of paint to touch it up.
after distressing, wipe your piece down with a soft cloth to remove the sanding dust. then apply your polycrylic. polycrylic is much easier and faster to apply than paint because it is so thin.
use a new, clean brush and look out for drips. i usually do one coat of polycrylic. you can check out my favorite brand here in this FREE Furniture Painting Guide. if you are painting something with higher traffic, like a table, then two coats on the top part of the table is probably best.
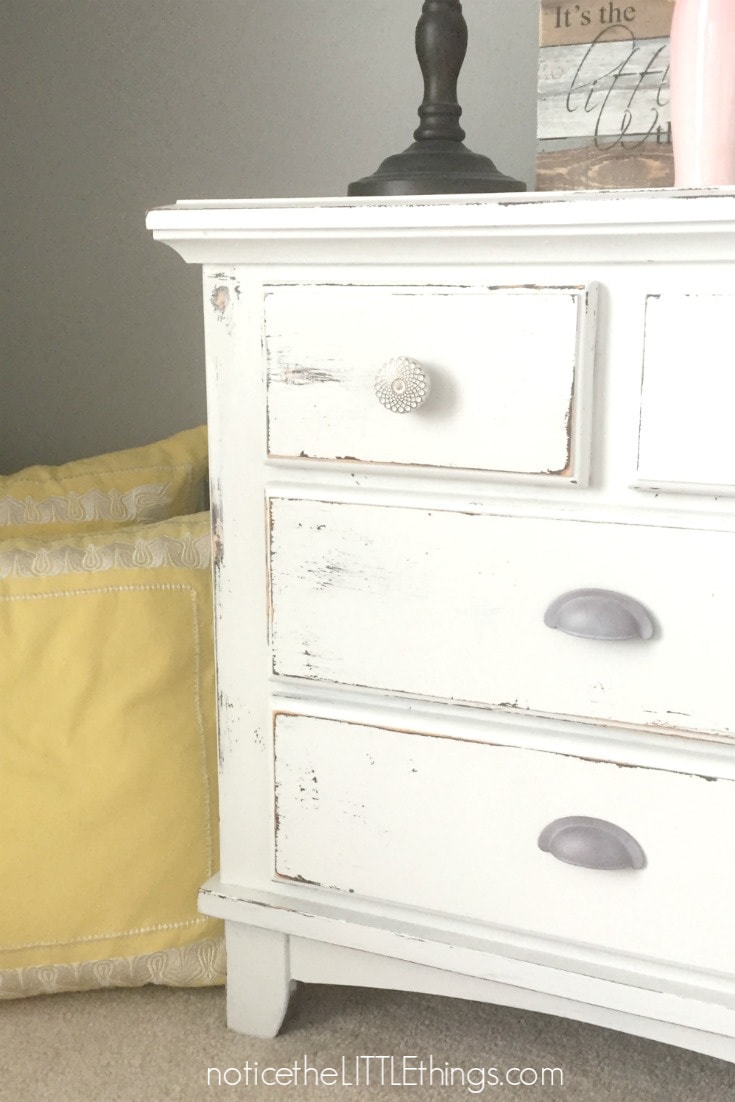
painting our two night stands and our dresser transformed our bedroom and gave it a desperately needed makeover! now i actually like walking into my room!
going out to buy a brand new bedroom set is a big deal and a big expense. changing things up with a LITTLE bit of paint? not so big a deal. we did this in one day! can you believe it? you can too!
don’t forget to grab the Free Furniture Painting Guide, along with the Grateful Home Starter Kit which includes the fun and easy FREE DIY project map.
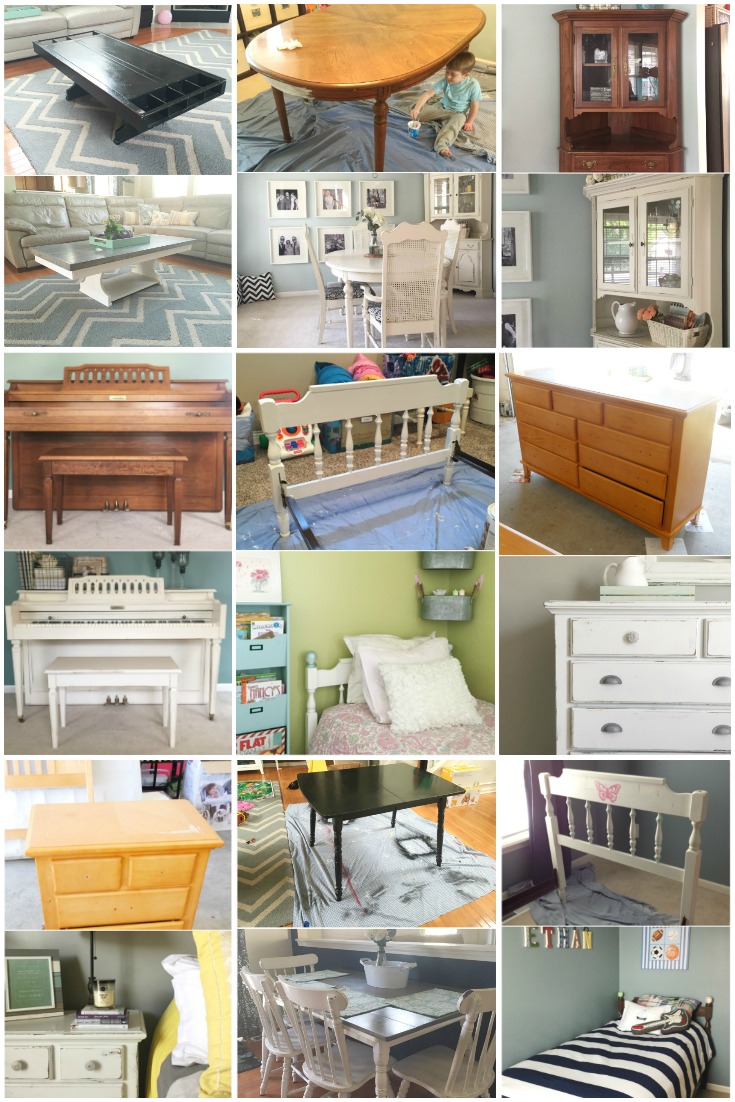
looking for more furniture painting inspiration?!
check out these related posts!
how to paint your bedroom furniture
how to hang a picture straight every time
(want to save this idea for later? click the red save box on the image below to pin this post. or follow notice the LITTLE things on pinterest here.)





What color and brand is your white?
hi there! i have been using “cream in my coffee” by valspar and i get it at lowes. if you have another favorite paint brand, you can still use the color. you can just give them the valspar swatch and they will match it in whatever paint brand you prefer. i would say the color sample looks more “cream” than i think it actually turns out in person. i have it in my bedroom next to a white striped bedspread and it all blends fine together. it is also throughout our entire dining room. if you have another white in your house you are trying to match, you can always bring in a cabinet door or something removable from the piece and lowes {or any hardware store} will match that color for you. in our laundry room, i had them match our cabinet color over our washer so i could paint the built-ins we had made on the opposite wall. i hope this helps! what are you planning to paint?
:: erin ::