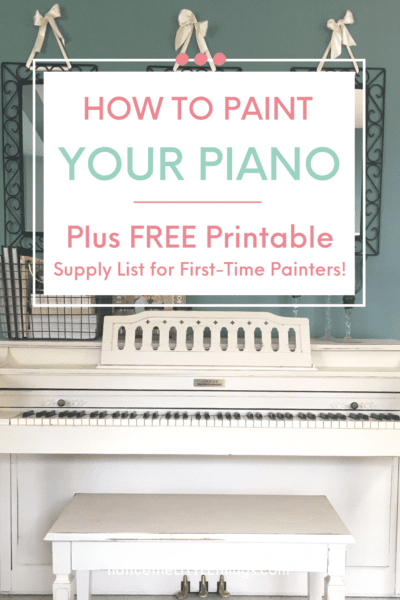
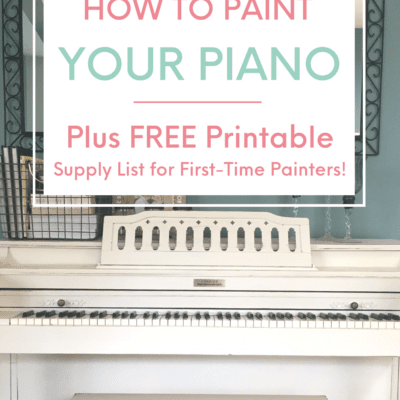
YES! You can paint your piano – and it’s really not that hard! In this post, learn how to paint your piano in 4 easy steps without sanding! You will not believe the transformation when you use this easy painting technique to update the style of your piano with paint! Plus, you can grab my special FREE Printable Painting Guide for Beginners, including my favorite painting supplies. And when you’re done with your piano, you can use these exact same steps to paint furniture in other rooms!
so if you have a piano that’s been handed down, or doesn’t match the rest of your decor, you’ve probably asked yourself:
- what kind of paint do you use to paint a piano?
- is it ok to paint a piano?
- can you repaint an old piano?
- how do you prep a piano for painting?
- can i paint my piano?
i’m going to be honest. i had the exact same questions at first. i wasn’t so sure this would work. paint our piano? but i was so tired of the brown piano being the first thing you saw when you walked in the front door.
don’t get me wrong. i am so thankful for our piano. it is a hand-me-down from my sister’s in-laws and we like the story of furniture pieces passed down. but when furniture is passed down, it usually means it doesn’t match anything else in the house.
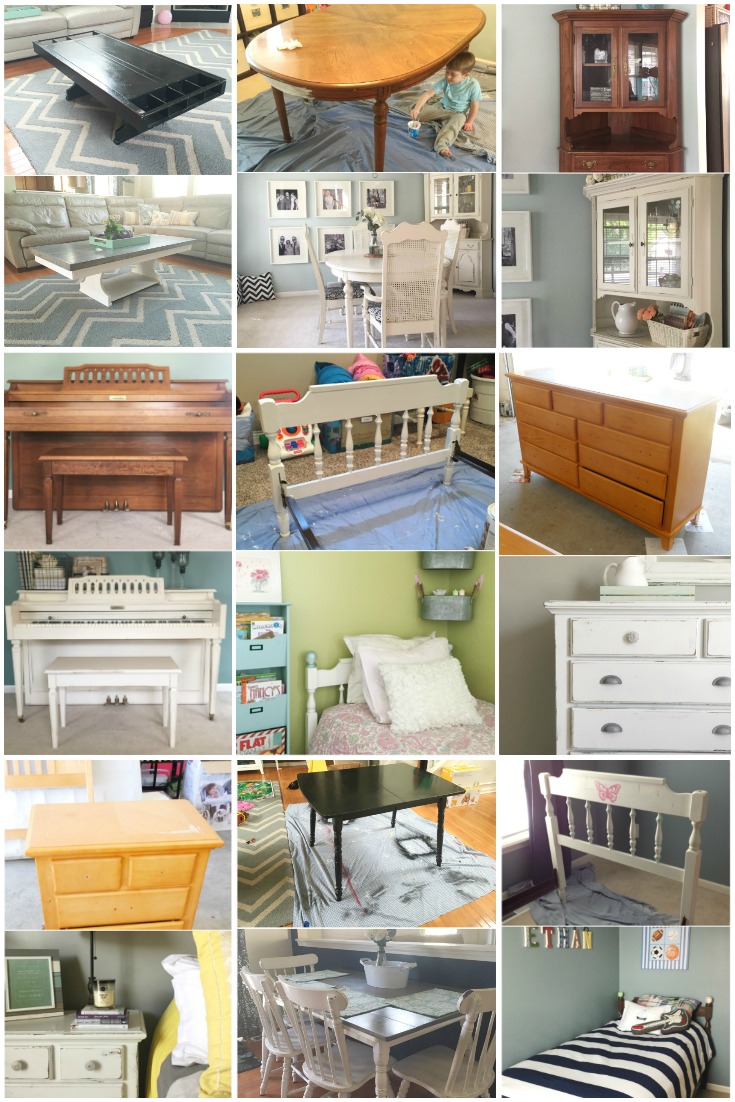
that’s actually how pretty much all furniture pieces start out in our house. slowly, one project at a time, i’ve painted and refinished each one AND YOU CAN TOO!
RELATED POST: How to Paint Your Kitchen Table
RELATED POST: How to Paint Your Bedroom Furniture
but the piano? i actually didn’t think i could paint it. for some reason, it didn’t seem like it would follow the rules of the other pieces i’ve painted. but guess what? it did.
aside from the space around the keys, painting the piano really was no different than painting our kitchen table, coffee table, and hutch. all this is to say, you can do this too! paint your piano!
but first you’ll want to grab these two free resources:
the first one is the Free Guide to Painting Furniture, including a complete supply list. whether you are a beginner painter or are just wary about doing your piano, this has everything you need to know about painting furniture, including the exact supplies i use and the best order to use them.
you’ll also what to grab the FREE Grateful Home Starter Kit, which includes a super helpful FREE DIY project map. keeping all your plans for this project plus your supply list in ONE EASY PLACE will keep you organized and save you time. it will also help you avoid a million trips to the store!
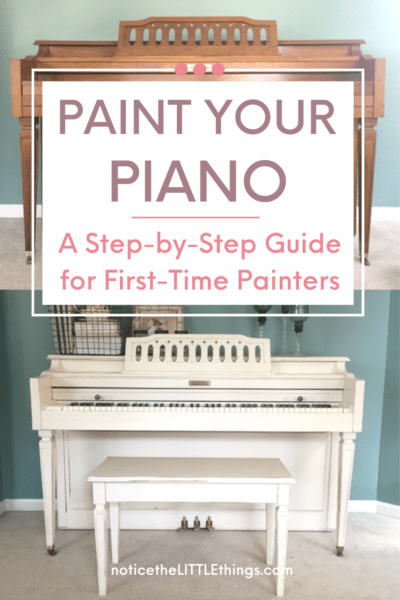
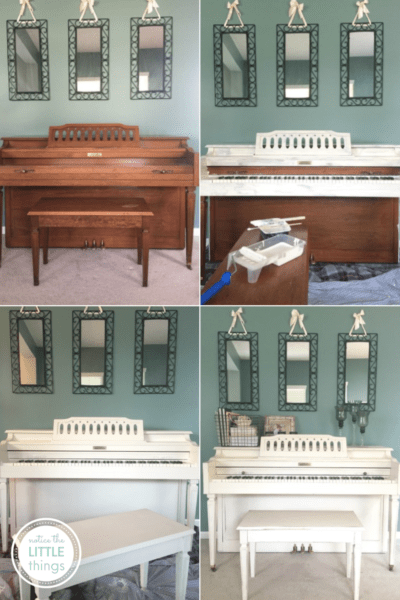
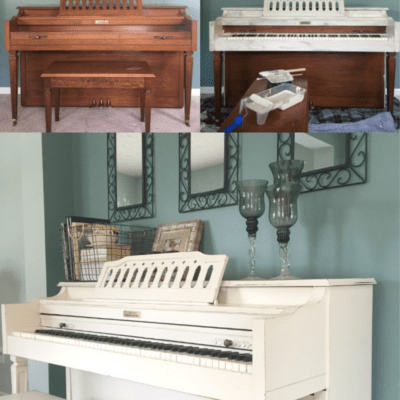
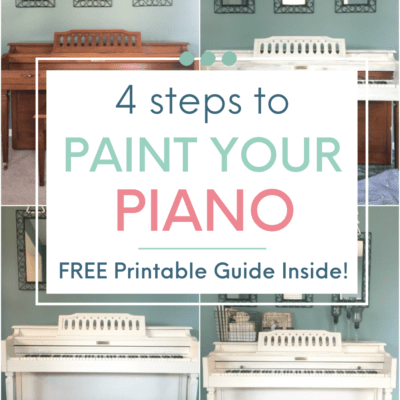
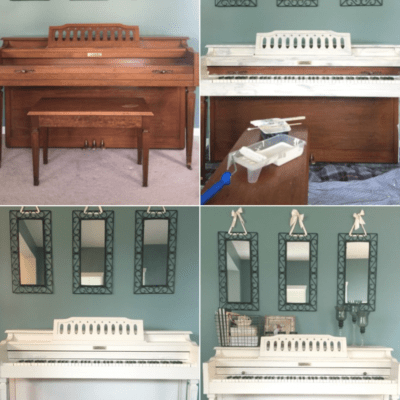
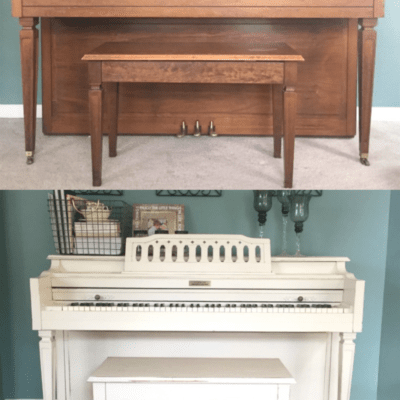
now let’s get to it and change your piano from this…
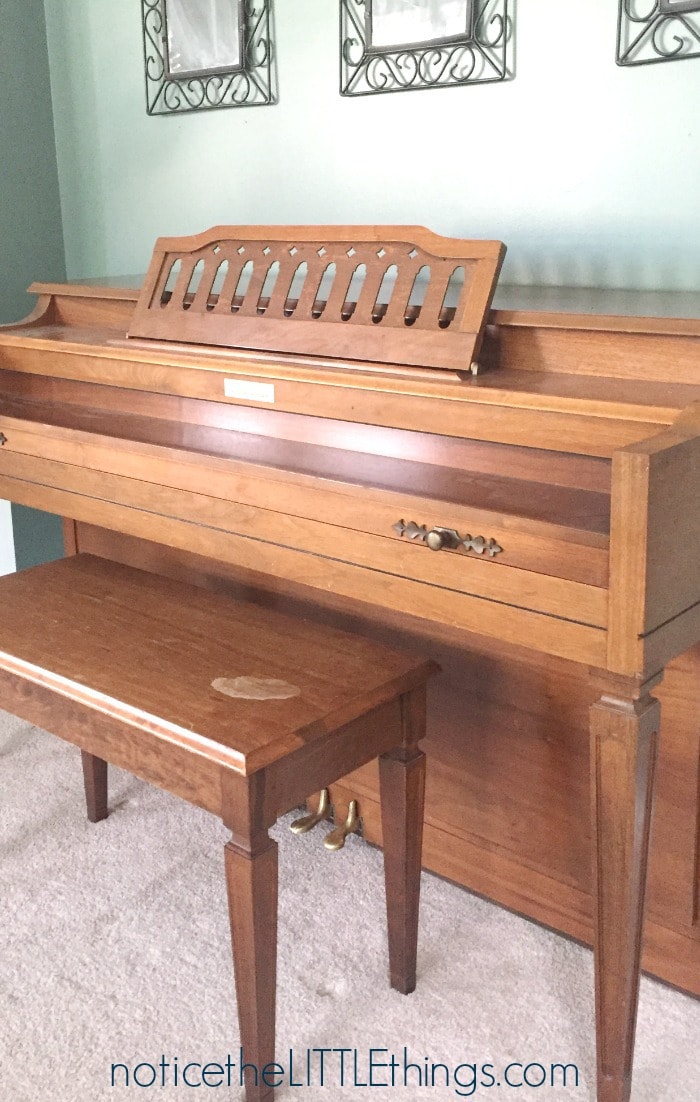
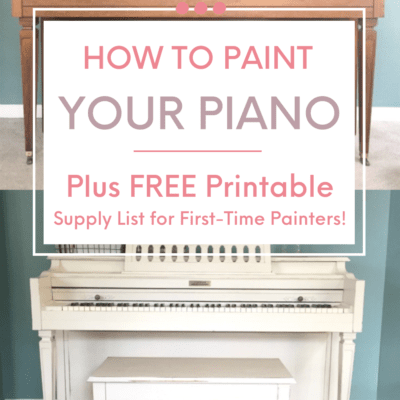
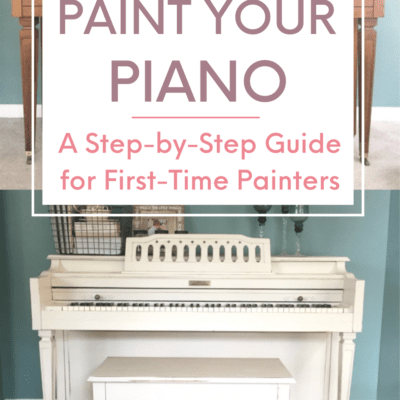
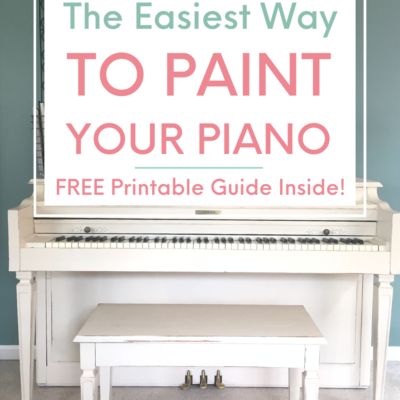
to this…

how to paint your piano in 4 easy steps

step 1 to paint your piano
gather/purchase your supplies
to paint your piano (or any piece of furniture) so it will not chip, you are going to want to prime, paint, and seal the whole thing. this is not hard and you do not have to be a good painter. i promise. you just have to be patient and see all the steps through.
you can purchase your brushes, primer, paint, and polycrylic at your nearest hardware store. if you want to know my favorites, you can download my FREE Supplies Cheat Sheet here.
for me, it is also helpful to write down project ideas in one place, including supplies. no one has time to make extra trips to the store! without a plan, that’s usually what happens, so i created this super helpful FREE DIY project map to keep all project details in one spot. it saves so much time! you can snag your own copy of this as part of the Grateful Home Starter Kit right here.
step 2 to paint your piano
apply your primer
wipe down the piece you will be painting with a wet cloth to remove any dust or residue. when your piece is clean, it is time to prime.
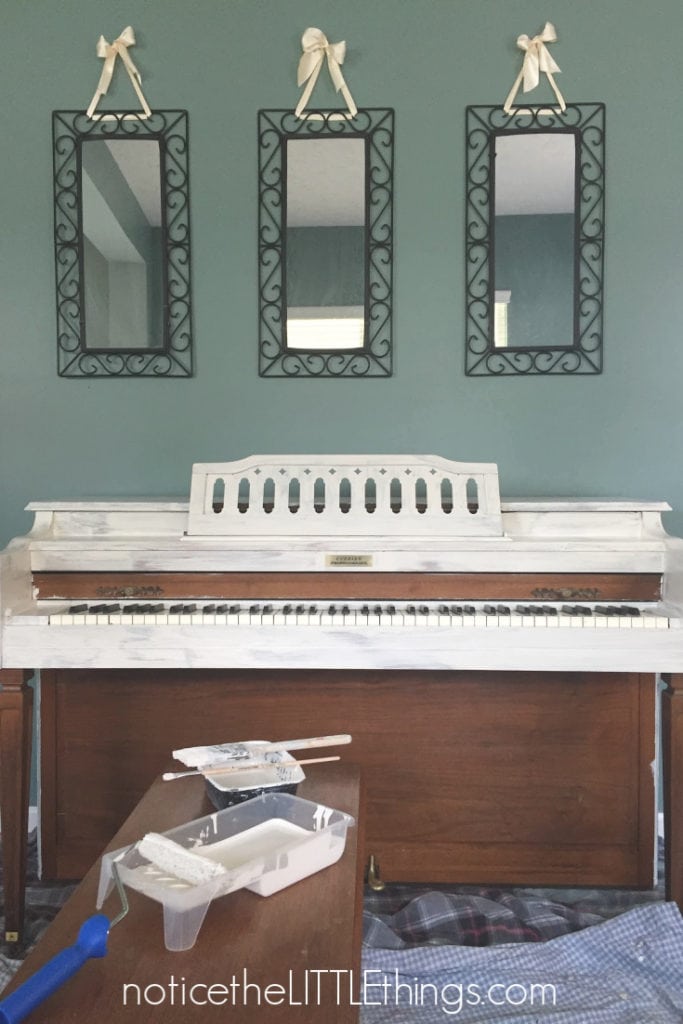
for the piano, i had to do this in place, right in my living room. pianos are ridiculously heavy and there was no way i could move this to a better area. my sister helped with this project because i was 8 months pregnant.
i made sure the paint was all low VOS so baby was safe. sometimes a baby on the way is just what you need to stop putting off projects!
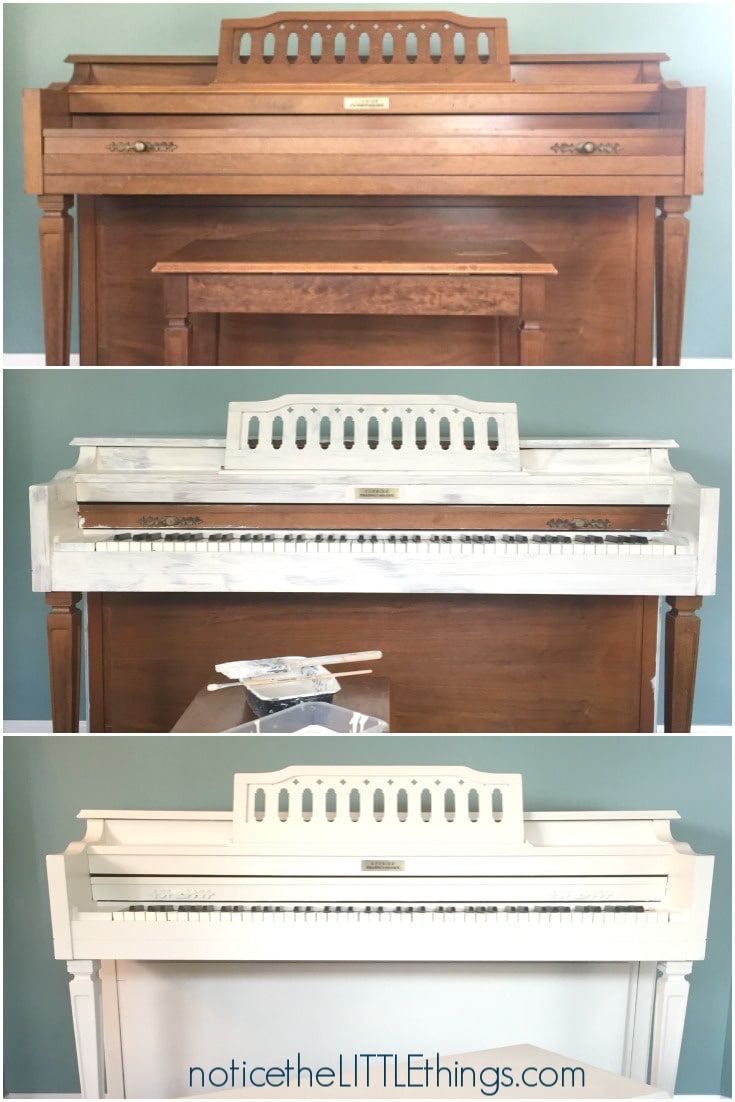
when it comes to painting furniture, using a primer is a must. sanding is NOT. so great, right? really. you don’t have to sand. i have never sanded a single piece i’ve painted and everything i’ve painted has lasted for years.
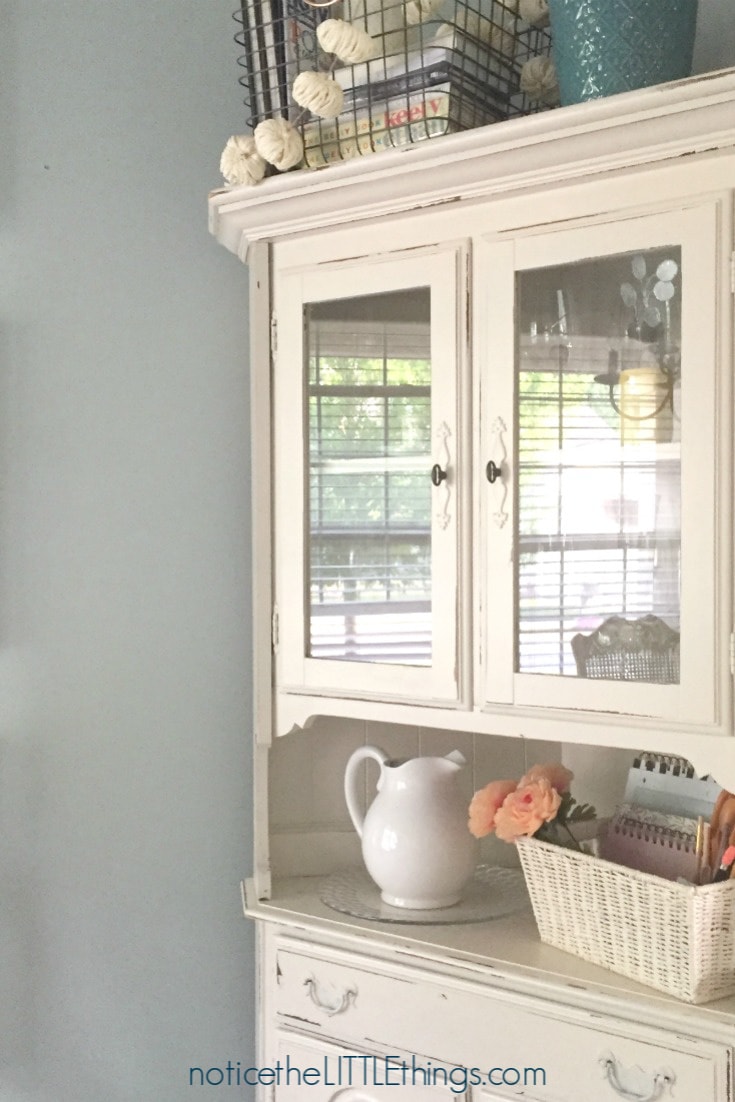
primer, however, is a must. i tested out this theory on my hutch. my sister helped me with that as well, the same day we did the piano. she convinced me to try painting without priming. we did A LOT of painting that day, and eliminating a step sounded great. but it didn’t work. my hutch chips and none of the pieces with primer chip. moral of the story, don’t skip the priming! find my favorite primer here.
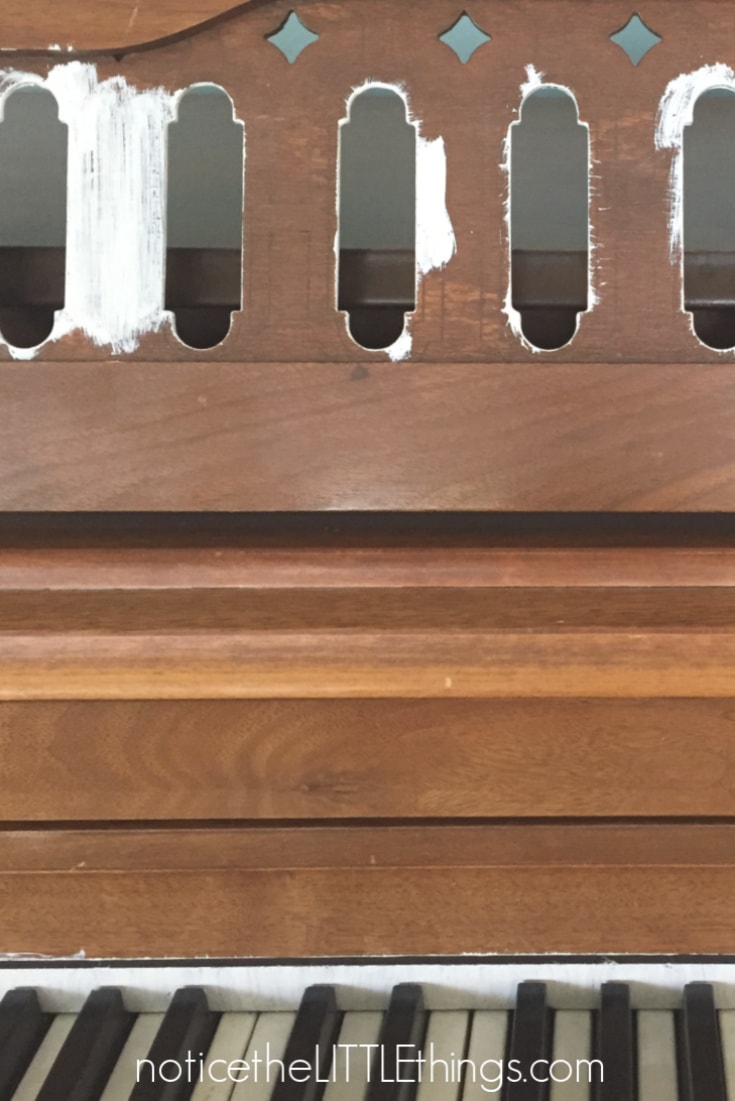
to prime the part around the keys, i used a super small brush i got from the craft store. i pressed the keys down and painted carefully above them to make sure the strip above the keys was done well. i did this very first, mostly to get it over with, because i thought it would be hard. it wasn’t hard. you just have to go slower than you will have to go on the rest of the project.
step 3 to paint your piano
apply your paint
after your primer dries (two hours to be safe) you can apply your paint. i use a combination of a brush and roller when i paint furniture.
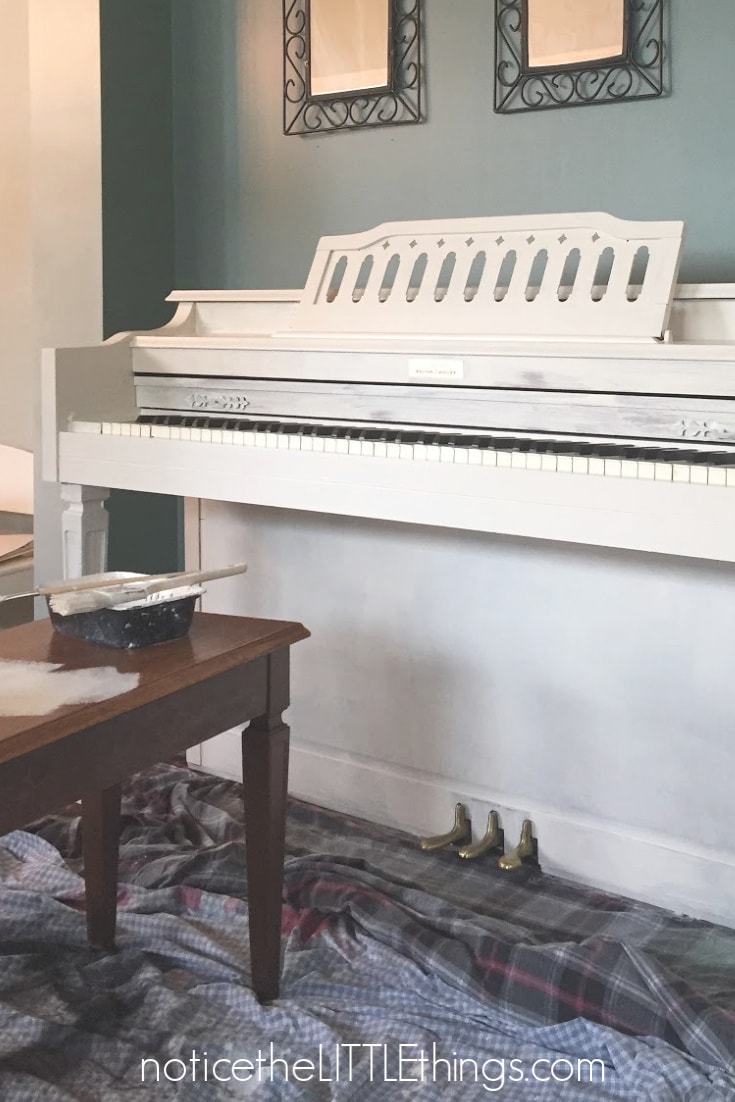
again, for the part around the keys, i used a smaller brush from the craft store. i pressed the keys down as i went, distancing them from the wood so i could paint without getting it on the actual keys. i kept a wet paper towel handy for any paint i accidentally got on the keys. paint wipes off easily if you get it right away.
i always wish i could get away with just one coat of paint, but i usually need two (especially on something like my kitchen table where i went from black to white). again, wait a couple hours between each coat. my piano took two coats.
step 4 to paint your piano
distress your piece and apply your polycrylic
once your paint color is dry, you can distress your piece if that is the look you are going for. i like the distressed, chippy look. plus, if your piece happens to take an extra hard from the vacuum or a kiddo, it will just blend in.
chances are, your paint will stand up to this wear and tear anyways, but i prefer to distress and then completely let go of any worry.

i use a palm sander to distress my pieces. this is a picture of my sister helping me with my bedroom furniture, the same day we painted the piano. we used the same distressing method on all of the pieces we did that day. you can also use sandpaper. it gives you better control but it takes a bit more elbow grease.
i will tell you, taking the palm sander to my fresh smooth paint job makes me nervous. every. single. time. i am always sure i will ruin it. but a LITTLE sanding to the edges achieves that chippy look that is popular right now. i tend to stick to the edges when i distress, but you can venture to the flat surfaces as well. it’s completely up to you.
a word of advice? it will feel like you are ruining your paint job as you distress…until you are finished with the whole thing. then it will look awesome! and you can always go back and touch up with paint if you go overboard with the sander.
after distressing, wipe your piece down with a soft cloth to remove the sanding dust. then apply your polycrylic. polycrylic is much easier and faster to apply than paint because it is so thin.
use a new, clean brush and be careful to watch for drips. i usually do one coat of polycrylic. if you are painting something with higher traffic, like a table, then two coats on the top part of the table is probably best.
it’s no secret. this painted piano makes me happy! i think it is my favorite before and after yet. this is probably because i doubted it could be done.
our dining table, hutch, coffee table, bedroom furniture, and piano were all hand-me-downs from different people. they didn’t match at all. painting them to match completely transformed the look of our whole house.
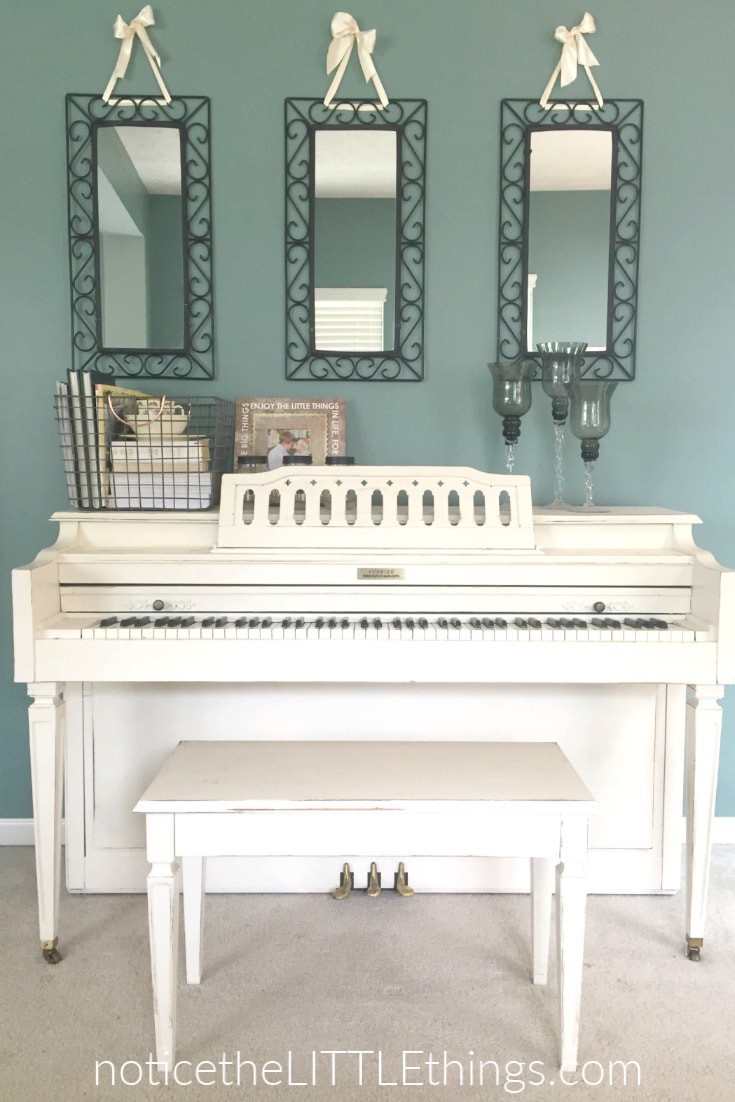
painting furniture is the most budget-friendly way we’ve used to transform our house to the colors and style we love. it is far easier than i ever imagined and gives me the freedom to spend in other areas. remember, the hardest part is getting started.
these two resources will help with that!
to get a list of all my favorite furniture painting supplies, grab the FREE Furniture Painting Guide. then, to keep track of all your project details, you can download the FREE DIY Project Map so everything is in one, organized place (i promise this will help you get started and follow these steps all the way to the finish line!).
check out these related posts!
how to paint your bedroom furniture
how to hang a picture straight every time
(want to save this idea for later? click the red save box on the image below to pin this post. or follow notice the LITTLE things on pinterest here.)





I’m not very computer savvy…Can you please help me under stand how I can get or purchase your ultimate guide to painting furniture??
hi Lily! yes! i will email you tomorrow…the guide is FREE so i will point you to where you can get it.
:: erin ::
This is a little off topic, but what color are your walls?! If you know by chance. It’s exactly what I’m looking for and painting my piano white would be the perfect mix.
What color did you use to paint your piano?
hi there. it is called “cream in my coffee.” i think it is a sherwin williams color. i used valspar paint and had it mixed at lowes in the satin finish. hope this helps!
:: erin ::